
Can I drill on any wall? Yes, you can drill on most walls, but the method and tools you use will depend on the wall material. This comprehensive wall drilling guide will walk you through the process of drilling into walls safely and effectively, whether you’re hanging shelves, mounting a TV, or installing fixtures. We’ll cover everything from choosing the right tools to securing your items firmly.
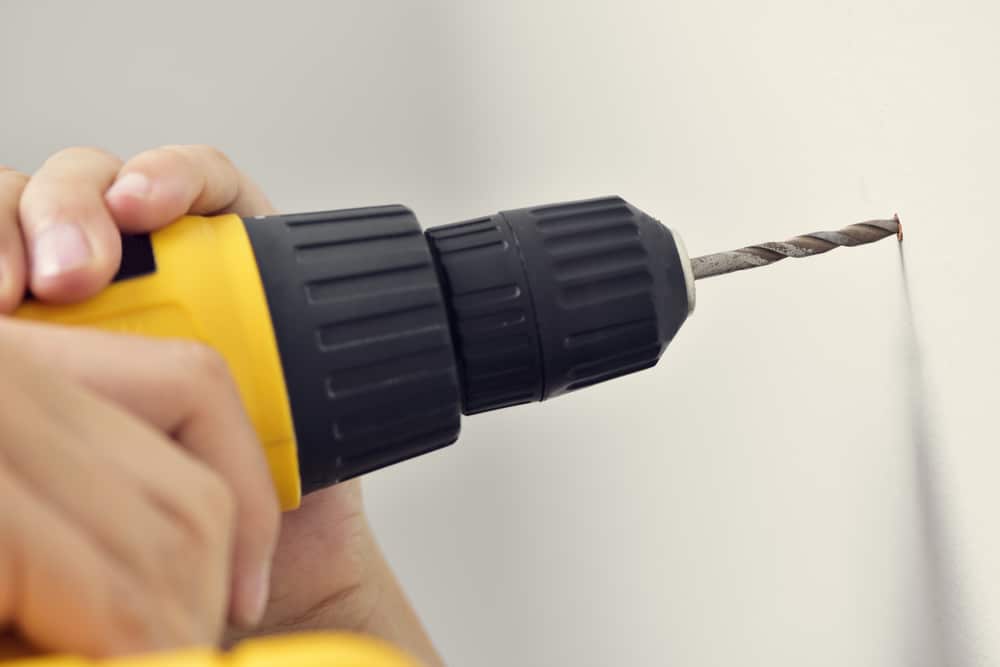
Image Source: www.recommend.my
Essential Drilling Tools for Home Use
Having the right tools makes any DIY project easier and safer. For drilling into walls, a few key items are indispensable.
The Power Drill: Your Primary Tool
An electric drill for walls is your most important piece of equipment. For general home use, a cordless drill is often the most convenient. Look for drills with variable speed settings and a clutch, which helps prevent overtightening screws or stripping holes.
- Cordless Drills: Offer portability and freedom of movement. Battery life is crucial, so consider drills with good battery capacity.
- Corded Drills: Provide consistent power and are generally more powerful, but you’ll be limited by the cord’s length.
- Hammer Drills: Essential for drilling into harder materials like brick or concrete. They combine rotation with a hammering action. If you anticipate drilling into masonry regularly, a hammer drill is a worthwhile investment.
Drill Bits: The Cutting Edge
The type of drill bit you use is critical for the material you’re drilling into. Using the wrong bit can damage your drill, the wall, and the bit itself.
| Wall Material | Recommended Drill Bits | Notes |
|---|---|---|
| Drywall | Wood bits (brad-point or twist bits) | Use standard twist bits for most drywall jobs. |
| Plaster | Masonry bits or spade bits | Plaster can be brittle; a sharp masonry bit is often best. |
| Wood (Studs) | Wood bits (brad-point, spade bits, auger bits) | Brad-point bits start cleanly. Auger bits are for larger holes. |
| Brick | Masonry bits (tungsten carbide-tipped) | Always use a masonry bit. |
| Concrete | Masonry bits (tungsten carbide-tipped), Carbide-tipped | A hammer drill is highly recommended for concrete. |
| Metal (Studs/Pipes) | HSS (High-Speed Steel) bits, Cobalt bits | Use cutting fluid to keep bits cool and prevent breakage. |
The best drill bits for plaster are often sharp, high-quality masonry bits. These bits are designed to cut through harder, more brittle materials without excessive crumbling.
Other Helpful Tools and Materials
- Tape Measure: For precise placement of holes.
- Pencil: To mark drill locations.
- Level: To ensure items are hung straight.
- Stud Finder: Crucial for locating wooden studs behind drywall, which provide the strongest support.
- Safety Glasses: Protect your eyes from flying debris.
- Dust Mask: Prevents inhalation of dust, especially when drilling into plaster or masonry.
- Vacuum Cleaner or Dustpan and Brush: For cleaning up dust and debris.
- Wall Anchors and Screws: Essential for securing items to drywall or other wall types where studs aren’t available.
- Drill Stop or Masking Tape: To prevent drilling too deep.
Pre-Drilling Checks: Safety First!
Before you even pick up your electric drill for walls, it’s vital to do some checks to ensure you’re drilling in the right place and safely.
Locating Utilities: The Golden Rule
This is the most critical step. Drilling into a hidden electrical wire or water pipe can be extremely dangerous and costly.
- Electrical Wires: Most electrical wires run vertically or horizontally from electrical boxes (outlets, switches, light fixtures). Always assume wires are present in these areas. Use a stud finder that can detect live AC voltage.
- Water Pipes: These are often found near bathrooms, kitchens, and laundry rooms. If you’re unsure, err on the side of caution and avoid drilling in suspected pipe locations.
- Gas Lines: These are extremely dangerous to puncture. If you suspect gas lines, do not drill and contact a professional.
Tips for Avoiding Utilities:
- Visual Inspection: Look for the location of outlets, switches, and light fixtures. Avoid drilling directly above, below, or horizontally from these points.
- Stud Finder with AC Detection: Many modern stud finders can also detect live electrical wires.
- Professional Advice: If you are ever in doubt, consult an electrician or plumber.
Identifying Wall Structure: What’s Behind the Surface?
Knowing what your wall is made of will dictate the drilling method and hardware you need.
How to Drill Holes in Drywall
Drywall is a common wall material, but it’s not always strong enough to hold heavy items on its own.
- Hanging Light Items: For very light objects (like a small picture frame), you can often drill directly into the drywall.
- Hanging Heavier Items: For anything with significant weight, you must locate a stud or use appropriate wall anchor installation. Drilling into the hollow space of drywall without an anchor will not hold.
Drilling into Brick Wall
Brick walls are solid and strong but require a different approach.
- Hammer Drill: A hammer drill is highly recommended for drilling into brick wall. The hammering action helps break up the brick as the bit rotates.
- Masonry Bits: Use tungsten carbide-tipped masonry bits.
- Speed Control: Start at a lower speed and gradually increase it.
- Pressure: Apply steady, even pressure.
Drilling into Plaster Walls
Plaster walls are often found in older homes. They can be layered over lath (wood strips) or metal mesh.
- Brittle Nature: Plaster can be brittle and prone to chipping or cracking.
- Drill Bit Choice: Use sharp masonry bits. Sometimes, a standard twist bit can work for shallow holes, but a masonry bit is generally more reliable for deeper ones.
- Gentle Approach: Start slowly and apply moderate pressure.
Marking the Spot: Precision is Key
Once you’ve identified a safe and suitable location:
- Measure Twice: Use your tape measure to determine the exact position.
- Mark Clearly: Use a pencil to make a small, precise mark where you want to drill.
- Use a Level: If you’re hanging multiple items or a long shelf, use a level to ensure your marks are straight.
The Drilling Process: Step-by-Step
Now that you’re prepared, let’s get drilling.
Step 1: Setting Up Your Drill
- Select the Correct Drill Bit: Based on your wall material and the size of the hole needed for your screw or anchor.
- Insert the Drill Bit: Ensure the bit is securely clamped in the drill chuck.
- Set the Depth Stop (Optional but Recommended): Many drills have an adjustable depth stop. If yours doesn’t, wrap a piece of masking tape around the drill bit a little less than the desired depth. This acts as a visual guide to stop drilling.
Step 2: Drilling the Hole
- Position the Drill: Place the tip of the drill bit on your marked spot. Hold the drill perpendicular to the wall.
- Start Slowly: Begin drilling at a low speed to create a starter hole and prevent the bit from slipping.
- Apply Steady Pressure: Gradually increase speed and apply steady, firm pressure.
- Hammer Drill Mode (for Brick/Concrete): If using a hammer drill, engage the hammer function.
- Clear Debris: Periodically pull the drill bit out of the hole while it’s still spinning slowly. This helps clear out dust and debris, preventing the bit from overheating or getting stuck.
- Drilling Through: Continue until you reach your desired depth.
Step 3: Cleaning the Hole
- Once you’ve finished drilling, remove the drill bit.
- Use a vacuum cleaner with a hose attachment or a brush and dustpan to remove any dust and debris from the hole and surrounding area. A clean hole ensures better grip for anchors and screws.
Step 4: Wall Anchor Installation (If Needed)
If you’re drilling into drywall and not hitting a stud, wall anchor installation is crucial for supporting weight.
Types of Wall Anchors:
- Plastic Expansion Anchors (Plugs): These are common and suitable for light to medium loads. They expand when a screw is driven into them.
- Drill the correct size hole for the anchor. The anchor’s packaging usually specifies the required drill bit size.
- Wall plug insertion: Gently tap the plastic anchor into the hole with a hammer until it’s flush with the wall surface.
- Drive the screw: Insert the screw into the anchor and tighten it with your drill.
- Self-Drilling Anchors (Gipsy Anchors): These have a screw-like tip and often a sharp point that creates its own pilot hole.
- Simply screw them directly into the drywall until flush.
- Then, drive the screw for your item into the anchor.
- Toggle Bolts: These are used for heavier loads and consist of a bolt with a spring-loaded toggle mechanism that opens behind the drywall.
- Drill a larger hole as specified by the toggle bolt manufacturer.
- Insert the toggle through the hole, allowing it to spring open behind the drywall.
- Tighten the bolt.
- Molly Bolts: Similar to toggle bolts but have a metal sleeve that expands as the bolt is tightened.
- Drill the correct size hole.
- Insert the molly bolt and tighten the screw. The sleeve will expand behind the wall.
Important Considerations for Wall Anchor Installation:
- Weight Rating: Always check the weight rating of the anchor. Choose an anchor that can safely support the item you’re hanging.
- Material: Ensure the anchor is designed for your wall material (e.g., drywall, plaster).
- Hole Size: Drilling the correct size hole is vital for the anchor to function properly.
Step 5: Securing Your Item
- Mounting Hardware: Position your item or mounting bracket over the drilled hole(s).
- Insert Screws: Drive the appropriate screws through the item and into the anchor or stud.
- Tighten Securely: Tighten the screws until the item is firmly attached to the wall. Be careful not to overtighten, which can strip the screw or anchor.
- Check Stability: Gently test the stability of the mounted item.
Power Drill Wall Mounting: Best Practices
When it comes to power drill wall mounting, safety and stability are paramount.
Selecting the Right Location for Mounting
- Studs are Best: Whenever possible, aim to drill into wall studs. They offer the strongest support. Use a stud finder to locate them accurately.
- Consider the Item: Think about the weight and size of the item you’re mounting. A heavy mirror requires more robust support than a small picture frame.
- Access: Ensure you have enough space to maneuver the drill and your body comfortably.
Drilling into Wood Studs
- Locate the Stud: Use your stud finder. Mark the edges and center of the stud.
- Pilot Hole: Drill a pilot hole into the center of the stud. The pilot hole should be slightly smaller than the diameter of the screw you’ll be using. This makes driving the screw easier and prevents the wood from splitting.
- Drive the Screw: Drive your screw directly into the pilot hole.
Drilling into Metal Studs
Metal studs are found in some newer constructions and commercial buildings.
- Metal Stud Drill Bits: Use a high-speed steel (HSS) or cobalt drill bit specifically designed for metal.
- Pilot Hole: Drill a pilot hole.
- Slow Speed: Use a slower drill speed and apply steady pressure.
- Cutting Fluid: Consider using a cutting fluid to lubricate the bit and prevent overheating.
- Anchors for Metal Studs: If you can’t hit the center of the metal stud or need extra support, use anchors designed for metal studs.
Specific Scenarios and Tips
Let’s delve into some common drilling challenges and how to overcome them.
Drilling Through Tiles
- Tile Drill Bits: You’ll need special tile or glass drill bits, often with a spear-shaped carbide tip.
- Start Slowly: Begin drilling at a very low speed to score the tile surface without cracking it.
- Water or Oil: Dribble a bit of water or cutting oil onto the drilling spot to keep the bit cool.
- Masking Tape: Place a piece of masking tape over the spot to prevent the bit from wandering.
- Plaster or Drywall Behind Tile: Once through the tile, you’ll likely be drilling into drywall or plaster. Switch to the appropriate bit for that material, or continue with the tile bit if it’s suitable.
Drilling into Plaster and Lath Walls
- Lath: The wood strips (lath) behind plaster can be tough.
- Drill Bit Choice: A sharp masonry bit is often the best bet.
- Patience: These walls can be tricky. Take your time, and be prepared for the bit to encounter resistance from the lath.
Drilling Through Plaster Without a Stud
- Anchor is Essential: As mentioned, for any significant weight, you’ll need a robust wall anchor.
- Largest Possible Anchor: If you’re unsure about the plaster’s integrity, use the largest appropriate anchor you can fit into the hole you drill.
Troubleshooting Common Drilling Issues
Even experienced DIYers can run into problems. Here’s how to solve them.
The Drill Bit is Stuck
- Don’t Force It: If the drill bit gets stuck, don’t force it.
- Reverse: Try reversing the drill direction.
- Wiggle Gently: Gently wiggle the drill while in reverse.
- Patience: Sometimes, backing out slowly is the only way.
The Hole is Too Big
- Larger Anchor: If you’ve accidentally drilled a hole that’s too big for your intended anchor, you may need to use a larger anchor or a different type of anchor.
- Wood Filler/Spackle: For minor over-drilling, you can sometimes use wood filler or spackle to reduce the hole size, but this is not ideal for load-bearing situations.
The Wall is Cracking or Crumbling
- Slower Speed: Slow down your drill speed.
- Less Pressure: Reduce the pressure you’re applying.
- Sharper Bit: Ensure your drill bit is sharp and the correct type for the material.
- Anchor Choice: If crumbling is significant, consider using an anchor that distributes the load over a wider area, or try a different location.
Frequently Asked Questions (FAQ)
Q: What is the difference between a drill and a hammer drill?
A: A standard drill rotates the bit to make holes. A hammer drill adds a rapid hammering action to the rotation, which is essential for breaking apart tough materials like brick and concrete.
Q: Can I drill into a wall with pipes in it?
A: No, you should never drill into a wall if you suspect there are water or gas pipes. Always locate utilities first.
Q: How deep should I drill a hole for a wall anchor?
A: The required depth will be specified by the anchor manufacturer. Always check the packaging. Using a depth stop or tape on your drill bit is highly recommended.
Q: What are the best drill bits for plaster?
A: Sharp, high-quality masonry bits are generally the best for drilling into plaster.
Q: How do I hang something heavy on drywall without hitting a stud?
A: You must use appropriate heavy-duty wall anchors, such as toggle bolts or molly bolts. Ensure the anchor’s weight rating exceeds the item’s weight.
Q: How do I ensure my wall mounting is level?
A: Use a spirit level to check your marks before drilling and to ensure the item is straight as you mount it.
Q: What is the correct way for wall plug insertion?
A: Drill the correct size hole for the plug, then gently tap the plug into the hole with a hammer until it is flush with the wall surface.
Q: Is it safe to use an electric drill for walls that have electrical wiring behind them?
A: It is never safe to drill into a wall without first ensuring there are no electrical wires or other utilities present. Use a stud finder with AC detection capabilities.
Conclusion
Drilling into walls is a fundamental DIY skill. By following these steps, using the right tools, and prioritizing safety, you can confidently hang shelves, mount fixtures, and complete many other home improvement projects. Remember to always check for hidden utilities, select the correct drill bits, and use appropriate anchors when needed. Happy drilling!