
Can you drill into rocks? Yes, you absolutely can drill into rocks, but it requires the right tools, techniques, and a bit of know-how.
Drilling into rock might seem like a daunting task, reserved for specialized contractors and heavy machinery. However, with the correct equipment and a solid approach, homeowners, DIY enthusiasts, and smaller construction projects can also successfully penetrate various types of stone. This comprehensive guide will walk you through the essential aspects of rock drilling techniques, covering everything from choosing the right drill bit to understanding different rock boring methods. Whether you’re planning to install fence posts, anchor structures, or undertake a more complex project like well drilling rocks, this guide will equip you with the knowledge you need to drill through stone effectively and safely.
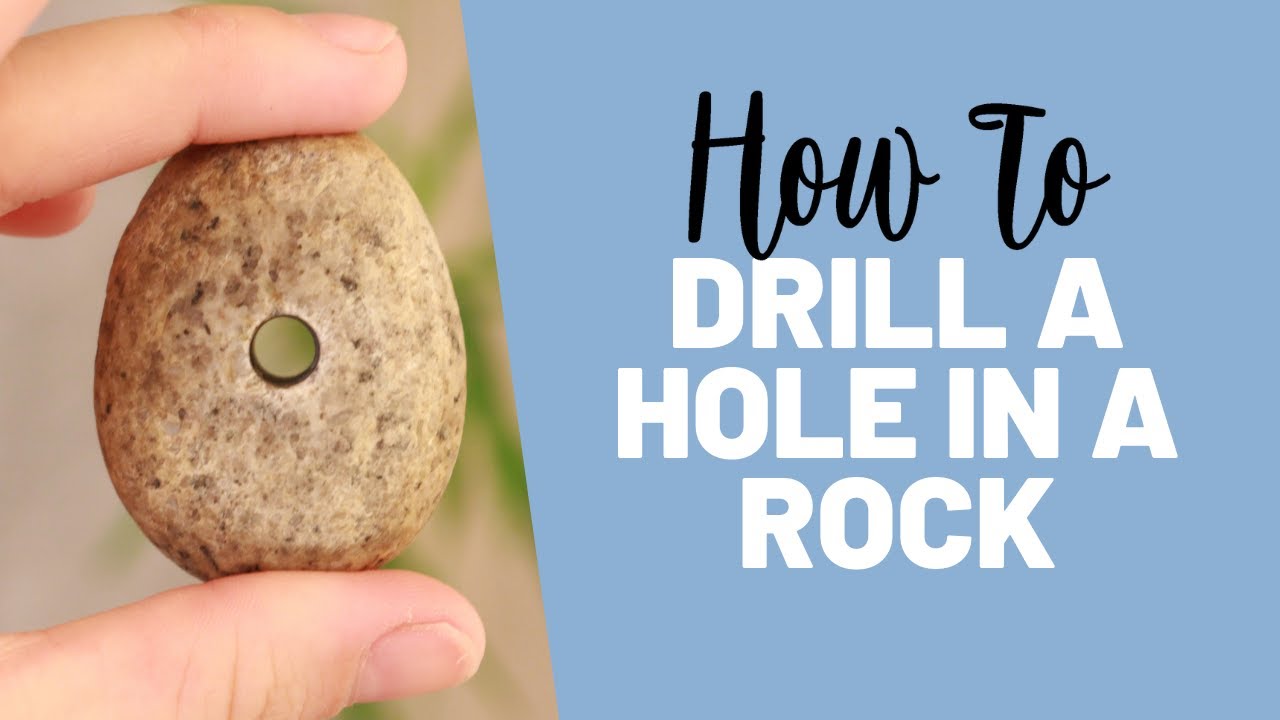
Image Source: i.ytimg.com
Deciphering Rock Types and Their Drilling Challenges
Before you even pick up a drill, it’s crucial to have a basic grasp of the rock you’ll be working with. Different rocks have varying densities, hardness, and compositions, which significantly impact the drilling equipment for rocks you’ll need and the techniques you should employ.
Common Rock Types and Their Characteristics
- Sedimentary Rocks: These are formed from compacted sediment. Examples include sandstone, limestone, and shale.
- Sandstone: Generally softer and easier to drill than other types. It can, however, be abrasive and wear down drill bits quickly.
- Limestone: Varies in hardness but is often manageable with standard drilling equipment.
- Shale: Typically soft and can sometimes crumble or break apart easily when drilled, which might require careful pressure application.
- Igneous Rocks: Formed from cooled magma or lava. Examples include granite, basalt, and obsidian.
- Granite: Known for its extreme hardness and density, requiring robust drilling equipment for rocks and often specialized drill bits.
- Basalt: Another very hard and dense rock, similar in drilling challenges to granite.
- Obsidian: Volcanic glass, incredibly hard and brittle, making it challenging to drill without fracturing.
- Metamorphic Rocks: Formed when existing rocks are changed by heat, pressure, or chemical reactions. Examples include marble, slate, and gneiss.
- Marble: Can range from relatively soft to quite hard, depending on its composition.
- Slate: Relatively soft and splits easily, but can be brittle.
- Gneiss: Often very hard and can have crystalline structures that present drilling difficulties.
Assessing Rock Hardness
The Mohs hardness scale, while primarily for mineral identification, gives a general idea of rock hardness. For practical purposes, you can often gauge rock hardness by observation and simple tests:
- Scratch Test: Try scratching the rock with a known hard object like a steel file or a carbide-tipped tool. If it scratches easily, it’s likely a softer rock. If it resists, it’s harder.
- Visual Inspection: Rocks with visible large crystals (like granite) tend to be harder than those with fine grains or layered structures.
Essential Drilling Equipment for Rocks
The right tools are paramount for successful rock drilling. Using the wrong equipment can lead to broken bits, damaged tools, and frustratingly slow progress.
Types of Drills Suitable for Rock
- Hammer Drill (or Percussion Drill): This is a versatile tool for most DIYers. It combines a rotary action with a hammering motion. This hammer drill for rocks is effective for drilling into concrete, masonry, and moderately hard rock. The hammering action helps break up the material, making it easier to remove.
- Rotary Hammer Drill (SDS Hammer Drill): A step up from a standard hammer drill, these use a more powerful hammering mechanism driven by a piston. They are excellent for drilling larger holes or for prolonged work in harder materials. This type of rotary drilling rocks is highly efficient.
- Rotary-Only Drills: While standard drills can work on very soft rock with appropriate bits, they lack the necessary impact for harder materials.
- Demolition Hammer (Jackhammer): For very large or extremely hard rock formations, a pneumatic or electric demolition hammer is necessary. This is heavy-duty equipment usually employed by professionals.
- Specialized Rock Drills: For industrial applications like well drilling rocks or mining, heavy-duty drilling rigs are used. These employ powerful rotational and percussive forces, often with specialized bits like diamond-tipped or carbide-tipped augers.
Crucial Drill Bits for Rock
The drill bit is arguably the most important component. Using the wrong bit will make the job impossible.
- Carbide-Tipped Masonry Bits: These are the go-to for most DIY projects involving brick, concrete, and softer stone. They have a hardened carbide tip brazed onto a steel shank. They perform well with hammer drills.
- Masonry Bits with Diamond Grit: Diamond is the hardest known material. Diamond-grit bits are excellent for drilling through very hard materials like tile, porcelain, glass, and even some harder rocks, especially when water cooling is used. These are often used for rock coring or precise drilling.
- Auger Bits: Primarily for wood, but certain heavy-duty versions can be used for softer, friable rock formations to remove material efficiently.
- Core Bits: These are hollow cylindrical bits that cut a ring around a central point, extracting a core sample or creating a clean hole without pulverizing the surrounding rock. Essential for rock coring and when precise, undisturbed samples are needed, or for creating clean-faced holes for anchors.
- Rock Bits (Tungsten Carbide or Diamond Impregnated): These are specifically designed for drilling into harder rocks and are often used with specialized rock drills.
Other Essential Tools and Safety Gear
- Safety Glasses or Goggles: Absolutely non-negotiable. Rock chips can fly at high speeds.
- Hearing Protection: Hammer drills and rotary hammers are noisy.
- Dust Mask or Respirator: Drilling rock creates fine dust, which can be harmful to inhale.
- Gloves: Protect your hands from abrasion and provide a better grip.
- Water Source and Hose (Optional but Recommended): Water cools the drill bit, reducing wear and dust. It can also help flush out cuttings.
- Chisels and Hammers: For breaking up smaller stubborn pieces or preparing the surface.
- Measuring Tape and Marker: For precise hole placement.
- Level: To ensure holes are drilled straight.
- Drill Lubricant/Coolant (Specialized): For very hard rock drilling to prevent overheating.
Mastering Rock Boring Methods
Rock boring methods vary based on the rock type, hole size, depth, and intended purpose. Here are the primary techniques:
Percussion Drilling Rocks
Percussion drilling rocks is characterized by a hammering action that pulverizes the rock, allowing it to be cleared away.
- How it Works: The drill bit is repeatedly struck by a hammer mechanism while simultaneously rotating. This impact breaks down the rock into smaller fragments.
- Best For: Hard and brittle rocks where a chipping or shattering action is effective. This is the primary action of hammer drills and rotary hammers.
- Technique:
- Secure the Drill: Ensure the drill is held firmly and perpendicular to the rock surface.
- Start Slowly: Begin with a light pressure to create a pilot indentation.
- Increase Pressure: Gradually apply steady, firm pressure. Let the hammer action do the work. Avoid forcing the drill too hard, as this can overheat the motor or break the bit.
- Clear Cuttings: Periodically withdraw the drill bit to clear out dust and rock fragments, especially in deeper holes.
- Use Water (if possible): A stream of water can help cool the bit and flush out material.
Rotary Drilling Rocks
Rotary drilling rocks relies solely on the rotation of the drill bit to cut or grind through the rock.
- How it Works: The drill bit spins at high speed, abrading and cutting the rock material. This method is less aggressive than percussion but can be more precise and is often used with specialized bits.
- Best For: Softer to moderately hard rocks, or when a very clean hole is required without excessive vibration. Also used in conjunction with specialized drilling rigs for deep holes.
- Technique:
- Select the Right Bit: Use carbide-tipped or diamond-grit bits for stone.
- Start with a Pilot Hole: A smaller pilot hole makes it easier to guide the larger bit.
- Maintain Consistent Speed: A steady, appropriate speed is crucial. Too slow and it won’t cut; too fast and it will overheat.
- Apply Steady Pressure: Consistent downward pressure is needed, but avoid jamming the bit.
- Cooling is Key: For anything but the softest rocks, regular application of water or a suitable coolant is vital to prevent the bit from overheating and dulling.
- Clear Cuttings: As with percussion drilling, periodically withdraw the bit to clear debris.
Rock Coring
Rock coring is a precise method that uses a hollow, cylindrical bit to extract a solid cylinder of rock.
- How it Works: A core bit, often diamond-impregnated or with carbide inserts, rotates around the circumference of a hole, cutting a core. The material inside the core is then removed.
- Best For: Geotechnical investigations, obtaining samples for analysis, creating clean, precise holes for specific applications like scientific study or installing sensitive equipment. Also used in anchor drilling rocks.
- Technique:
- Use a Core Drill Rig: Typically requires specialized equipment, often with a water swivel for cooling and flushing.
- Secure the Rig: The drill rig must be firmly anchored.
- Start Slow and Steady: Begin with a low speed and gentle pressure.
- Maintain Water Flow: Continuous water supply is essential to cool the bit and flush away cuttings, preventing damage and ensuring a clean cut.
- Gradual Feed Rate: Allow the bit to cut at its own pace. Forcing it can cause it to seize or break.
- Core Removal: Once the desired depth is reached, the core is carefully extracted.
Anchor Drilling Rocks
Anchor drilling rocks specifically refers to creating holes for the installation of rock anchors, bolts, or dowels.
- How it Works: Holes are drilled to a specific diameter and depth required for the anchor system. The method used can be percussion or rotary, depending on the rock and the anchor type.
- Best For: Stabilizing rock faces, securing structures to bedrock, creating foundations.
- Technique:
- Determine Hole Size and Depth: This is dictated by the anchor specifications.
- Choose Appropriate Drill Bit: Carbide-tipped bits or even specialized anchor drilling bits are used.
- Drill Accurately: Precise placement and angle are crucial for effective anchoring.
- Clean the Hole: The hole must be thoroughly cleaned of all dust and debris before the anchor is inserted. Air flushing or water flushing is common.
- Anchor Installation: Follow the manufacturer’s instructions for inserting and setting the anchor.
Step-by-Step Guide to Drilling in Rock
Here’s a general process for drilling into rock with a hammer drill or rotary hammer:
Step 1: Preparation and Safety First
- Assess the Rock: As discussed, try to identify the rock type and its hardness.
- Gather Equipment: Ensure you have the correct drill, appropriate drill bits, safety gear, and any necessary accessories (like water).
- Clear the Area: Remove any loose debris, vegetation, or obstacles around the drilling site.
- Mark Your Spot: Precisely mark where you need to drill. Use a marker or chalk.
- Don Safety Gear: Put on your safety glasses, gloves, hearing protection, and dust mask.
Step 2: Setting Up for the Drill
- Choose the Right Bit: Select a carbide-tipped masonry bit of the correct diameter and length for your task. For harder rock or deeper holes, consider a SDS bit.
- Insert the Bit: Securely insert the drill bit into the chuck of your drill. Ensure it’s firmly tightened.
- Set Drill Mode: For hammer drills, select the “hammer” or “percussion” setting. For rotary hammers, ensure the hammer function is engaged. If you are not drilling into stone but rather a softer material, you would switch to the rotary-only mode.
- Position the Drill: Place the tip of the drill bit directly on your marked spot. Ensure the drill is held perpendicular to the rock surface.
Step 3: The Drilling Process
- Start Gently: Begin drilling at a slow speed to create a small indentation. This prevents the bit from “walking” or skidding.
- Apply Steady Pressure: Once an indentation is made, increase the speed and apply steady, firm pressure. Let the drill’s hammering action do the work. Don’t push too hard, as this can strain the drill’s motor or break the bit.
- Drill in Bursts: Drill for short periods (10-20 seconds) and then withdraw the bit slightly while it’s still spinning. This helps to clear out dust and prevent the bit from overheating. Repeat this process.
- Use Water (if applicable): If drilling harder rock, a small amount of water poured onto the drilling site can significantly help by cooling the bit and flushing out debris. You may need someone to help manage the water.
- Monitor Heat: If the drill or bit feels excessively hot, stop and let it cool down. Overheating is a primary cause of bit failure.
- Maintain Angle: Try to keep the drill as perpendicular to the surface as possible throughout the drilling process.
Step 4: Completing the Hole
- Reach Desired Depth: Continue drilling and clearing until you reach the required depth.
- Withdraw the Bit: Once you’ve reached the depth, withdraw the drill bit slowly while it’s still spinning. This helps to clear any remaining material from the hole.
- Clean the Hole: Use compressed air, a brush, or water to thoroughly clean out the hole. For anchor drilling rocks, a clean hole is critical for the anchor’s effectiveness.
- Inspect the Hole: Check the hole for any obstructions or imperfections.
Tips for Successful Rock Drilling
- Patience is Key: Drilling rock takes time. Don’t rush the process.
- Cooling is Crucial: Overheated bits wear out much faster and can become brittle. Use water or take breaks to let the bit cool.
- Clear Debris Regularly: Cuttings can bind the bit or reduce its efficiency.
- Use the Right Bit for the Job: A carbide-tipped bit is a good start, but for very hard rock, consider diamond-grit or specialized rock bits.
- Don’t Force It: If the drill is struggling, you’re likely pushing too hard, the bit is dull, or you need a more powerful drill or a different type of bit.
- Consider SDS Plus vs. SDS Max: For tougher jobs, an SDS Plus rotary hammer offers more power than a standard hammer drill. For very heavy-duty work, SDS Max is required.
- For Deep Holes: If you’re planning well drilling rocks, you’ll need professional equipment. For smaller deep holes, you might need to drill in stages with progressively larger bits or use specialized extension rods.
Troubleshooting Common Drilling Issues
- Bit Not Cutting: The bit is likely dull or you are not using the correct drilling mode (hammer vs. rotary). Try a new bit or ensure the hammer function is engaged.
- Drill Overheating: You are pushing too hard, not clearing debris effectively, or the bit needs cooling. Stop and let it cool, and consider using water.
- Bit Getting Stuck: This can happen if the hole is not cleared, or if the rock expands slightly after drilling. Try to gently work the bit back and forth, or if possible, slightly enlarge the hole at the top.
- Excessive Dust: Ensure you are using a dust mask or respirator. If possible, use water to suppress dust.
When to Call a Professional
While DIY drilling in rock is possible for many tasks, there are times when professional help is necessary:
- Deep or Large-Diameter Holes: Tasks like well drilling rocks require specialized drilling rigs.
- Extremely Hard Rock: If you’re encountering granite or basalt and your equipment is struggling, professional services with heavy-duty drills are advisable.
- Precision and Safety: For critical structural anchors or when working in unstable rock faces, professional expertise ensures safety and efficacy.
- Lack of Experience or Equipment: If you don’t have the right tools or confidence, hiring a professional is the safest and most efficient option.
Frequently Asked Questions (FAQ)
Q1: What is the best drill bit for drilling into granite?
A1: For granite, you’ll need a high-quality, carbide-tipped masonry bit designed for hard rock, or preferably a diamond-grit core bit for best results and longevity. A rotary hammer with a SDS bit is also highly recommended.
Q2: Can I use a regular drill for drilling into rocks?
A2: A regular drill without a hammer function can only effectively drill into very soft, friable rocks. For most stone types, you will need a hammer drill or a rotary hammer with appropriate masonry or rock bits.
Q3: How deep can I drill into rock with a handheld drill?
A3: Handheld drills are typically limited to depths of a few inches to about a foot, depending on the rock hardness and the drill’s power. Deeper drilling requires specialized equipment.
Q4: How do I keep my drill bit cool when drilling rock?
A4: The best way is to use a continuous flow of water over the drilling site. Taking breaks to let the bit cool is also important. Specialized drill lubricants can also help.
Q5: What is the difference between percussion drilling and rotary drilling?
A5: Percussion drilling uses a hammering action to break up rock, ideal for hard, brittle materials. Rotary drilling relies on the rotation of the bit to grind or cut through rock, often preferred for cleaner holes or softer materials. Many modern drills combine both actions.
By following these guidelines and respecting the power of rock, you can successfully tackle your drilling projects. Remember to prioritize safety, choose the right tools, and be patient.