
Image Source: i.ytimg.com
How To Change A Black And Decker Drill Bit: Quick Guide
Can you change a Black and Decker drill bit easily? Yes, changing a Black and Decker drill bit is a straightforward process that most users can accomplish with a few simple steps.
This guide will walk you through how to change a drill bit on your Black and Decker drill. Whether you have a corded or cordless model, the general principles remain the same. Keeping your drill bits securely in place is crucial for both safety and efficiency. A loose drill bit can lead to inaccurate holes, damage to your workpiece, and potential injury. Regular Black and Decker drill maintenance, including ensuring your drill bit is properly seated, is key to getting the most out of your tool.
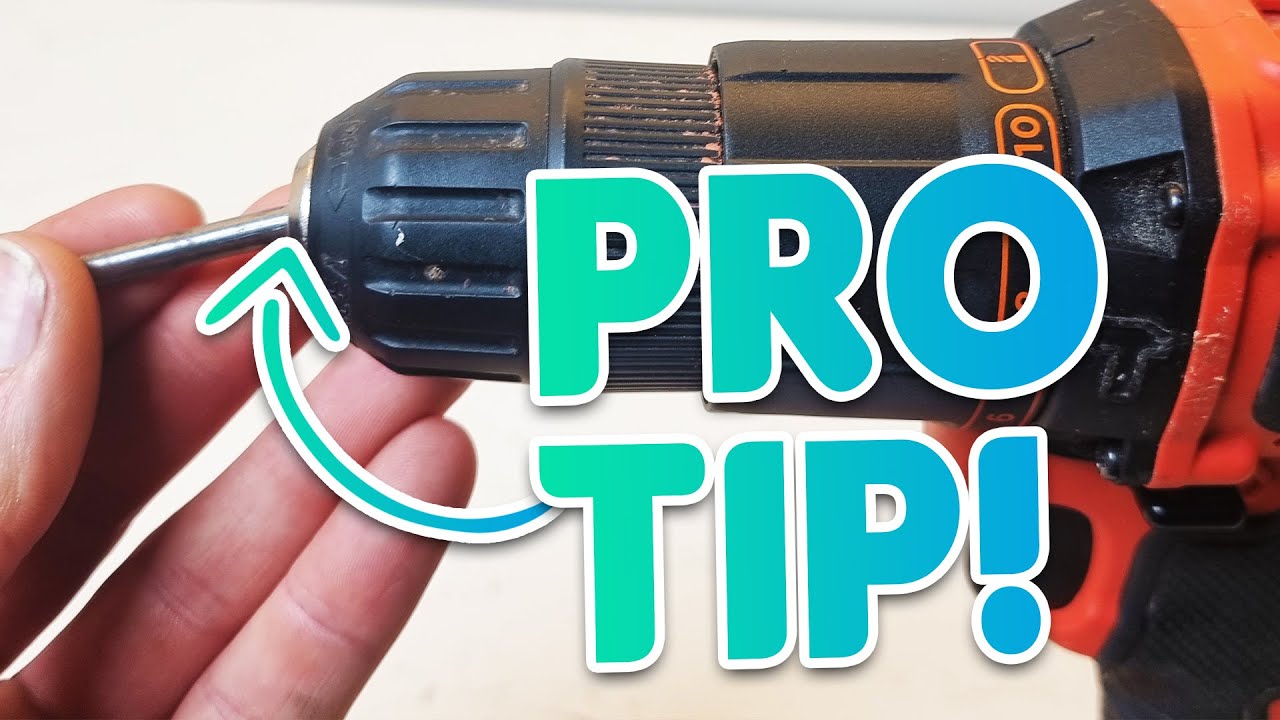
Types of Chucks on Black and Decker Drills
Black and Decker drills typically come with one of two main types of chucks:
- Keyless Chucks: These are the most common type on modern drills. They allow you to tighten and loosen the drill bit by hand.
- Keyed Chucks: While less common on newer Black and Decker models, some older or more heavy-duty drills might still feature keyed chucks. These require a special chuck key to tighten and loosen the bit.
This guide will focus primarily on the keyless chuck, as it’s the most prevalent. However, we will briefly touch on keyed chucks if your model uses them.
Step-by-Step Guide to Changing a Black and Decker Drill Bit
Let’s get started with the practical steps for changing drill bits.
Step 1: Safety First!
Before you do anything, always prioritize safety.
- Unplug the Drill: For corded drills, unplug the power cord from the wall outlet.
- Remove the Battery: For cordless drills, detach the battery pack from the drill. This prevents accidental activation.
Step 2: Inspect the Current Drill Bit
Take a moment to look at the drill bit currently in the chuck.
- Is it Loose? If your drill bit is drill bit loose, it’s a clear sign that it needs to be tightened or replaced.
- Is it Damaged? Check for any signs of wear, dullness, or bending. A damaged bit won’t perform well and can be dangerous.
Step 3: Loosening the Chuck
This is where the process varies slightly depending on your chuck type.
For Keyless Chucks:
Your Black and Decker chuck is designed for easy, tool-free operation.
- Grip the Chuck: Firmly grasp the front part of the chuck with one hand.
- Grip the Drill Body: With your other hand, hold the main body of the drill securely.
- Twist to Loosen: Rotate the front of the chuck counter-clockwise (lefty-loosey). You will feel it loosen, and the jaws inside will open up. You might need to apply a good amount of force, especially if the chuck is a bit stiff.
- Listen for Clicks (if applicable): Some keyless chucks have a ratcheting mechanism. You might hear a clicking sound as you loosen it. This is normal and indicates the jaws are opening.
For Keyed Chucks:
If you have a keyed chuck, you’ll need the specific chuck key.
- Insert the Chuck Key: Locate the small holes on the side of the chuck. Insert the chuck key into one of these holes.
- Grip the Drill Body: Hold the drill body securely with your other hand.
- Turn the Key Counter-Clockwise: Rotate the chuck key counter-clockwise. This will engage the mechanism and loosen the jaws. You may need to insert the key into multiple holes to fully loosen the chuck.
Step 4: Removing the Old Drill Bit
Once the chuck is sufficiently loose, the old drill bit should slide out easily.
- Gentle Wiggle: If it’s a bit stuck, a gentle wiggle should do the trick.
- Avoid Force: Never force the bit out. If it’s really stuck, ensure the chuck is fully loosened.
Step 5: Inserting the New Drill Bit
Now it’s time for drill bit replacement.
- Select the Correct Bit: Choose the appropriate drill bit for your task (e.g., wood, metal, masonry).
- Align the Bit: Insert the shank (the smooth end) of the new drill bit into the open jaws of the chuck. Make sure it’s centered as best as you can.
-
Tighten the Chuck:
- For Keyless Chucks: Grip the chuck again with one hand and the drill body with the other. Rotate the front of the chuck clockwise (righty-tighty). As you tighten, you’ll feel the jaws closing around the drill bit shank. Keep tightening until the bit feels snug and secure. For optimal tightness, try to engage the ratcheting mechanism if your chuck has one – this provides a very secure grip.
- For Keyed Chucks: Insert the chuck key and turn it clockwise until the bit is held firmly. Make sure the bit is centered and that the jaws are evenly gripping the shank.
Step 6: Testing the New Bit
Before you start drilling, give the new bit a quick test.
- Hold the Drill: Grip the drill firmly.
- Brief Spin (No Load): Without pressing it against any surface, briefly squeeze the trigger to spin the bit.
- Check for Wobble: Observe the bit as it spins. It should spin smoothly without any noticeable wobble. If there’s significant wobble, the bit might not be seated correctly, or it could be damaged. Loosen the chuck, re-seat the bit, and tighten again.
Step 7: Reinstall the Battery or Plug In
Once you’re confident the new bit is securely in place, you can reattach the battery pack or plug the drill back into the power source.
Troubleshooting Common Issues
Sometimes, things don’t go as smoothly as planned. Here are a few common problems and how to fix them.
My Drill Bit is Still Loose After Tightening
If you find your drill bit loose even after tightening the chuck, consider these points:
- Insufficient Tightening: You might not have tightened it enough. Try applying more pressure when turning the chuck. For keyless chucks, ensure you’re using the ratcheting function if available.
- Damaged Chuck Jaws: In rare cases, the jaws of the chuck might be worn or damaged, preventing them from gripping the bit properly. If this is the case, the chuck itself might need replacement.
- Wrong Size Bit: Ensure the bit you’re using is designed to fit your drill’s chuck capacity. While most bits are standard, very small or unusually shaped shanks might pose issues.
- Debris in the Chuck: Small metal shavings or dirt can sometimes prevent the chuck jaws from closing fully. Try blowing out the chuck with compressed air.
The Chuck Won’t Loosen
If you’re struggling to loosen the chuck, especially on a keyless model that feels stuck:
- Firm Grip: Ensure you have a really firm grip on both the chuck and the drill body. Use a rubber grip or glove for better traction.
- Leverage: Sometimes, using a strap wrench on the chuck can provide extra grip and leverage. Be careful not to damage the chuck.
- Impact (Caution!): In very stubborn cases, a very gentle tap with a rubber mallet on the chuck body while applying loosening pressure can sometimes break it free. However, this should be a last resort, as excessive force can damage the drill.
How to Perform Chuck Removal for Deeper Maintenance
Chuck removal is generally not required for routine changing drill bits. However, if your chuck is damaged or you need to clean it thoroughly, you might need to remove it. This process can vary significantly between models, and some Black and Decker drills have chucks that are not designed for easy user removal.
For Keyless Chucks:
Many keyless chucks are press-fit or have a retaining screw.
- Loosen the Chuck Fully: Ensure the chuck is completely open.
- Look for a Retaining Screw: Inspect the very back of the chuck, inside the jaws. You might find a screw. If it’s a standard Phillips or flathead screw, it will likely be left-hand threaded. This means you need to turn it clockwise to loosen it.
- If No Screw or It’s Not Budging: Some chucks are press-fit onto the spindle. In this case, chuck removal often requires specialized tools and is best left to a professional or if you’re comfortable with more advanced disassembly. Attempting to force it off can damage the drill’s spindle.
For Keyed Chucks:
Keyed chucks often have a retaining screw at the back as well, which is usually left-hand threaded.
- Loosen the Chuck: Open the keyed chuck as much as possible.
- Locate the Retaining Screw: Look inside the chuck jaws for a screw.
- Remove the Screw: Use the appropriate screwdriver or Allen wrench and turn it clockwise to remove the screw (remember, left-hand thread).
- Remove the Chuck: Once the screw is out, you should be able to unscrew the chuck from the spindle by hand, turning it counter-clockwise. If it’s tight, you might need to use a strap wrench for grip.
Important Note on Chuck Removal: If you’re unsure about drill chuck removal for your specific Black and Decker model, consult your owner’s manual or contact Black and Decker customer support. Forcing the chuck off can lead to costly repairs.
Maintaining Your Black and Decker Chuck and Drill
Proper Black and Decker drill maintenance ensures your tools last longer and perform reliably.
- Keep it Clean: After each use, especially if drilling dusty materials like drywall or concrete, blow out the chuck with compressed air to remove dust and debris.
- Lubrication (Sparingly): Occasionally, a tiny drop of lubricant on the chuck mechanism (especially on the sleeve of a keyless chuck) can keep it operating smoothly. Use a lubricant specifically designed for tools, and apply it very sparingly. Too much lubricant can attract dust and grime.
- Check for Wear: Periodically inspect the chuck jaws for any signs of damage or excessive wear. If the jaws aren’t gripping the bits securely, it’s time to consider a replacement chuck.
- Proper Storage: Store your drill in a clean, dry environment. Avoid leaving it in places where it can be exposed to moisture or extreme temperatures.
Frequently Asked Questions (FAQ)
Q1: How do I know if my Black and Decker drill has a keyless chuck?
A: A keyless chuck can be tightened and loosened by hand by twisting the front part of the chuck. You won’t need a separate key.
Q2: What’s the best way to tighten a drill bit in a keyless chuck?
A: Grip the front sleeve of the chuck firmly with one hand and the drill body with the other. Twist the sleeve clockwise until it’s snug. If your chuck has a ratcheting feature, try to engage it for the most secure fit.
Q3: My drill bit keeps slipping. What should I do?
A: Ensure the bit is fully inserted and centered in the chuck. Tighten the chuck as much as possible, engaging any ratcheting mechanism. If it continues to slip, the chuck jaws might be worn or dirty. Clean the chuck and try again. If the problem persists, the chuck may need replacement.
Q4: Can I use any drill bit with my Black and Decker drill?
A: Generally, yes, as long as the shank of the drill bit fits within the capacity of your drill’s chuck. Check your drill’s specifications for the maximum and minimum shank diameters it can accommodate.
Q5: How tight should I make the drill bit?
A: Tight enough so that the bit doesn’t slip during operation. You don’t need to overtighten it to the point of straining the chuck. For keyless chucks, the clicking of the ratcheting mechanism often indicates a secure fit.
Q6: Is it normal for the chuck to be a bit stiff?
A: Yes, especially on newer drills or if the chuck hasn’t been used recently, it can be a bit stiff. Ensure you’re using a firm grip and adequate pressure. If it remains excessively stiff after some use, a tiny bit of appropriate lubricant might help.
By following these steps and tips, you can confidently change drill bits on your Black and Decker drill, ensuring safe and efficient operation for all your DIY and professional projects. Remember, proper maintenance is key to extending the life of your tools.