
Can beginners use a Ryobi miter saw? Yes, with proper guidance and safety precautions, beginners can effectively use a Ryobi miter saw for various woodworking projects. This guide will walk you through everything you need to know to get started with your Ryobi miter saw, from initial setup to making precise cuts.
A miter saw is a powerful tool that makes cutting wood at specific angles much easier and more accurate than using a handsaw. Ryobi offers a range of miter saws, from basic models to more advanced sliding compound miter saws, suitable for DIY enthusiasts and aspiring woodworkers. Let’s dive into how to get the most out of your Ryobi miter saw.
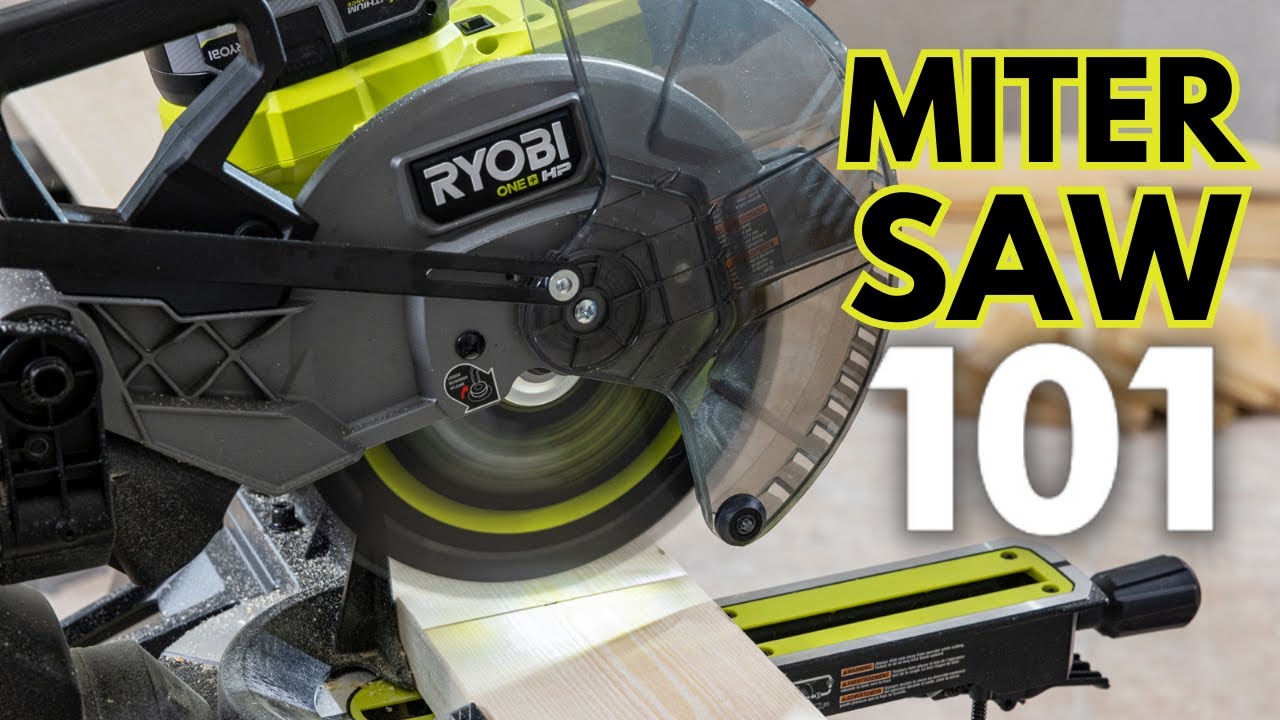
Image Source: i.ytimg.com
Getting Started: Ryobi Miter Saw Setup
Before you can make your first cut, proper Ryobi miter saw setup is crucial. This ensures safety, accuracy, and the longevity of your tool.
Unpacking and Initial Inspection
When you receive your Ryobi miter saw, carefully unpack it. Check for any damage that might have occurred during shipping. Ensure all parts are present as listed in the owner’s manual. Familiarize yourself with the main components:
- Saw Base: The stable platform of the saw.
- Motor and Blade Assembly: The part that does the cutting.
- Handle: For operating the saw.
- Miter Angle Adjustment Knob/Lever: To set the angle for crosscuts.
- Bevel Angle Adjustment Knob/Lever: To set the angle for bevel cuts.
- Table Inserts and Fences: For supporting and guiding the wood.
- Blade Guard: A critical safety feature.
- Dust Port: For connecting a dust collection system.
Mounting Your Ryobi Miter Saw
For stability and safety, your Ryobi miter saw needs to be securely mounted.
Benchtop Mounting
Most Ryobi miter saws are designed for benchtop use.
- Choose a Stable Surface: Select a sturdy workbench or sturdy table that can support the weight of the saw and withstand the vibrations during operation.
- Position the Saw: Place the saw on the surface, ensuring it’s centered and stable.
- Secure with Clamps or Bolts: Most Ryobi miter saws have mounting holes in their base. Use C-clamps to temporarily hold the saw in place for initial testing, or drill holes and use bolts for a more permanent and secure attachment. Always ensure the saw is flush with the mounting surface.
Using a Miter Saw Stand
For portability and ease of use, consider a dedicated miter saw stand.
- Assemble the Stand: Follow the manufacturer’s instructions to assemble your miter saw stand.
- Mount the Saw: Most stands have universal mounting brackets. Align your Ryobi miter saw with these brackets and secure it using the provided hardware.
- Position the Stand: Place the stand in your desired work area, ensuring it’s on a level and stable surface.
Understanding Your Ryobi Miter Saw Controls
Before powering on, spend time familiarizing yourself with the controls.
- Miter Adjustment: This allows you to pivot the turntable left or right to set the angle for your cuts. Look for detents (preset stops) at common angles like 0°, 15°, 22.5°, 30°, and 45°.
- Bevel Adjustment: On compound and sliding compound miter saws, this allows you to tilt the motor and blade assembly to the left (usually) for angled cuts through the thickness of the wood.
- Trigger Lock: Prevents accidental starting of the saw. Always engage this when not actively cutting.
- Blade Depth Stop: Allows you to limit the depth of the cut, useful for making dados or grooves.
Making Precise Cuts: Essential Ryobi Miter Saw Techniques
With your saw set up, it’s time to learn how to make those perfect cuts.
Measuring and Marking Your Wood
Accuracy starts with precise measurement and marking.
- Measure Twice, Cut Once: This age-old adage is critical for woodworking. Use a quality tape measure.
- Mark Clearly: Use a sharp pencil or a marking knife for a thin, precise line. For critical cuts, a marking knife is preferred as it creates a kerf that guides the blade.
- Consider the Kerf: The blade of your miter saw has a thickness, known as the kerf. Decide whether your measurement line should be on the waste side or the cut side of the mark, depending on how you want to position the wood.
Performing Basic Crosscuts
A crosscut is a cut made across the width of a board, typically at a 90-degree angle.
- Set the Miter Angle: For a standard crosscut, ensure the miter angle is set to 0 degrees. Your Ryobi miter saw should have a clear indicator.
- Position the Wood: Place the wood against the fence. Ensure the wood is flat on the saw base and firmly against the fence.
- Align the Blade: Lower the blade (without power) to align the blade’s kerf with your marked cut line.
- Secure the Wood: Use the saw’s built-in clamp or hold the wood firmly against the fence and base with your free hand. Keep your hands well away from the blade path.
- Make the Cut: Squeeze the trigger to start the saw. Let the blade reach full speed before lowering it into the wood. Lower the blade smoothly and steadily through the wood.
- Raise the Blade: Once the cut is complete, allow the blade to stop spinning completely before raising the blade assembly.
- Remove the Wood: Carefully remove the cut pieces.
Mastering Miter Cuts (Angled Crosscuts)
Miter cuts are used for creating frames, trim, and other projects requiring angled joints.
- Set the Miter Angle: Use the Ryobi miter saw angle adjustment feature to set the desired angle. For example, for a 45-degree miter, set the miter to 45 degrees.
- Position the Wood: Place the wood against the fence. Ensure the face of the wood that will be on the outside of the angle is against the fence.
- Align and Secure: Align the blade with your mark, just as you would for a crosscut. Secure the wood firmly.
- Make the Cut: Lower the blade smoothly through the wood.
- Raise and Remove: Allow the blade to stop before raising and removing the wood.
Executing Bevel Cuts
A bevel cut is an angled cut through the thickness of the wood. This is where Ryobi compound miter saw techniques come into play, as not all miter saws have this capability.
- Set the Bevel Angle: Locate the bevel lock and loosen it. Rotate the motor and blade assembly to the desired angle. Tighten the bevel lock securely. Common bevel angles for crown molding, for instance, are 33.8 or 31.6 degrees.
- Position the Wood: For a bevel cut, the wood is typically placed flat on the base, against the fence. The angle of the cut will be through the thickness of the board.
- Align and Secure: Align the blade with your mark. Ensure the wood is held firmly against the base and fence.
- Make the Cut: Lower the blade smoothly through the wood.
- Raise and Remove: Allow the blade to stop before raising and removing the wood.
Combining Miter and Bevel Cuts (Compound Cuts)
Compound cuts involve both a miter angle and a bevel angle, essential for complex trim work like crown molding.
- Set Both Angles: First, set your desired miter angle, then set your desired bevel angle.
- Position the Wood: The orientation of the wood for compound cuts depends on the specific angle and molding type. For crown molding, it’s often placed upside down and backward on the saw, against the fence and base, at a specific miter and bevel. Refer to your Ryobi miter saw manual or specific project guides for correct orientation.
- Align and Secure: Carefully align the blade with your mark. Ensure the wood is held securely.
- Make the Cut: Make the cut smoothly.
- Raise and Remove: Allow the blade to stop before raising and removing the wood.
Using a Ryobi Sliding Miter Saw Guide
A Ryobi sliding miter saw guide offers expanded cutting capacity, allowing you to cut wider boards than a standard miter saw.
- Extend the Slides: For wider cuts, the sliding mechanism allows the blade assembly to move forward and backward.
- Position for Wide Cuts: Place the wide board against the fence.
- Align and Secure: Align the blade with your mark.
- Make the Cut: As you lower the blade, gently pull the saw head forward along the slides to complete the cut through the wider material. Ensure a smooth, controlled motion.
Enhancing Your Ryobi Miter Saw Experience
Beyond basic operation, several features and accessories can improve your workflow and results.
Ryobi Miter Saw Dust Collection
Wood dust is not only messy but also a health hazard. Effective Ryobi miter saw dust collection is vital.
- Connect a Vacuum: Most Ryobi miter saws have a dust port. Connect a shop vacuum or a dedicated dust collection system to this port using an appropriate adapter. This will capture a significant amount of the sawdust generated.
- Blade Guard Design: The blade guard is designed to help funnel dust towards the port. Ensure it’s properly positioned.
- Enclosed Workspace: If possible, work in an area where dust can be contained.
Ryobi Miter Saw Blade Replacement
The type and condition of your blade significantly impact cut quality. Ryobi miter saw blade replacement is a straightforward process.
When to Replace Your Blade:
- Dullness: If cuts are rough, splintered, or require excessive force, the blade is likely dull.
- Damage: Bent teeth, missing teeth, or a warped blade require immediate replacement.
- Incorrect TPI: Using a blade with too few teeth for fine work, or too many for rough cuts, can also be addressed by replacement.
How to Replace the Blade:
- Disconnect Power: ALWAYS unplug the saw from the power source before replacing the blade.
- Engage Blade Lock: Most Ryobi miter saws have a spindle lock button or lever. Press and hold this to prevent the blade from turning.
- Remove the Guard: You may need to remove or retract the lower blade guard to access the blade nut.
- Loosen the Blade Nut: Use the provided wrench or a socket wrench to loosen the blade nut counter-clockwise.
- Remove Old Blade: Carefully remove the old blade. Note the direction of the teeth.
- Install New Blade: Place the new blade onto the arbor, ensuring the teeth are pointing in the correct direction (usually clockwise when viewed from the motor side).
- Tighten the Blade Nut: Reinstall the blade nut and tighten it clockwise securely. Don’t overtighten, but ensure it’s snug.
- Reinstall Guard: Put the blade guard back in place.
- Test: Plug in the saw and test it briefly to ensure the blade spins freely and is securely attached.
Choosing the Right Blade:
- Crosscut Blades: Have more teeth (60-80 TPI) for cleaner cuts on softwood and plywood.
- Rip Blades: Have fewer teeth (24-40 TPI) for faster, rougher cuts on hardwood.
- Combination Blades: Offer a balance between crosscutting and ripping.
- Specialty Blades: For specific materials like metal or plastic.
Ryobi Miter Saw Calibration
For the most accurate cuts, Ryobi miter saw calibration is essential. Over time, or after transport, the angle settings might drift.
-
Checking the 90-Degree Miter Cut:
- Set the miter angle to 0 degrees.
- Place a known square piece of wood against the fence and mark a cut line.
- Make the cut.
- Use a reliable carpenter’s square to check if the cut is precisely 90 degrees to the edge of the board.
- If not, locate the miter adjustment lock and stop screw. Loosen the lock, and adjust the position of the saw head relative to the base until it’s perfectly square. Retighten the lock. You may need to adjust the zero-degree stop screw.
-
Checking the 0-Degree Bevel Cut:
- Ensure the miter is set to 0 degrees.
- Set the bevel angle to 0 degrees.
- Place wood against the fence and mark a line.
- Make the cut.
- Use a square to check the angle.
- If not 90 degrees, adjust the bevel stop screw. Most Ryobi saws have a specific screw for the 0-degree bevel stop. Consult your manual for its exact location.
-
Checking Other Miter Angles: Repeat the process for common angles like 45 degrees, using a speed square or protractor to verify accuracy. Adjust the stop screws or the detent mechanism as needed.
Ryobi Miter Saw Bevel Cuts Precision
Achieving precise Ryobi miter saw bevel cuts requires careful attention to detail:
- Locking Mechanism: Ensure the bevel lock is fully engaged before making a cut.
- Zero-Degree Stop: Make sure the 0-degree stop is properly calibrated.
- Fence Alignment: Confirm the fence is perfectly perpendicular to the blade when the saw is set to a 0-degree bevel.
- Blade Condition: A sharp, clean blade is crucial.
Safety First: Essential Ryobi Miter Saw Safety Tips
Operating any power tool carries inherent risks. Following Ryobi miter saw safety tips is paramount.
- Read the Manual: Always read and thoroughly understand your Ryobi miter saw’s owner’s manual before operation.
- Wear Safety Gear:
- Eye Protection: Safety glasses or a face shield are non-negotiable.
- Hearing Protection: Miter saws are loud; earplugs or earmuffs will protect your hearing.
- Dust Mask/Respirator: To protect against sawdust inhalation.
- Keep Work Area Clean: A tidy workspace reduces the risk of tripping or entanglement.
- Secure Your Workpiece: Always use the clamp provided or hold the workpiece firmly against the fence and base. Never try to hold small pieces with your hands.
- Keep Hands Away from Blade: Maintain a safe distance from the blade at all times. Position your hands so they are never in the path of the blade.
- Wait for Blade to Stop: Never reach for the workpiece or remove scraps until the blade has come to a complete stop.
- Don’t Force the Cut: Let the blade do the work. Forcing it can cause kickback or damage the blade and motor.
- Use the Right Blade: Ensure the blade is sharp, clean, and appropriate for the material being cut.
- Blade Guard: Never remove or bypass the blade guard. Ensure it retracts and returns properly.
- Unplug When Changing Blades or Adjusting: Always disconnect power before performing any maintenance or blade changes.
- Avoid Distractions: Concentrate fully on the task at hand.
- Be Aware of Kickback: Kickback occurs when the blade binds in the wood, causing the wood to be violently thrown back towards the operator. Proper technique, sharp blades, and secure workpieces help prevent this.
Ryobi Miter Saw Troubleshooting
Even with proper use, you might encounter issues. Here’s a guide to common Ryobi miter saw troubleshooting scenarios.
| Problem | Possible Cause | Solution |
|---|---|---|
| Saw won’t start | No power; plugged in incorrectly; thermal overload. | Check power source; ensure plug is seated; allow motor to cool if recently used heavily. |
| Blade wobbles | Loose blade nut; damaged blade; arbor bent. | Ensure blade nut is tight; check blade for damage; if arbor is bent, service may be required. |
| Rough cuts/Splintering | Dull blade; wrong blade type; forcing the cut. | Replace or sharpen blade; use a blade with more teeth for smoother cuts; let the blade reach full speed. |
| Inaccurate angle cuts | Miter or bevel angle not properly set or calibrated. | Re-calibrate the miter and bevel angles using a square. Ensure locks are tightened. |
| Blade binding/stalling | Forcing the cut; dull blade; cutting too fast. | Let the blade reach full speed; use a sharp blade; cut at a steady, moderate pace. |
| Excessive dust | Dust collection not connected; poor seal. | Connect a vacuum to the dust port; check for leaks in the dust collection system. |
| Motor making strange noise | Foreign object in motor housing; internal issue. | Unplug saw and inspect for debris; if persistent, contact service. |
Frequently Asked Questions (FAQ)
What is the difference between a Ryobi compound miter saw and a sliding compound miter saw?
A Ryobi compound miter saw can make both miter (angled side-to-side) and bevel (angled up-and-down through the thickness) cuts. A Ryobi sliding miter saw adds the ability to slide the motor and blade assembly forward and backward. This allows it to cut much wider boards at a 90-degree angle than a non-sliding miter saw.
Can I cut metal with a Ryobi miter saw?
Generally, standard wood-cutting miter saw blades are not suitable for cutting metal. You would need a specialized metal-cutting blade and potentially a saw designed for metal cutting. Always check your Ryobi miter saw manual for material compatibility.
How do I make a repeatable cut on my Ryobi miter saw?
For repeatable cuts, use the Ryobi miter saw fence and a stop block. After setting your desired angle and cutting the first piece, clamp a stop block to the fence at the correct position. Then, you can butt subsequent pieces of wood against the stop block to ensure identical lengths.
How often should I replace my Ryobi miter saw blade?
The lifespan of a blade depends on usage and the material being cut. A good rule of thumb is to replace or sharpen your blade when you notice a significant decrease in cut quality, such as rough edges, burning, or increased effort required to make a cut. For frequent use, consider having multiple blades for different tasks.
What is the best Ryobi miter saw for a beginner?
For beginners, a Ryobi 10-inch compound miter saw is often a great starting point. It offers a good balance of features, cutting capacity, and affordability. Look for models with positive miter and bevel detents for easy angle setting.
Conclusion
Your Ryobi miter saw is a versatile tool that, with proper Ryobi miter saw setup, careful operation, and adherence to Ryobi miter saw safety tips, can help you achieve professional-looking results in your woodworking projects. By mastering Ryobi compound miter saw techniques and knowing how to handle specific adjustments like Ryobi miter saw angle adjustment and Ryobi miter saw bevel cuts, you’ll be well on your way to tackling more complex tasks. Remember to keep your saw well-maintained, including Ryobi miter saw blade replacement when needed and regular Ryobi miter saw calibration, and don’t hesitate to consult your manual or online resources for any Ryobi miter saw troubleshooting. Happy cutting!