
What is a Ryobi miter saw used for? A Ryobi miter saw is a power tool designed for making precise angled cuts in wood, metal, and plastic. It’s a staple for DIYers and professionals alike, enabling clean and accurate crosscuts, miter cuts, and bevel cuts for projects like framing, trim work, and furniture building.
Getting started with a Ryobi miter saw can seem a bit daunting, but with the right information, you’ll be making accurate cuts in no time. This guide will walk you through everything you need to know, from the initial Ryobi miter saw setup to advanced techniques and essential maintenance.
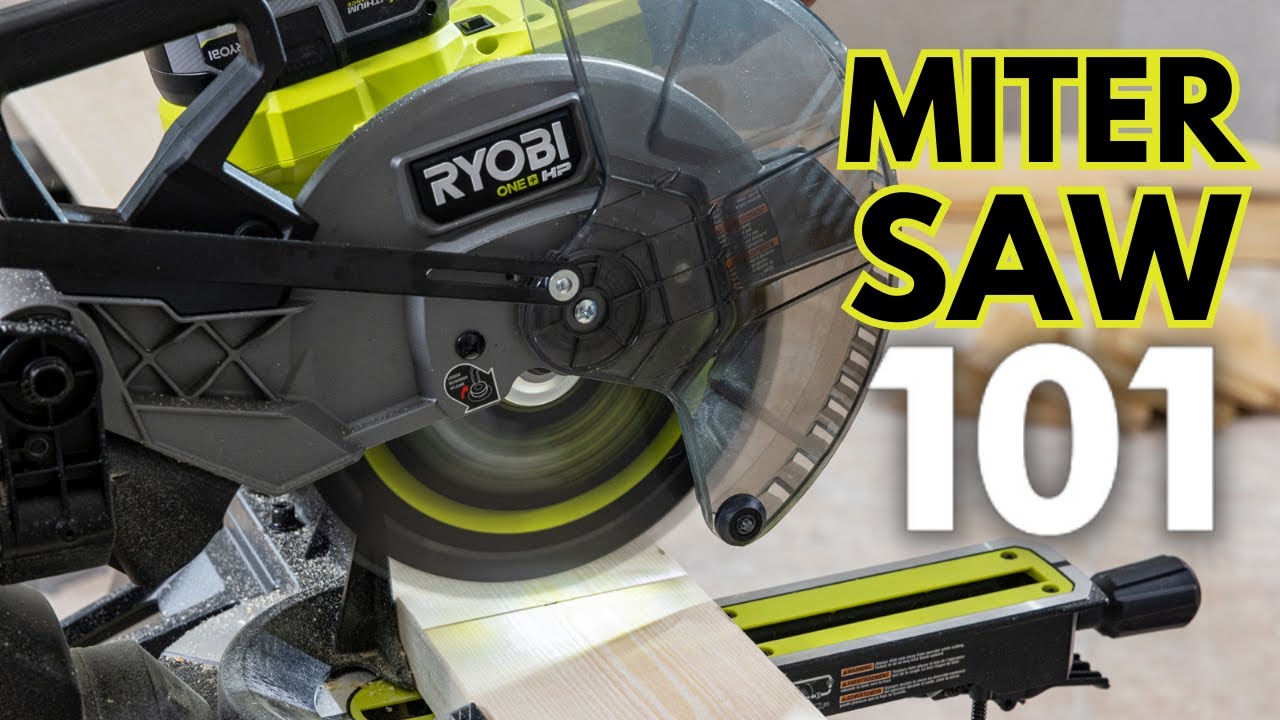
Image Source: i.ytimg.com
Getting Your Ryobi Miter Saw Ready
Before you make any cuts, proper Ryobi miter saw setup is crucial for both safety and precision. This involves unboxing, assembly, and ensuring the saw is stable and ready for use.
Unboxing and Initial Assembly
When your Ryobi miter saw arrives, carefully open the box and lay out all the components. Refer to your owner’s manual for a detailed list of parts. Common steps include:
- Attaching the Stand (if included): Many Ryobi miter saws come with a portable stand. Follow the instructions to securely attach the saw to the stand. Ensure all bolts are tightened.
- Mounting the Saw (if not using a stand): If you’re mounting it to a workbench, use appropriate clamps or bolts to secure it firmly. The saw should not wobble or shift during operation.
- Installing the Dust Bag: Connect the dust bag or port to the saw’s dust collection system. This helps manage sawdust, keeping your workspace cleaner and safer.
- Checking the Blade Guard: Ensure the blade guard is functioning correctly. It should automatically retract as you lower the blade and cover it when the blade is raised.
Understanding Your Ryobi Miter Saw’s Controls
Familiarize yourself with the various controls and features of your specific Ryobi miter saw model. Key components include:
- Power Switch: For turning the saw on and off.
- Bevel Lock: To set the angle of the blade tilt.
- Miter Lock: To set the angle of the saw head rotation.
- Depth Stop: To control the depth of the cut (useful for dados or grooves).
- Work Clamp: To secure your workpiece to the saw’s base.
- Trigger Lock: A safety feature to prevent accidental starting.
Ensuring Accuracy: Ryobi Miter Saw Calibration
For the best results, Ryobi miter saw calibration is a vital step. This ensures that the angles indicated on the saw’s miter and bevel scales are accurate. Even new saws can sometimes be slightly off.
Calibrating the Miter Angle
The miter angle refers to the left and right rotation of the saw head.
- Set to 0 Degrees: Loosen the miter lock and rotate the saw head until it’s perfectly perpendicular to the fence. Use a reliable combination square or speed square.
- Check with a Square: Place the square against the fence and the side of the blade. The blade should be perfectly aligned with the 90-degree mark on your square.
- Adjust the Indicator: If the indicator on the saw doesn’t point exactly to 0, you’ll usually find a small screw near the indicator needle. Loosen this screw and adjust the needle to align with the 0 mark. Retighten the screw.
- Test Other Angles: Lock the miter at 45 degrees. Use your square to check the actual angle. If it’s off, you may need to loosen the miter lock mechanism itself and adjust the base until the scale is accurate. Consult your manual for model-specific adjustment procedures.
Calibrating the Bevel Angle
The bevel angle refers to the tilt of the blade from the vertical. Most Ryobi miter saws are designed to cut bevels to the left.
- Set to 0 Degrees: Loosen the bevel lock and ensure the blade is perfectly vertical. Again, a speed square is your best friend here, checking the blade against the fence.
- Check Alignment: Place the square against the fence and the side of the blade. The blade should be perfectly 90 degrees to the base.
- Adjust the Indicator: Similar to the miter indicator, there’s usually an adjustment screw for the bevel indicator. Loosen it, align the indicator with the 0 mark, and retighten.
- Test Key Bevel Angles: Test common bevel angles like 45 degrees. Lock the bevel and check the angle with your square. Some saws have fine-tuning screws for bevel adjustments.
Prioritizing Safety: Ryobi Miter Saw Safety
Ryobi miter saw safety is paramount. Power tools can be dangerous if not used correctly. Always read and follow the safety instructions in your owner’s manual.
Essential Safety Practices
- Wear Safety Gear: Always wear safety glasses or a face shield to protect your eyes from flying debris. Hearing protection is also recommended, as miter saws can be loud.
- Keep the Workspace Clean: A cluttered workspace increases the risk of tripping or entanglement. Keep the area around the saw clear of debris, tools, and bystanders.
- Secure Your Workpiece: Never attempt to cut without securely clamping your material to the saw’s base. Your hands should never be near the blade’s path.
- Use Both Hands: Use one hand to operate the saw’s handle and the other to guide or steady the workpiece against the fence.
- Never Reach Under the Blade: Once the saw is running, never reach under the blade guard or into the cutting area. Wait for the blade to come to a complete stop before removing material or debris.
- Proper Blade Guard Usage: Ensure the blade guard is always in place and functioning correctly. Do not disable or modify it.
- Disconnect Power When Changing Blades or Adjusting: Always unplug the saw before performing any maintenance, changing blades, or making adjustments.
- Stand to the Side: When starting the saw, stand slightly to the side of the blade’s path, not directly behind it.
- Avoid Wearing Loose Clothing or Jewelry: These can get caught in the spinning blade. Tie back long hair.
- Be Aware of Kickback: Kickback can occur if the blade binds in the wood. Maintain a firm grip and be prepared for the saw to jump forward.
Power Cord Safety
- Inspect the Cord: Before each use, check the power cord for any damage, cuts, or frayed wires. Do not use the saw if the cord is damaged.
- Use Appropriate Extension Cords: If an extension cord is necessary, use one that is properly rated for outdoor use and the amperage draw of the saw. An undersized cord can overheat and reduce power.
Selecting the Right Ryobi Miter Saw Blade Types
The Ryobi miter saw blade types you choose can significantly impact the quality and speed of your cuts. Blades are designed for different materials and purposes.
Common Blade Types and Their Uses
| Blade Type | Teeth Count (Typical) | Material Primarily Used For | Key Characteristics | Best For |
|---|---|---|---|---|
| General Purpose/Combination | 40-60 | Wood | Versatile, good for crosscuts and rip cuts, but not optimal for either. | General woodworking, framing, DIY projects |
| Crosscut Blade | 60-80 | Wood | More teeth, finer finish, designed for cutting across the wood grain. | Trim work, molding, furniture, cabinetry |
| Rip Blade | 24-32 | Wood | Fewer teeth, aggressive cut, designed for cutting along the wood grain. | Cutting boards to width, rough framing |
| Metal Cutting Blade | Varies | Metal | Made of specialized alloys, often have a lower tooth count and specific tooth geometry. | Cutting metal pipes, rebar, angle iron |
| Non-Ferrous/Plastic Blade | 60-100 | Aluminum, Plastic, Composites | Fine teeth, often a negative or zero hook angle to prevent binding and melting. | Cutting aluminum extrusions, PVC pipes, plexiglass |
Blade Considerations
- Tooth Count: More teeth result in a smoother cut but can be slower. Fewer teeth mean a faster, rougher cut.
- Tooth Geometry (Hook Angle): A positive hook angle is aggressive for ripping. A zero or negative hook angle is better for preventing tear-out and melting when cutting harder materials like plastics or non-ferrous metals.
- Kerf: This is the width of the cut made by the blade. Thin-kerf blades remove less material and require less power but can be less stable.
Always ensure the blade you choose is compatible with your Ryobi miter saw model and is rated for the material you intend to cut. The maximum RPM of the blade should match or exceed the saw’s RPM.
Mastering Ryobi Miter Saw Operation
Once your saw is set up and calibrated, and you’ve chosen the right blade, you’re ready for Ryobi miter saw operation. Safe and effective operation is key to achieving the results you desire.
Making Basic Cuts
Crosscuts
A crosscut is cutting across the width of a board.
- Measure and Mark: Measure and mark your desired cut line on the workpiece.
- Position the Workpiece: Place the workpiece on the saw’s base, against the fence. Align the blade with your marked cut line. You can often do this with the saw turned off, using the blade as a visual guide. Many Ryobi saws have laser guides or LED lights to help with this.
- Clamp the Workpiece: Securely clamp the workpiece using the saw’s built-in clamp or separate clamps. Ensure the clamp does not interfere with the blade’s path.
- Set Miter and Bevel: Ensure the miter and bevel are set to 0 degrees for a standard crosscut, unless you need an angled cut.
- Start the Saw: Turn on the saw and let the blade reach full speed.
- Lower the Blade: Smoothly and steadily lower the spinning blade through the workpiece.
- Complete the Cut: Continue lowering until the blade has fully passed through the material.
- Retract the Blade: Once the cut is complete, allow the blade to stop spinning before raising the saw head.
- Release and Remove: Turn off the saw. Wait for the blade to stop completely. Release the clamp and remove the cut piece.
Miter Cuts
Miter cuts are angled cuts across the width of a board.
- Set the Miter Angle: Loosen the miter lock. Rotate the saw head to your desired angle (e.g., 45 degrees). Lock the miter firmly.
- Position and Clamp: Place the workpiece against the fence and base. Align the blade with your marked cut line. Clamp securely.
- Cut: Proceed with the cutting process as described for crosscuts.
Bevel Cuts
Bevel cuts are angled cuts through the thickness of the material.
- Set the Bevel Angle: Loosen the bevel lock. Tilt the saw head to your desired angle (e.g., 45 degrees). Lock the bevel firmly.
- Position and Clamp: Place the workpiece against the fence and base. Align the blade with your marked cut line. Clamp securely.
- Cut: Proceed with the cutting process as described for crosscuts.
Compound Cuts
Compound cuts involve both a miter and a bevel angle simultaneously.
- Set Both Angles: Set both your miter and bevel angles according to your project’s requirements.
- Position and Clamp: Place the workpiece against the fence and base. Align the blade with your marked cut line. Clamp securely.
- Cut: Execute the cut as usual, ensuring smooth operation.
Utilizing Ryobi Miter Saw Accessories
Ryobi miter saw accessories can enhance the saw’s functionality and your efficiency.
- Work Supports/Extensions: These provide support for long workpieces, preventing them from tipping.
- LED Cutting Guides/Lasers: Help with precise alignment of the blade with your cut line.
- Dust Collection Systems: Connecting a shop vacuum or dust extractor to the saw’s dust port significantly improves dust management.
- Specialized Clamps: Hold oddly shaped materials or provide extra security.
- Vises: Some saws come with integrated or attachable vises for holding small or irregular pieces securely.
Making Ryobi Miter Saw Adjustments
Over time, or after significant use, your Ryobi miter saw may require minor Ryobi miter saw adjustments to maintain accuracy and optimal performance.
Adjusting the Fence
The fence is the vertical piece against which you place your material.
- Check for Squareness: Ensure the fence is perfectly perpendicular to the blade when the saw is set to 0 degrees miter.
- Adjustment Screws: Many Ryobi saws have adjustment screws that allow you to fine-tune the fence’s position to ensure it’s perfectly square. Consult your manual for the location and method of adjustment for your model.
Adjusting Blade Depth
The depth stop mechanism allows you to control how deep the blade cuts.
- Setting the Depth: Most saws have a knob or screw to adjust the depth stop. Loosen the knob, set the desired depth by raising or lowering the stop, and retighten.
- Testing: Make a test cut on scrap material to confirm the depth stop is working correctly.
Blade Alignment Checks
While calibrating, you might notice the blade doesn’t track perfectly true.
- Arbor Nut: Ensure the arbor nut holding the blade is tight.
- Blade Wobble: If the blade wobbles excessively, it could indicate a bent blade or a damaged arbor. Inspect the blade and arbor for damage.
Ryobi Miter Saw Maintenance
Regular Ryobi miter saw maintenance is essential for prolonging the life of your tool and ensuring safe, accurate operation.
Cleaning the Saw
- After Each Use:
- Unplug the saw.
- Wipe down the saw’s body, base, and fence with a damp cloth.
- Empty the dust bag or clean the dust port.
- Use a brush or compressed air to remove sawdust from the motor housing, blade guard, and sliding mechanism (if applicable).
- Periodic Deep Cleaning:
- Remove the blade (unplugged, of course) and thoroughly clean the blade and the arbor.
- Clean the sliding rails (if applicable) and lubricate them lightly according to the manufacturer’s recommendations.
- Check for any debris lodged in the mechanism that could affect performance.
Blade Care
- Keep Blades Clean: Sawdust and pitch buildup on the blade can reduce cutting efficiency and accuracy. Clean blades with a blade cleaner or solvent.
- Sharpening: Dull blades are dangerous and produce poor cuts. Have your blades professionally sharpened or replace them when they become dull.
- Storage: Store blades properly in their protective sleeves to prevent damage and maintain sharpness.
Lubrication
- Moving Parts: Periodically lubricate any moving parts, such as pivot points or sliding mechanisms, with a light machine oil or the lubricant recommended in your manual. Do this sparingly to avoid attracting too much dust.
Inspecting for Wear and Tear
- Power Cord: As mentioned, always check the power cord.
- Switches and Controls: Ensure all switches and locking mechanisms operate smoothly and effectively.
- Blade Guard: Make sure the blade guard returns to its position properly after each cut.
- Belts (if applicable): Some older or specific models might have drive belts. Check these for wear and tension.
Ryobi Miter Saw Troubleshooting
Encountering issues with your Ryobi miter saw? Here are some common Ryobi miter saw troubleshooting tips.
| Problem | Possible Cause | Solution |
|---|---|---|
| Saw won’t start | Not plugged in; tripped breaker; motor issue | Check power connection; reset breaker; check motor (may require service). |
| Blade cuts crooked | Saw not calibrated; fence not square; blade is dull/bent | Re-calibrate saw; check/adjust fence squareness; replace or sharpen blade; ensure blade is properly seated on arbor. |
| Excessive vibration | Blade is unbalanced/damaged; saw not secured | Replace or balance blade; ensure saw is firmly mounted to a stable surface. |
| Material burns | Blade is dull; too much pressure; wrong blade for material | Sharpen or replace blade; ease up on pressure; use a blade with more teeth or designed for the material. |
| Dust port not working well | Dust bag/hose is full or clogged; vacuum issue | Empty dust bag/hose; clear any blockages in the dust port; check your vacuum cleaner. |
| Miter/Bevel locks slip | Locking mechanism is loose or worn | Tighten any visible adjustment screws on the locking mechanism; consult manual for advanced adjustments or potential part replacement. |
| Laser guide is inaccurate | Laser needs adjustment or is damaged | Check manual for laser adjustment procedures; clean the laser lens; if damaged, may require service. |
Always unplug the saw before attempting any troubleshooting that involves touching internal components or the blade. If you’re unsure about a particular issue, consult your owner’s manual or contact Ryobi customer support.
Frequently Asked Questions (FAQ)
Q1: Can I cut metal with a standard Ryobi wood miter saw blade?
A1: It is not recommended to cut metal with a standard wood miter saw blade. Metal cutting requires specialized blades designed for metal to prevent damage to the blade, the saw, and for safety reasons. Using a wood blade can lead to binding, overheating, and dangerous kickback.
Q2: How do I ensure my cuts are perfectly square?
A2: Ensure your Ryobi miter saw is properly calibrated for 0-degree miter and bevel. Use a reliable speed square or combination square to check your alignment before cutting. Always clamp your workpiece securely against the fence.
Q3: My Ryobi miter saw is making a lot of noise. What could be wrong?
A3: Excessive noise can be caused by a dull blade, a blade that isn’t properly seated, a loose blade nut, or a worn bearing in the motor or arbor. Always unplug the saw before inspecting the blade and arbor. If the noise persists or seems to come from the motor, it may require professional servicing.
Q4: How often should I clean my Ryobi miter saw?
A4: It’s best to perform a quick clean-up of dust and debris after each use. A more thorough cleaning and inspection should be done periodically, depending on how frequently you use the saw.
Q5: Can I use my Ryobi miter saw for ripping lumber?
A5: While a miter saw can make rip cuts, it’s not its primary function and can be less safe and efficient than a table saw for this purpose. If you must rip, use a blade designed for ripping and ensure the workpiece is securely guided against the fence. Never attempt to rip very narrow pieces.
By following this comprehensive guide, you’ll be well-equipped to use your Ryobi miter saw safely, accurately, and efficiently for all your woodworking projects. Remember to always prioritize safety and consult your owner’s manual for model-specific details.