
Can you drill into a stud safely and perfectly? Absolutely! This guide will show you exactly how. Drilling into a wall stud is key for secure mounting and hanging heavy items on walls. Whether you’re putting up a shelf, mounting a TV, or simply need a strong anchor point, hitting a stud is your best bet. This guide covers everything from locating wall studs to choosing the right drill bit and executing proper drilling technique. We’ll also touch on drilling drywall and studs and the importance of screwing into wall studs for stability.
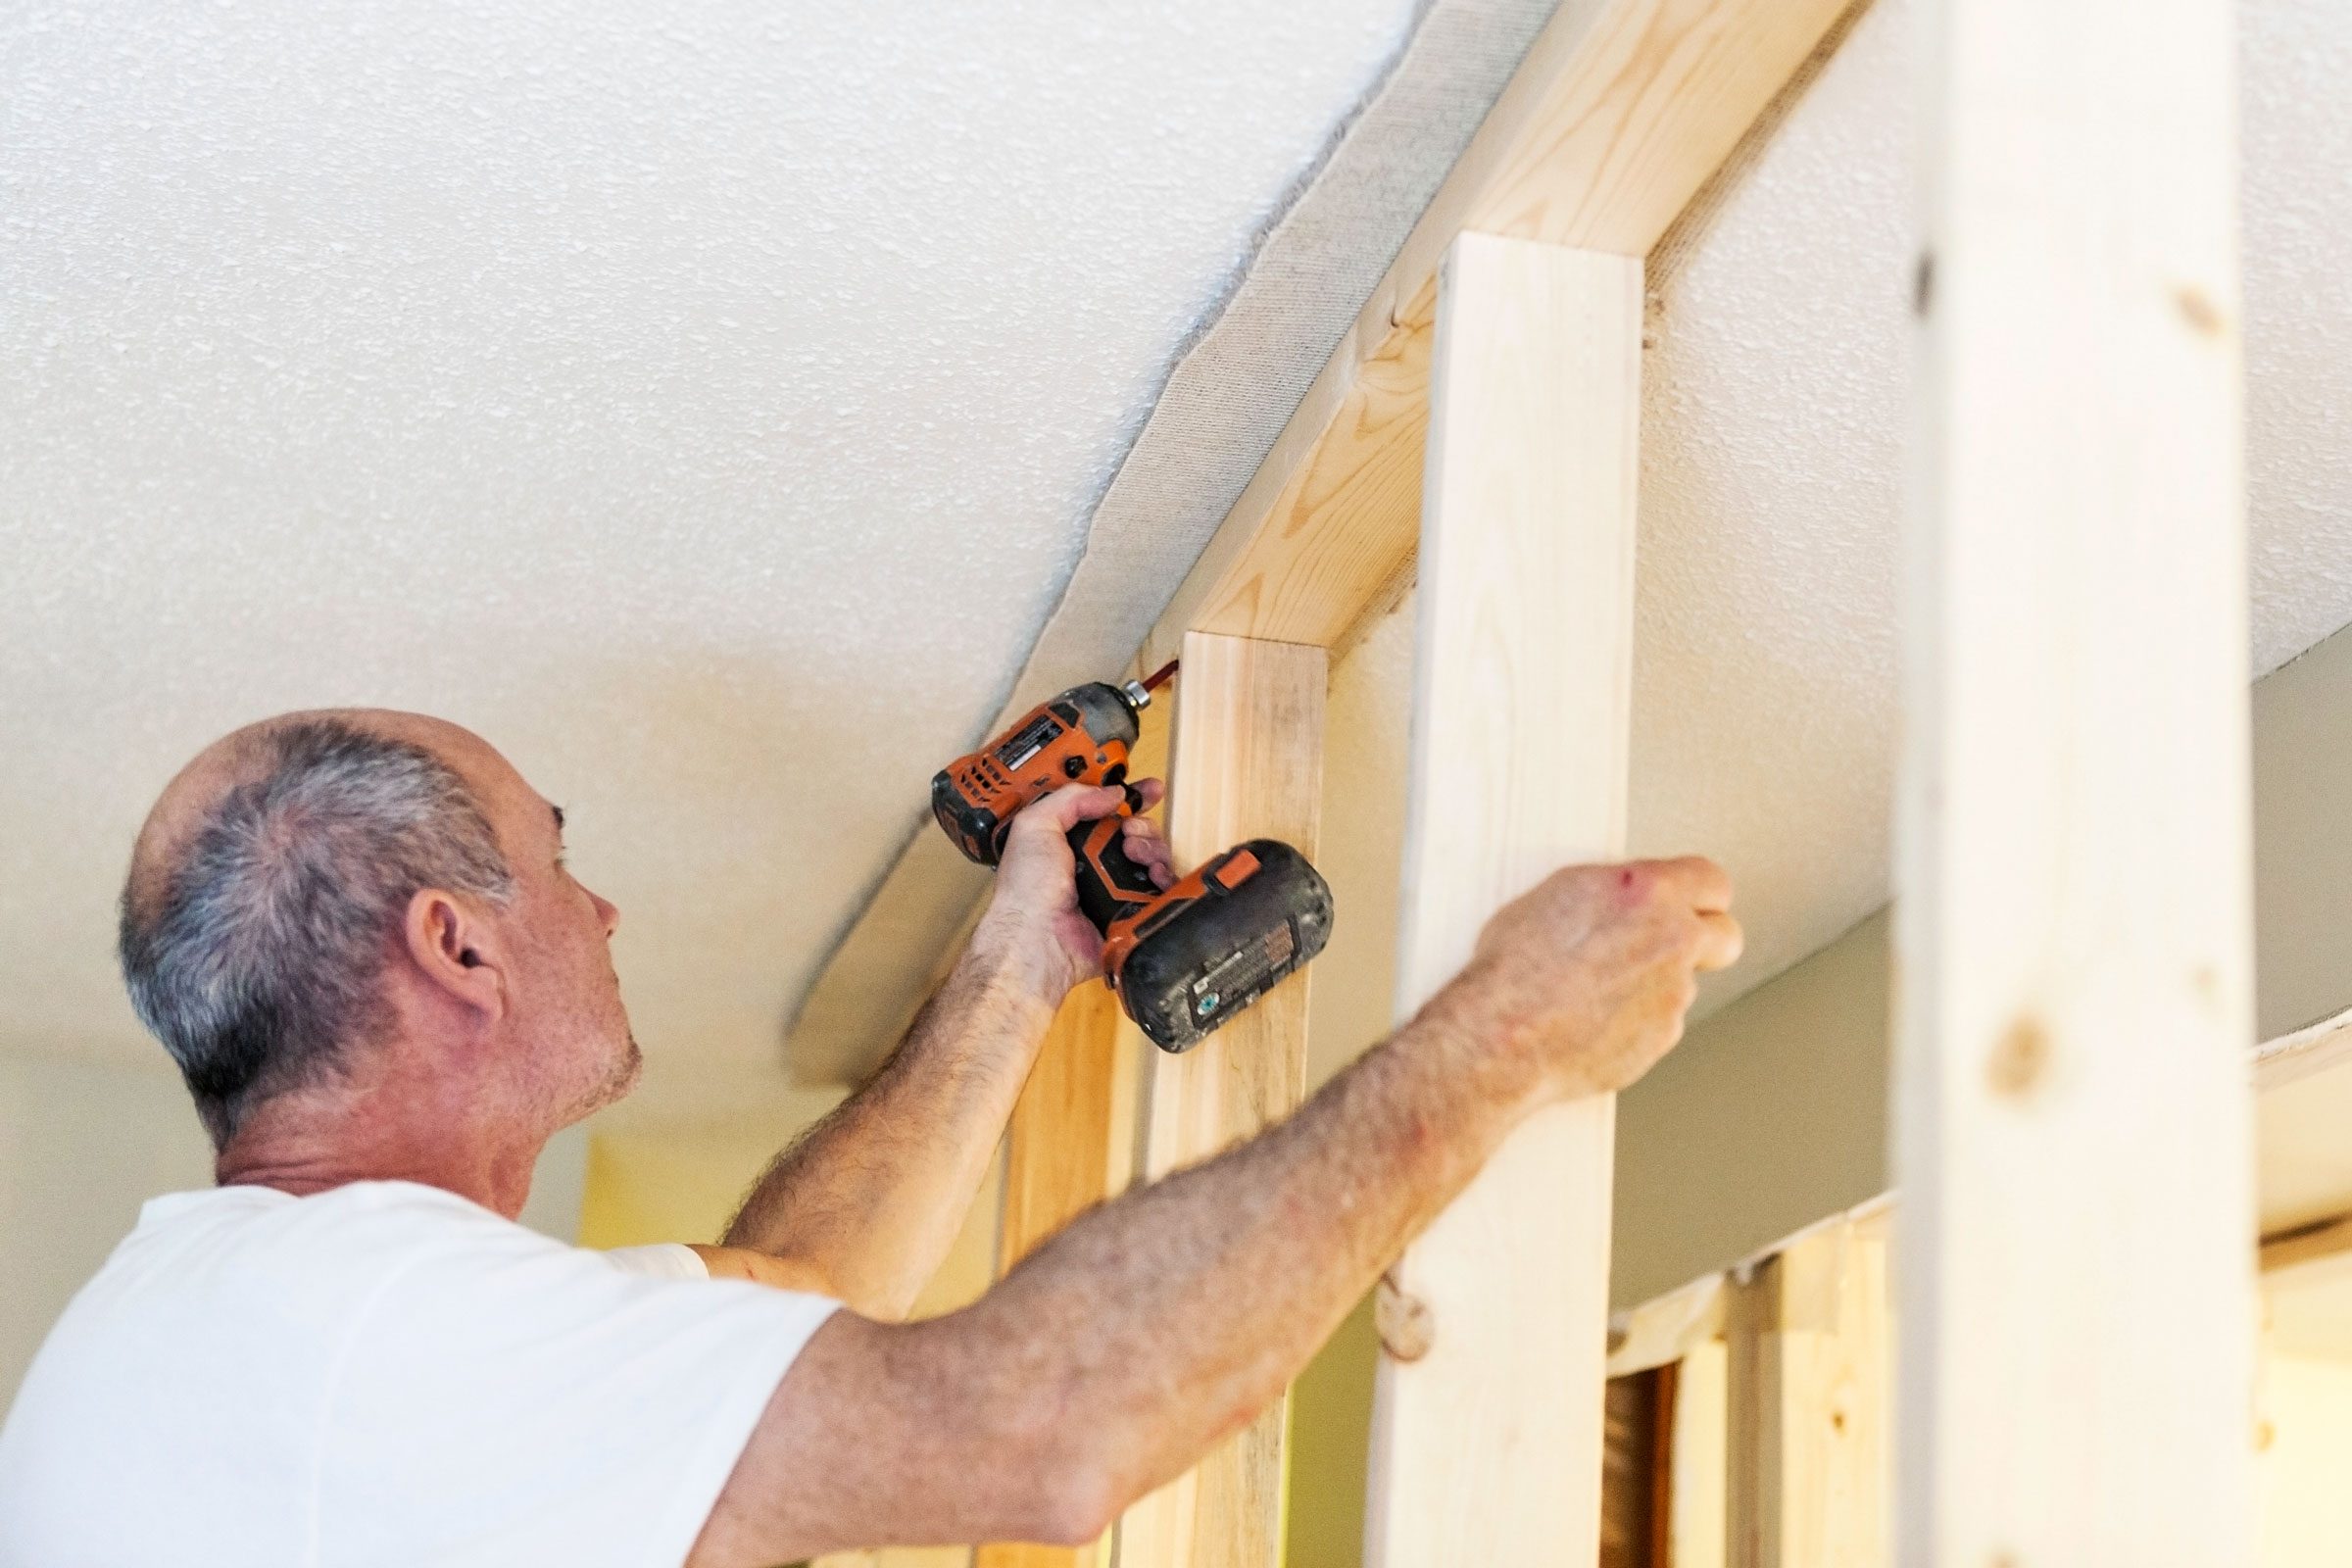
Image Source: www.familyhandyman.com
Why Hitting a Stud Matters
When you’re DIY wall mounting anything, especially heavier objects, you need to anchor it to something solid. Drywall alone is weak and can’t support much weight. The wooden or metal studs inside your walls are the structural backbone. Drilling into a stud provides a strong connection, preventing your item from falling and potentially causing damage or injury. It’s the difference between a secure installation and a precarious one.
The Weakness of Drywall
Drywall, also known as plasterboard or wallboard, is essentially gypsum plaster sandwiched between two sheets of paper. While it’s great for creating smooth interior walls, it’s not designed to bear significant loads on its own. If you try to screw directly into drywall and hang something heavy, the screw will likely pull out, damaging the wall and the item you’re trying to hang.
The Strength of Studs
Wall studs are typically vertical framing members made of wood (like pine or fir) or metal. They form the framework of your walls, providing a solid anchor point for drywall and supporting the overall structure. When you drill into a stud, you’re drilling into solid material that can easily hold the weight of shelves, cabinets, televisions, and other items.
Locating Wall Studs: Your First Step to Success
Before you even pick up a drill, you need to find those studs. There are several reliable methods for locating wall studs.
Method 1: The Stud Finder Method
This is the most common and often the easiest way. Stud finders are electronic devices that detect changes in density behind the drywall.
Types of Stud Finders:
- Magnetic Stud Finders: These are simple and rely on magnets to detect the metal screws or nails that hold drywall to studs. They are generally inexpensive but can be less precise, especially in older homes.
- Electronic Stud Finders: These are more sophisticated. They use sensors to detect changes in density, indicating the presence of a stud.
- Capacitive Stud Finders: These are the most common type. They measure changes in capacitance as the sensor passes over different materials.
- Radar Stud Finders: These are more advanced and can detect studs, pipes, and wires, often offering a more detailed view behind the wall.
How to Use an Electronic Stud Finder:
- Calibrate: Most electronic stud finders require calibration. Press the device against the wall where there is no stud (usually in the middle of a panel) and hold the button. Wait for the indicator to show it’s ready.
- Scan: Slowly slide the stud finder horizontally across the wall.
- Mark: When the stud finder indicates it has found the edge of a stud, make a light mark with a pencil. Continue sliding. When the signal disappears, you’ve found the other edge. The center of the stud is usually halfway between these two marks.
- Verify: Repeat the process a few inches above and below your initial scan to confirm the stud’s location and edge. Studs are typically spaced 16 or 24 inches apart on center, but this can vary.
Method 2: The Knock and Listen Method
This is an older, less precise method, but it can work if you don’t have a stud finder.
- Tap the Wall: Gently tap the wall with your knuckles. Listen to the sound.
- Identify Sounds: When you tap over drywall that spans between studs, the sound will be hollow. When you tap directly over a stud, the sound will be more solid and dull.
- Mark: Mark the solid-sounding spots. This method requires practice and can be less accurate, especially if there are pipes or wiring behind the wall.
Method 3: Using Existing Features
Look for clues on your wall.
- Electrical Outlets and Switches: Electrical boxes are typically attached to the side of a stud. By finding an outlet or switch, you can often determine the stud’s location.
- Baseboards and Trim: Nails or screws are usually used to attach baseboards and trim to the studs. You might be able to see the faint indentations or find them with a strong magnet.
- Wall Plate Screws: The screws holding light switch plates and outlet covers are often screwed into studs.
Method 4: The Pilot Hole Method (Use with Caution)
If you’re struggling to find a stud, you can make very small pilot holes in an inconspicuous area to check.
- Drill a Tiny Hole: Use a very small drill bit (1/16 inch).
- Check Depth: If you hit resistance immediately, you’ve likely hit a stud. If the bit goes in easily for a longer distance, you are in the empty space between studs.
- Fill: Always fill any test holes with spackle or wood filler if you don’t plan to mount anything there.
Choosing the Right Drill Bit for Studs
The drill bit size for studs depends on what you plan to do. Are you drilling a pilot hole for a screw, or are you drilling a larger hole for something like a pipe or cable?
Pilot Holes for Screws
When screwing into wall studs, a pilot hole is crucial. It prevents the wood from splitting, especially near the edge of the stud, and makes driving the screw much easier.
Drill Bit Size for Pilot Holes:
- General Rule: The pilot hole should be slightly smaller than the diameter of the screw’s shank (the smooth part of the screw shaft) but larger than the root diameter of the screw’s threads.
- For Wood Screws: A good starting point is a drill bit that is about 60-70% of the screw’s shank diameter.
- For #6 screws, use a 3/32-inch bit.
- For #8 screws, use a 7/64-inch or 1/8-inch bit.
- For #10 screws, use a 9/64-inch or 5/32-inch bit.
- For Lag Screws/Bolts: The required pilot hole size depends on the specific bolt and the type of wood. Always check the manufacturer’s recommendations or use a chart.
Larger Holes
If you need to drill a larger hole through a stud for wiring, plumbing, or other purposes, you’ll need a different type of drill bit.
- Spade Bits (Paddle Bits): Good for holes up to about 1-1/2 inches. They are flat and have a pointed tip to help guide them.
- Auger Bits: Designed for drilling cleaner, deeper holes in wood. They have a screw tip that pulls the bit into the wood.
- Hole Saws: Used for cutting very large, clean holes (e.g., for vent pipes or doorknobs).
Proper Drilling Technique: Ensuring a Perfect Hole
Once you’ve located the stud and chosen your drill bit, proper drilling technique is essential for safety and a clean result.
Step-by-Step Drilling Process:
- Safety First:
- Eye Protection: Always wear safety glasses. Drilling can create flying debris.
- Gloves (Optional): Gloves can provide a better grip.
- Secure the Area: Clear the area around where you’ll be drilling.
- Mark Your Spot:
- Use a pencil to mark the exact spot where you want to drill.
- Set the Drill:
- Drill Bit: Securely fasten the chosen drill bit into the chuck of your drill. Ensure it’s straight.
- Drill Mode: For drilling into studs, use the drill mode (not the hammer drill mode, unless you’re drilling into a concrete wall with a stud in front of it, which is rare). Hammer mode can be too aggressive and damage the stud or wall.
- Speed: Start with a medium speed. Too fast can overheat the bit and wood, while too slow can make it hard to get through.
- Start the Hole:
- Steady Pressure: Place the tip of the drill bit on your mark. Apply firm, steady pressure.
- Keep it Straight: Hold the drill perpendicular to the wall. If you drill at an angle, the screw or fastener might not go in straight, weakening the connection.
- Drilling Drywall and Studs:
- Initial Resistance: You’ll feel a slight resistance as you break through the drywall.
- Continuous Drilling: Once you hit the stud, you’ll feel more resistance. Continue drilling with steady pressure.
- Pilot Hole Depth: For pilot holes, you need to know the pilot hole depth. It should be at least as deep as the screw’s unthreaded shank, and ideally a bit deeper than the total screw length, to ensure good thread engagement. If you’re using a screw that will go 1.5 inches into the stud, aim for a pilot hole that is 1.75 to 2 inches deep. Some drills have depth stops, which are very helpful.
- Chip Removal: Periodically pull the drill bit out slightly while drilling to clear out sawdust and debris. This prevents the hole from getting clogged and makes drilling easier.
- Finishing the Hole:
- Complete the Depth: Drill to the desired depth.
- Withdraw the Bit: Slowly withdraw the drill bit while the drill is still spinning at a low speed. This helps create a cleaner exit hole.
Screwing into Wall Studs: Securing Your Mount
Once you have your pilot hole, it’s time for screwing into wall studs.
Step-by-Step Screwing Process:
- Align the Item: Position the item you’re mounting against the wall, aligning its mounting holes with the pilot holes you drilled.
- Insert the Screw: Place the screw into the pilot hole.
- Drive the Screw:
- Use the Right Bit: Ensure your drill or screwdriver has the correct bit (e.g., Phillips, Torx) for your screw head.
- Speed and Torque: Use a moderate speed. Engage the drill in reverse (if using a drill) and apply steady pressure. Many drills have adjustable torque settings; start with a lower setting and increase as needed to avoid stripping the screw head or over-tightening.
- Feel the Connection: As the screw goes into the stud, you’ll feel it bite into the wood. Continue tightening until the screw is snug. Avoid over-tightening, which can strip the threads in the wood, reducing holding power.
Hanging Heavy Items on Walls: The Ultimate Test
When hanging heavy items on walls, the integrity of your connection to the studs is paramount.
Best Practices for Heavy Items:
- Locate Multiple Studs: For heavier items, aim to attach them to at least two studs. This distributes the weight more effectively.
- Use Appropriate Fasteners:
- Wood Screws: For most standard mounting, #8 or #10 wood screws, at least 2 inches long, are sufficient.
- Lag Screws/Bolts: For very heavy items like large TVs or cabinets, consider lag screws or bolts. These are thicker and stronger. Ensure you use the correct pilot hole size for lag screws as recommended by the manufacturer.
- Washers: Use washers under the head of lag screws and bolts to prevent them from pulling through the mounting bracket or the wood.
- Mounting Brackets: Use sturdy, appropriate mounting brackets designed for the item you’re hanging. Ensure the bracket’s screw holes align with the studs.
- Consider Blocking: In some cases, especially for very heavy loads or if studs are not perfectly aligned, you might need to add extra wood blocking between studs for a more robust mounting point. This is a more advanced technique.
Reinforcing Wall Anchors vs. Drilling into Studs
While this guide focuses on drilling into studs, it’s worth mentioning reinforcing wall anchors. When you cannot hit a stud, a properly chosen and installed wall anchor is the next best option.
When to Use Wall Anchors:
- No Stud Available: If your desired mounting location doesn’t have a stud, or if you need to hang something between studs.
- Light to Medium Loads: Many wall anchors are rated for specific weight limits. Always check the packaging.
Types of Wall Anchors:
- Plastic Expansion Anchors: Suitable for very light items (e.g., small pictures). They work by expanding behind the drywall when a screw is inserted.
- Self-Drilling Anchors (e.g., E-Z Ancor): These have a sharp point and screw directly into drywall without a pilot hole. They are good for light to medium loads.
- Toggle Bolts: These have a spring-loaded wing that opens up behind the drywall, distributing weight over a larger area. They are excellent for medium to heavy loads. You’ll need to drill a larger hole for the toggle mechanism.
- Molly Bolts: Similar to toggle bolts but often have a metal sleeve that expands behind the drywall. They are good for medium loads.
Reinforcing Wall Anchors:
To reinforce wall anchors, ensure you:
- Choose the Right Anchor: Select an anchor rated for the weight of the item you’re hanging, plus a safety margin.
- Install Correctly: Follow the manufacturer’s instructions precisely. This often involves drilling a specific size pilot hole.
- Distribute Load: If possible, use multiple anchors for heavier items, even if they are not in studs.
However, for any significant weight or structural mounting, drilling directly into studs remains the most secure and reliable method.
Troubleshooting Common Drilling Issues
Even with the best guide, you might encounter problems.
Problem: Drill Bit Wanders on the Surface
- Solution: Use a nail set or a center punch to create a small dimple at your mark before drilling. This gives the drill bit a place to start and prevents it from wandering. Alternatively, start drilling very slowly and at an angle to create a small indentation, then straighten the drill.
Problem: Hitting a Pipe or Wire
- Solution: This is a serious safety hazard. If you suspect you might hit a pipe or wire (especially if you’re drilling in an unusual spot or encounter unexpected resistance), stop immediately. Use a stud finder with wire and pipe detection capabilities, or consult a professional. Always know what’s behind your walls.
Problem: Splitting the Stud
- Solution: Ensure you are using the correct pilot hole depth and size. If the wood is particularly dry or you’re near the edge of the stud, a slightly larger pilot hole or a pilot hole drilled closer to the center of the stud can prevent splitting.
Problem: Screw Won’t Go In Straight
- Solution: Ensure you are holding the drill perfectly perpendicular to the wall. Starting the screw at a slight angle can cause it to veer off course as it enters the stud.
Summary Table: Key Considerations for Drilling into Studs
| Task | Key Considerations | Tools Needed |
|---|---|---|
| Locating Studs | Accuracy is crucial. Use a stud finder or existing features. | Stud finder (magnetic or electronic), pencil, tape measure |
| Drill Bit Size | Pilot hole: ~60-70% of screw shank diameter. Larger holes require different bits. | Drill bits (various sizes), auger bits, hole saws (if needed) |
| Pilot Hole Depth | At least the length of the unthreaded shank, ideally deeper than the screw’s total length. | Drill with depth stop or tape on drill bit |
| Drilling Speed | Medium speed. Avoid overheating. | Corded or cordless drill |
| Drilling Angle | Always perpendicular to the wall for a straight, secure connection. | Steady hand, potentially a drill guide |
| Fastener Choice | Appropriate for the load. Wood screws, lag screws, or bolts. | Screws, bolts, washers |
| Safety | Eye protection is mandatory. | Safety glasses |
Frequently Asked Questions (FAQ)
Q1: How do I know if I’ve hit a stud?
You’ll feel increased resistance as your drill bit enters solid wood after passing through the drywall. If you’re drilling a pilot hole, the bit will slow down considerably and feel like it’s working against dense material.
Q2: What is the best drill bit size for screwing into a stud?
For pilot holes, use a bit that is roughly 60-70% of the diameter of the screw’s shank (the smooth part). For example, for a #8 screw, a 7/64-inch or 1/8-inch drill bit is often suitable. Always test on a scrap piece of wood if unsure.
Q3: How deep should a pilot hole be for screwing into a stud?
The pilot hole should be at least as deep as the screw’s unthreaded shank, and ideally a bit deeper than the total length of the screw. This ensures the screw’s threads have enough material to grip effectively.
Q4: Can I use a hammer drill to drill into studs?
Generally, no. A hammer drill’s percussive action is designed for masonry. For drilling into wood studs, a standard drill setting is sufficient and prevents potential damage to the wood or the drill bit.
Q5: What if I can’t find a stud?
If you absolutely cannot locate a stud, you will need to use a heavy-duty wall anchor rated for the weight of the item you are hanging. Ensure you follow the anchor manufacturer’s installation instructions precisely. However, for anything heavy or that requires significant support, finding a stud is always the preferred method for secure mounting.
By following these steps and tips, you’ll be drilling into studs like a pro, ensuring your DIY wall mounting projects are safe, secure, and perfectly executed. Happy drilling!