
Can you drill a hole in rock? Yes, you absolutely can! With the right tools and techniques, drilling holes in rock is achievable for various purposes, from construction and anchoring to mining and even artistic endeavors. This comprehensive guide will walk you through the process, covering everything from selecting the right equipment to mastering safe and effective rock drilling techniques. We’ll explore different stone drilling methods, the essential drilling equipment for rock, and the crucial role of rock drill bits. Whether you’re looking to bore through stone for a DIY project or professional application, this guide will equip you with the knowledge to succeed.
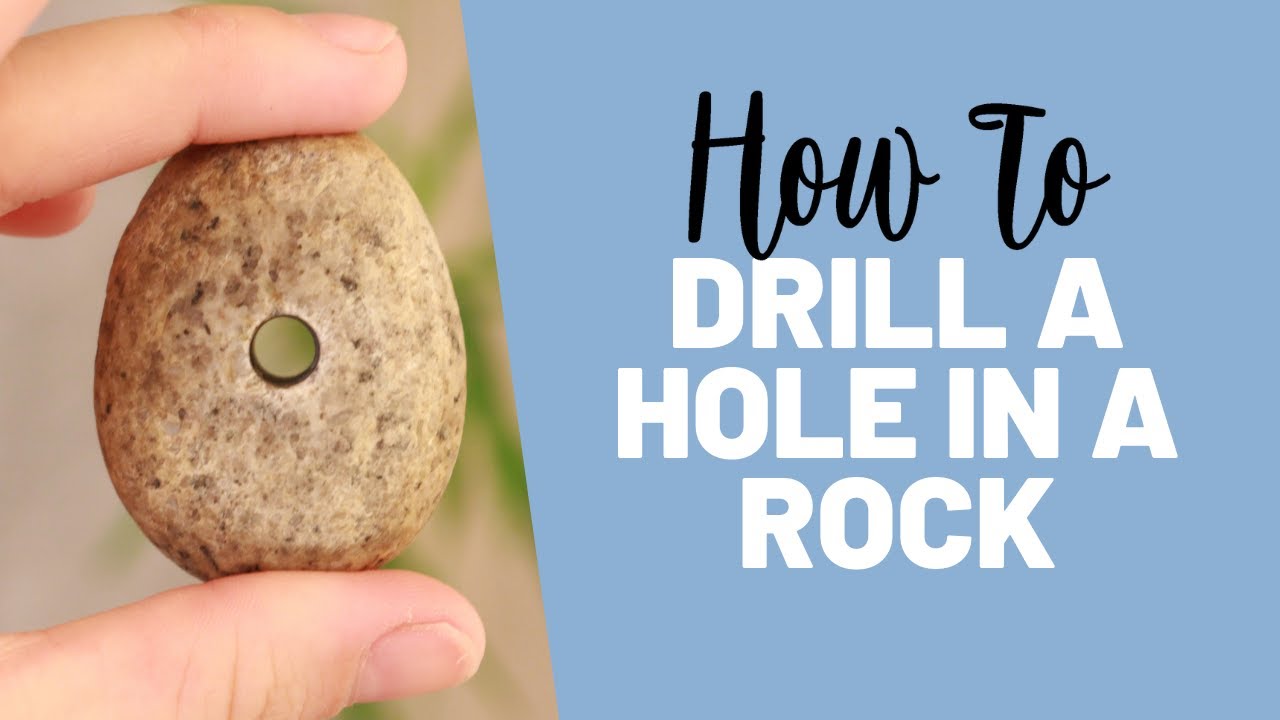
Image Source: i.ytimg.com
Preparing for Rock Drilling
Before you even think about touching a drill, careful preparation is key to a successful and safe outcome. This stage involves assessing your needs, choosing the appropriate tools, and understanding the rock you’re working with.
Assessing Your Needs and the Rock
Your first step is to determine why you need a hole in the rock and what its specifications should be.
Key Considerations:
- Hole Diameter and Depth: What size and how deep does the hole need to be? This will dictate the type of drill bit and the power of your drilling equipment.
- Rock Type and Hardness: Different rocks have varying densities and hardness. Granite, basalt, and quartzite are very hard, while sandstone or limestone are softer. Knowing your rock type helps in selecting the right drill bits and drilling speed. You can often tell by looking at it or by trying to scratch it with a harder metal.
- Location and Accessibility: Is the rock easily accessible? Will you be drilling on a flat surface, a slope, or a vertical face? This impacts the type of portable rock drills you might need and the setup for stability.
- Safety Considerations: Are there any potential hazards like unstable ground, water sources, or overhead risks?
Identifying Rock Types:
| Rock Type | Common Characteristics | Drilling Difficulty |
|---|---|---|
| Granite | Hard, crystalline, speckled appearance, often pink or gray. | Very High |
| Basalt | Dark-colored, fine-grained, often vesicular (has holes). | High |
| Sandstone | Grains of sand cemented together, can vary in color (tan, red). | Medium |
| Limestone | Softer, often contains fossils, can be white or gray. | Low |
| Slate | Fine-grained, splits into thin sheets. | Medium |
| Quartzite | Very hard, crystalline, often white or colored. | Very High |
Gathering Your Tools and Safety Gear
Having the right tools and prioritizing safety are paramount. Drilling rock can be a demanding process, and proper preparation minimizes risks.
Essential Drilling Equipment for Rock:
- Drill: This is your primary tool. For harder rocks, you’ll need a powerful drill.
- Hammer Drills (Percussion Drills): These are excellent for drilling hard rock as they combine rotational force with a hammering action. They are ideal for creating holes for anchors or expansion bolts.
- Rotary Drills: These drills primarily use rotation. While less aggressive than hammer drills, they are suitable for softer rocks or when a cleaner hole is needed without excessive vibration.
- Specialty Rock Drills: For very demanding applications like mining or large-scale construction, more specialized equipment like portable rock drills (e.g., pneumatic drills, jackhammers used for drilling, core drills) might be necessary.
- Rock Drill Bits: The bit is the part that actually cuts into the rock. They are made of very hard materials.
- Carbide-Tipped Bits: These are common for most general rock drilling. They have carbide inserts on the cutting edges.
- Diamond-Tipped Bits: Used for extremely hard materials like granite or quartz, these bits have diamond fragments embedded in their surface.
- Masonry Bits: These are a good starting point for softer stones and concrete.
- Core Bits: These bits drill a hole and remove a cylindrical core of rock, useful for sampling or creating larger openings.
- Water or Dust Suppression System: Drilling rock creates a lot of dust, which is harmful to inhale. Many drills have attachments for water to be sprayed into the hole as you drill, which cools the bit and suppresses dust. Compressed air can also be used.
- Measuring Tape and Marker: For accurately marking the drilling location.
- Chisels and Hammers: For any initial shaping or roughing out of the rock surface.
- Buckets or Collection Systems: To manage water and debris.
Safety Gear is Non-Negotiable:
- Safety Glasses or Goggles: To protect your eyes from flying debris and dust.
- Hearing Protection: Drills, especially hammer drills and pneumatic tools, are very loud.
- Dust Mask or Respirator: Essential to prevent inhalation of rock dust, which can cause serious lung conditions.
- Heavy-Duty Gloves: To protect your hands and improve grip.
- Steel-Toed Boots: To protect your feet from falling objects.
- Sturdy Clothing: Long sleeves and pants to protect your skin.
The Drilling Process: Step-by-Step
Once you have your plan and your gear ready, it’s time to start drilling. Following these steps carefully ensures efficiency and safety.
Step 1: Mark the Drilling Location
Precision is important. Use your measuring tape and marker to precisely mark where you want the hole to be. Double-check your measurements before proceeding.
Step 2: Set Up Your Drill
Proper setup is crucial for stability and control, especially when dealing with drilling hard rock.
Drill Setup Techniques:
- Stable Base: Ensure your drill is on a firm, stable surface. If drilling vertically, the rock should be solid. If drilling on an angle or horizontally, you might need to brace yourself or use a drill stand for better control.
- Drill Bit Installation: Securely attach the correct rock drill bit to your drill. Make sure it’s tightened properly according to the drill’s instructions.
- Water/Dust System Setup: If you are using a water or dust suppression system, set it up now. Connect the water source or compressed air supply.
Step 3: Begin Drilling
This is where the action happens. The technique varies slightly depending on the type of drill and the rock.
Initiating the Hole:
- Start Slow and Steady: Begin drilling at a slow speed to create a small pilot indentation. This helps the drill bit grip the rock and prevents it from wandering.
- Apply Consistent Pressure: Apply steady, firm pressure. Let the drill do the work. Forcing the drill too hard can overheat the bit or damage the tool.
- Engage Hammer Action (if applicable): If using a hammer drill, engage the hammer function once you have a stable starting point.
- Manage Heat and Dust: Periodically stop drilling to allow the bit to cool and to clear out debris. If using water, ensure it’s flowing into the hole. This is a critical part of percussion drilling rock to prevent overheating.
Step 4: Drilling Deeper – Maintaining Momentum
As you go deeper, it becomes more challenging. Consistency and proper technique are key to how to bore through stone effectively.
Techniques for Deeper Holes:
- Withdraw and Clear: For deeper holes, you’ll need to periodically withdraw the drill bit from the hole. This allows dust and debris to be expelled and helps cool the bit. Blow out the hole with compressed air if possible.
- Pecking Motion: Some drills benefit from a “pecking” motion – drilling for a short period, withdrawing, clearing, and then re-engaging. This helps break up the material and prevents the bit from getting stuck.
- Maintain Straightness: Keep the drill perpendicular to the surface (or at your desired angle) to ensure the hole is straight. For very deep holes, guide rods or specialized equipment might be needed.
- Monitor Bit Wear: Keep an eye on your drill bit. If it starts to dull or overheat excessively, it might be time to switch to a fresh bit or to sharpen/cool the current one if possible.
Step 5: Finishing the Hole
Once you reach your desired depth, it’s time to finish up.
Completing the Bore:
- Slow Down: As you approach the final depth, slow down the drill speed.
- Withdraw Carefully: Once at the target depth, slowly withdraw the drill bit while it’s still spinning. This helps to create a cleaner opening and prevents the bit from getting wedged.
- Clean the Hole: Ensure the hole is completely clear of all debris, dust, and water before proceeding with whatever you intend to do with it.
Specialized Rock Drilling Methods
Sometimes, standard drilling isn’t enough. For unique applications or extremely challenging rock, specialized methods come into play.
Rotary Drilling Rock
Rotary drilling rock is a fundamental method where the drill bit is rotated and advanced into the rock. This method is common in mining and oil and gas exploration, but it’s also used in construction for creating anchor holes or for geological surveys.
- How it Works: A drill bit, often a roller cone bit or a fixed-cutter bit, is spun at high speed. The weight of the drill string and the bit apply downward force.
- Fluid Flushing: Drilling fluid (mud or water) is pumped down the drill string and back up the annulus (the space between the drill string and the hole wall). This fluid cools the bit, lubricates the hole, removes cuttings, and helps stabilize the borehole wall.
- Applications: Creating large diameter holes, coring for geological samples, drilling through softer sedimentary rocks.
Percussion Drilling Rock
As mentioned, percussion drilling rock involves a hammering action alongside rotation. This is highly effective for breaking up hard, brittle rock.
- How it Works: A piston or hammer strikes the back of the drill bit, delivering percussive blows. The bit is simultaneously rotated to chip away at the rock.
- Air or Hydraulic Power: These drills are often powered by compressed air (pneumatic) or hydraulic systems, which provide the force for the hammering action.
- Applications: Drilling blast holes in mining, creating anchor points in concrete and hard rock, drilling for quarrying. Portable rock drills often utilize percussion.
Specialty Rock Drilling Techniques
Beyond the core methods, there are specialized approaches for specific needs.
- Diamond Drilling (Core Drilling): This technique uses a hollow, cylindrical drill bit with diamond segments on the cutting edge. It’s known for its precision and ability to extract intact core samples of rock. This is often used in geological exploration, scientific research, and when precise holes are needed without excessive fragmentation.
- Auger Drilling: While more common in soil, augers can be used for drilling in softer rock formations or weathered rock. They use a screw-like mechanism to bore into the ground and bring material to the surface.
- Water Jet Drilling: This is a less common but emerging technology where high-pressure water jets are used to erode and cut through rock. It offers advantages in precision and dust reduction but requires specialized equipment.
Maintaining Your Drilling Equipment
The longevity and effectiveness of your drilling tools depend on proper maintenance.
Caring for Your Drill Bits:
- Cooling: Always ensure your drill bits are kept cool. Overheating can quickly dull or damage carbide and diamond tips. Use water or appropriate cooling lubricants.
- Cleaning: After each use, thoroughly clean your drill bits to remove any accumulated rock dust and debris. This prevents corrosion and ensures they are ready for the next job.
- Inspection: Regularly inspect bits for wear, chipping, or damage. Replace or sharpen bits that are showing significant wear.
Maintaining Your Drill:
- Cleaning: Keep the drill clean, especially the chuck and ventilation areas, to prevent dust buildup.
- Lubrication: Follow the manufacturer’s recommendations for lubricating moving parts.
- Storage: Store your drill in a dry, clean place when not in use.
Troubleshooting Common Drilling Problems
Even with the best preparation, you might encounter issues. Here are some common problems and solutions.
Problem: Drill Bit Not Penetrating
- Possible Causes: Dull bit, insufficient pressure, wrong bit type for the rock, rock is harder than expected, drill lacks power.
- Solutions:
- Check if the bit is sharp and clean.
- Apply more consistent pressure.
- Ensure you’re using the correct bit (e.g., carbide-tipped or diamond-tipped for hard rock).
- Try a smaller pilot hole if the bit is large.
- Consider a more powerful drill or a different drilling method.
Problem: Drill Bit Getting Stuck
- Possible Causes: Debris accumulation in the hole, hole not being cleared effectively, over-tightening the hole with the bit, encountering a void or fissure.
- Solutions:
- Withdraw the bit periodically to clear debris.
- Use a “pecking” motion to dislodge any compacted material.
- Try to wiggle the drill slightly while applying a slight backward pull.
- If it’s severely stuck, you may need to carefully break away surrounding rock or use specialized extraction tools.
Problem: Overheating
- Possible Causes: Insufficient cooling (water/air), drilling too fast, excessive friction due to dull bit.
- Solutions:
- Increase water flow or air flow.
- Slow down the drilling speed.
- Withdraw the bit more frequently to allow cooling.
- Ensure the bit is sharp.
Problem: Excessive Vibration
- Possible Causes: Damaged bit, loose chuck, drill not stable.
- Solutions:
- Inspect the drill bit for damage or imbalance.
- Ensure the bit is securely tightened in the chuck.
- Improve the stability of your drill setup.
Frequently Asked Questions (FAQ)
Q1: What is the best type of drill for drilling rock?
For most general purposes, a hammer drill is excellent for drilling hard rock. For softer rocks or when precision is key, a regular rotary drill with the appropriate masonry or carbide-tipped bit will suffice. For very tough materials, consider specialty rock drilling equipment.
Q2: Can I drill through any type of rock?
While it’s possible to drill through most rocks, the difficulty and equipment required vary greatly. Extremely hard rocks like granite or quartzite will demand powerful drills, high-quality rock drill bits, and patience. Softer rocks like sandstone or limestone are much easier.
Q3: How do I keep the drill bit cool?
Using a water supply that sprays water into the hole as you drill is the most effective way to keep the bit cool. Compressed air can also help dissipate heat. Regular withdrawal of the bit to allow it to air cool is also important.
Q4: What safety precautions are most important when drilling rock?
Always wear safety glasses, hearing protection, and a dust mask or respirator. Ensure good footing and sturdy clothing. Be aware of your surroundings and potential hazards.
Q5: How long will a rock drill bit last?
The lifespan of a drill bit depends heavily on the type of rock being drilled, the hardness of the bit, and how it’s used. A good quality carbide-tipped bit can last for many holes in softer rock, but may wear out quickly in very hard granite. Diamond bits are more durable for extremely hard materials but are also more expensive.
By following these detailed steps and advice, you’ll be well-equipped to tackle your rock drilling projects with confidence and safety. Remember that practice and careful attention to detail are your best allies in achieving successful results.