
A crosscut sled is a fundamental woodworking jig that dramatically improves your table saw’s ability to make accurate, square cuts on lumber. Can you make a crosscut sled yourself? Absolutely! This guide will walk you through building your own DIY table saw sled, transforming your cuts from hesitant guesses into precise, repeatable actions.
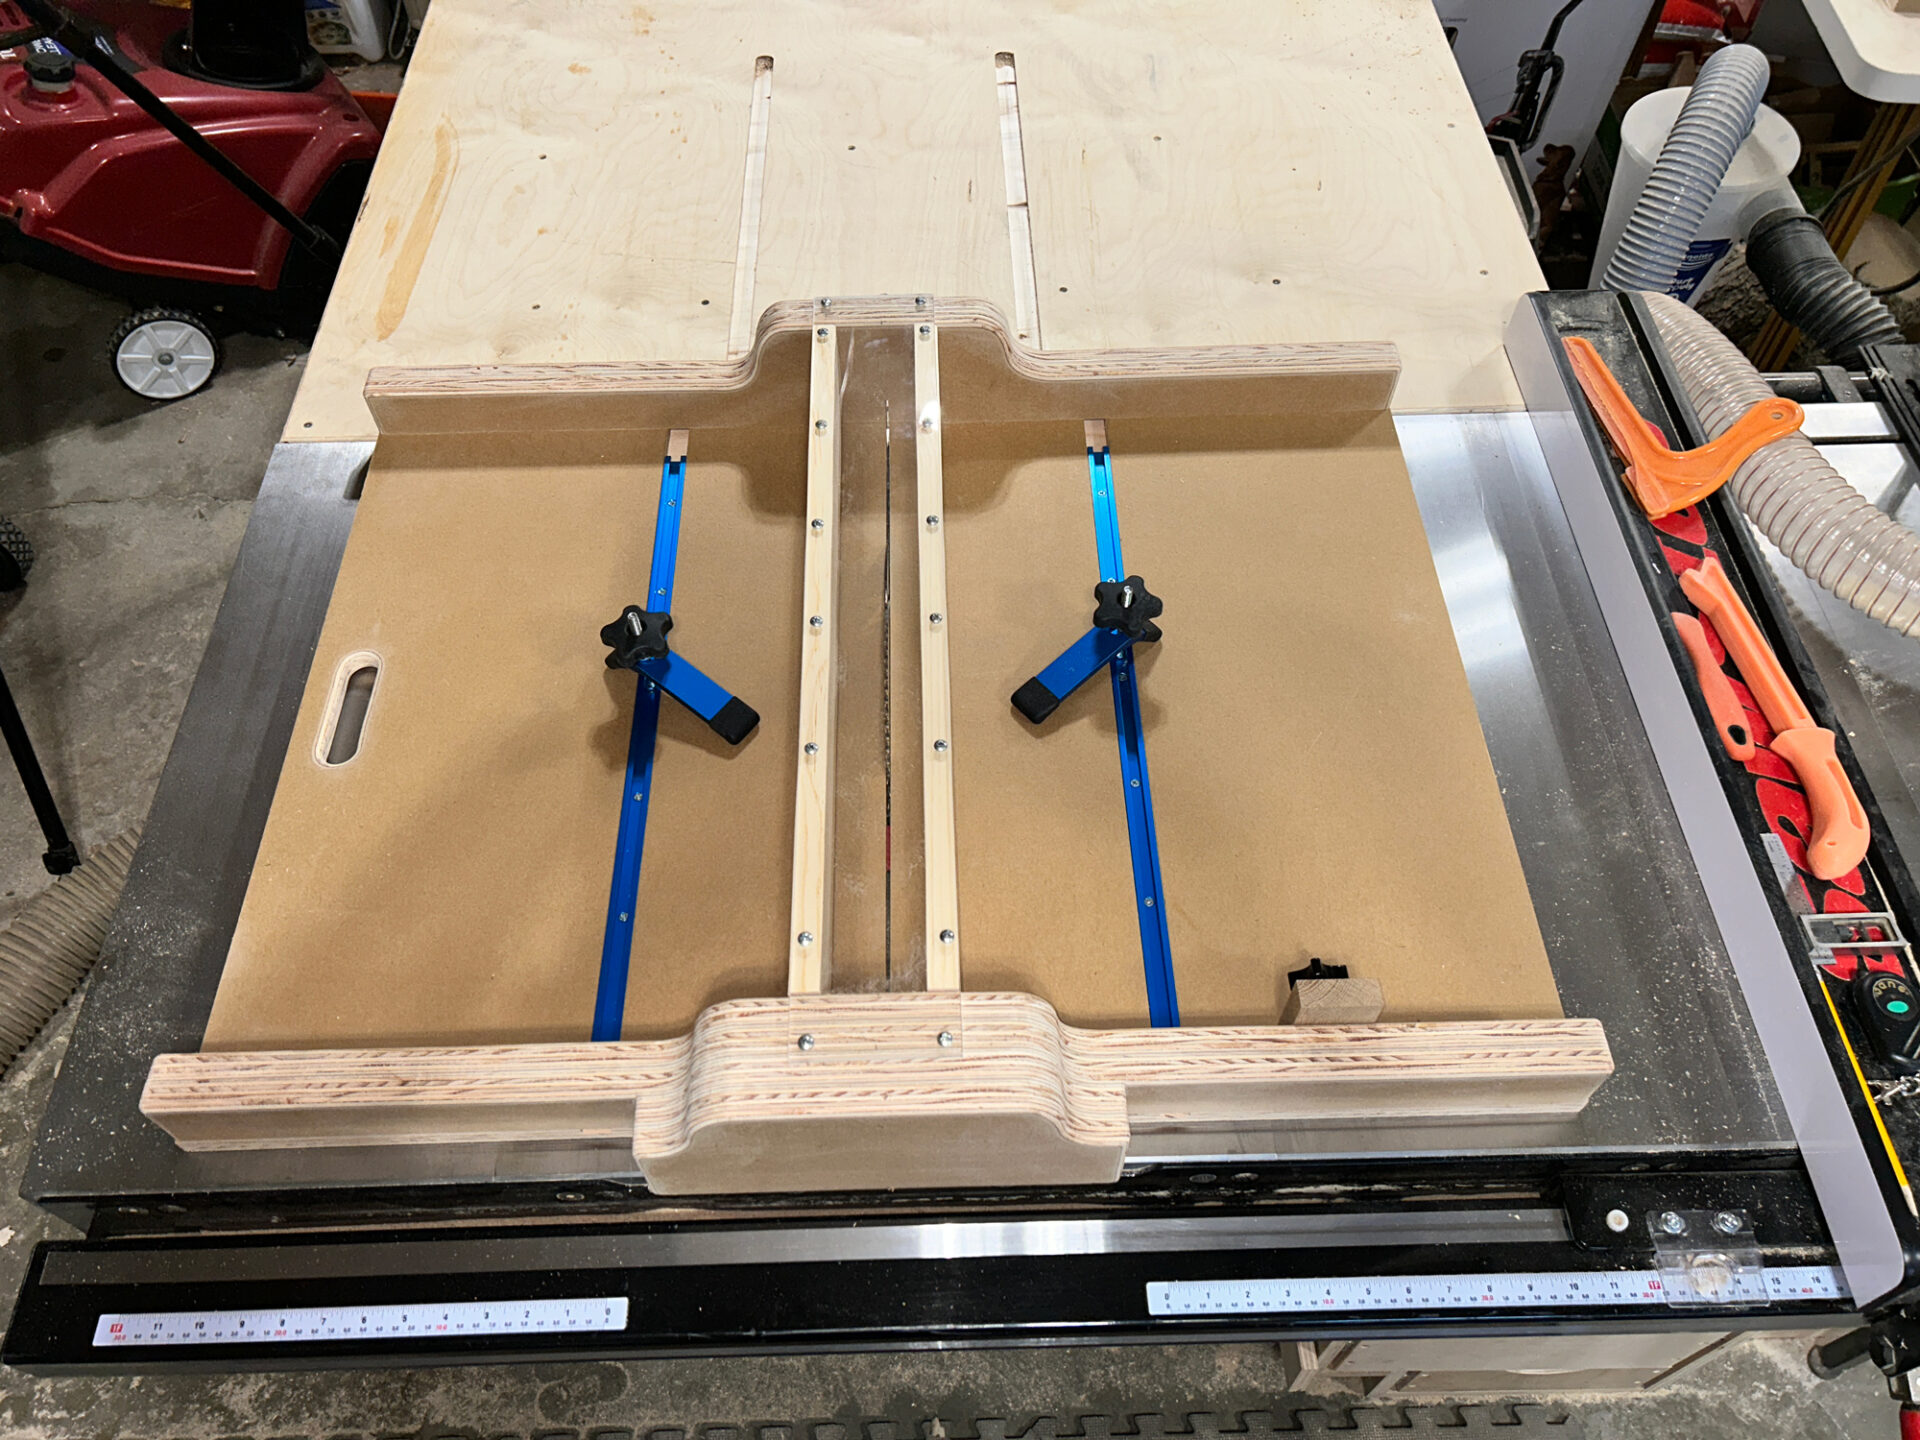
Image Source: www.sawstop.com
Why You Need a Table Saw Crosscut Jig
Your table saw’s miter gauge is designed for crosscutting, but it has limitations. It can wobble, making it difficult to achieve perfectly square cuts, especially on wider boards. A crosscut sled, also known as a miter sled jig, eliminates this wobble by providing a stable base that rides against the table saw’s fence. This ensures your blade is always parallel to the sled’s fence, resulting in perfectly square crosscuts. This precision is invaluable for projects requiring tight-fitting joints, like building cabinets or crafting furniture. A well-built sled essentially turns your table saw into a precision cutting machine, perfect for both lumber crosscut sled tasks and more intricate cabinet crosscut sled applications.
Essential Components of a Crosscut Sled
Before we dive into construction, let’s look at what makes up a good crosscut sled:
- Base: This is the main platform that sits on your table saw. It needs to be flat and stable.
- Fence: This piece attaches to the base and guides your workpiece. It must be perfectly square to the blade.
- Runner: These are strips that slide in the table saw’s miter slots, keeping the sled perfectly aligned with the blade.
- Hold-downs (Optional but Recommended): These clamps secure your workpiece to the sled, ensuring safety and accuracy.
Gathering Your Materials and Tools
Building a crosscut sled is a rewarding DIY woodworking jig project. Here’s what you’ll need:
Materials:
- Plywood: A ¾-inch thick sheet of high-quality plywood for the base. Cabinet-grade plywood is ideal for its flatness.
- Hardwood: For the fence. ¾-inch hardwood like oak, maple, or poplar works well.
- Hardwood strips: For the runners. ¼-inch thick hardwood strips are commonly used. Ensure they are straight and free of warping.
- Screws: Wood screws of appropriate length for joining the base, fence, and runners.
- Wood glue: For extra strong bonds.
- Sandpaper: Various grits for smoothing edges and surfaces.
- Optional: Toggle clamps or other hold-down mechanisms.
Tools:
- Table Saw: The star of the show!
- Circular Saw or Jigsaw: For cutting the initial plywood sheet to size.
- Miter Saw or Table Saw with Crosscut Sled Plans: For precise, square cuts on the fence and runners.
- Measuring Tape: For accurate measurements.
- Pencil: For marking.
- Combination Square or Try Square: Crucial for ensuring everything is square.
- Drill and Drill Bits: For pre-drilling screw holes.
- Clamps: Bar clamps, pipe clamps, or C-clamps to hold pieces while gluing and screwing.
- Router (Optional but helpful): For creating dadoes for the runners, or for adding features like zero-clearance inserts.
- Safety Glasses and Hearing Protection: Always essential when working with power tools.
Planning Your Crosscut Sled: Crosscut Sled Plans
While you can design your own, using established crosscut sled plans is a great starting point. Many plans are available online, offering different features and complexity levels. A common approach involves creating a base slightly larger than your largest workpiece, with a fence that extends the full width of your table saw.
Key Considerations for Your Design:
- Base Size: Determine the maximum width of material you intend to cut. Your base should be at least that wide, plus some clearance.
- Fence Height: The fence should be tall enough to provide good support for your workpiece.
- Runner Placement: Runners should fit snugly into your table saw’s miter slots.
- Blade Clearance: Ensure there’s enough clearance for your blade to pass through the base.
Step-by-Step Construction Guide
Let’s get building! This guide outlines the process for a standard, highly functional crosscut sled.
Step 1: Preparing the Base
- Cut the Base Material: From your ¾-inch plywood, cut a piece that is generously sized. A good starting point is 24 inches wide by 30 inches long. Ensure this cut is as square as possible, as it’s the foundation of your jig.
-
Cut the Runner Slots (Router Method – Recommended): If you have a router, this is the most precise way to create the runner slots.
- Measure the width of your table saw’s miter slots.
- Set up your router with a straight bit that matches this width precisely.
- Use a router table or a router guide to cut two identical dadoes (grooves) on the underside of your plywood base. These dadoes should be slightly deeper than the thickness of your runner material (typically ¼ inch).
- The dadoes should be positioned so that when the sled is on the table saw, the runners will sit perfectly in the miter slots, and the blade will cut through the center of the base. This alignment is critical for a precision crosscut sled.
- Tip: Test your dado width and depth on scrap wood first. The runner should slide smoothly but without excessive play.
-
Cut the Runner Slots (Table Saw Method): If you don’t have a router, you can use your table saw and a dado blade.
- Set up your dado blade on the table saw to the correct width and depth.
- You’ll need to create a jig to hold the plywood base securely and guide it for the dado cuts. This might involve a temporary fence and support system.
- Make two parallel dado cuts on the underside of the base, ensuring they are the correct distance apart for your miter slots and are perfectly parallel to each other.
Step 2: Cutting and Attaching the Runners
- Cut the Runners: From your ¼-inch thick hardwood, cut two strips that are slightly longer than your miter slots.
- Fit the Runners: Gently test fit the runners into the dadoes you cut in the base. They should slide in snugly. If they are too tight, you can carefully sand them down. If they are too loose, you may need to redo the dadoes or shim the runners.
- Glue and Screw the Runners: Apply a bead of wood glue into the dadoes. Slide the runners into place. From the top of the base, pre-drill and screw through the base and into the runners. Use screws that are long enough to bite into the hardwood but not so long that they poke through the runners. Ensure the screws are countersunk so they don’t interfere with the table saw surface.
Step 3: Preparing and Attaching the Fence
This is arguably the most critical step for achieving accurate cuts. The fence must be perfectly square to the blade.
- Cut the Fence Material: From your ¾-inch hardwood, cut a piece that is as wide as your table saw’s fence capacity, and about 3-4 inches tall. For example, if your table saw’s fence guide extends 24 inches, cut your fence piece to 24 inches.
- Crucial Alignment – The Test Cut:
- Place the base with the runners attached onto your table saw.
- Position the fence on top of the base.
- Carefully align the fence so it is absolutely perpendicular to the table saw blade. You can use a precision combination square or a digital angle gauge for this.
- Important: The blade should be raised to its full height.
- Once aligned, temporarily clamp the fence in place.
- Making the Blade Cut:
- With the fence clamped, make a cut all the way through the base of your sled. This cut will be made by the saw blade. Do not move the fence after this cut. This cut creates the “zero-clearance” edge that guides your workpiece.
- After the cut, lower the blade.
- Do not remove the sled from the table saw yet. The fence should still be roughly in position.
- Securing the Fence Permanently:
- Apply wood glue to the top surface of the base where the fence will sit.
- Pre-drill holes through the fence and into the base. Ensure your drill bit is perpendicular to the base.
- Use screws to firmly attach the fence to the base. Again, countersink your screws.
- Verification: After the glue dries, use your combination square to check the fence for squareness to the blade’s path (the cut line you made). If it’s not perfectly square, you may need to adjust or shim. This is where a zero-clearance crosscut sled truly shines.
Step 4: Adding Optional Features
-
Hold-downs: For increased safety and accuracy, especially when cutting smaller pieces or working with larger panels, consider adding hold-downs.
- Toggle Clamps: These are popular for their ease of use. You can mount them to the fence or the base of your sled.
- Homemade Hold-downs: You can create simple hold-downs by using short pieces of wood with a cam action or a simple screw that presses down on your workpiece.
- Placement: Position your hold-downs so they firmly press your workpiece against the fence and the sled base without interfering with the blade.
-
Zero-Clearance Insert: While the initial blade cut already creates a near zero-clearance slot, you can refine this further.
- You can cut a thin kerf out of the base and then insert a thin piece of material (like hardboard or a dedicated zero-clearance insert) into that slot. This minimizes tear-out and provides a cleaner cut.
Step 5: Finishing Touches
- Sanding: Sand all edges and surfaces of your crosscut sled smooth. This prevents splinters and makes handling easier.
- Lubrication (Optional): Some woodworkers apply a paste wax or a lubricant to the runners to help the sled slide more smoothly in the miter slots. Test this carefully to ensure it doesn’t compromise the sled’s stability.
Using Your Precision Crosscut Sled
Now that you’ve built your DIY table saw sled, here’s how to use it effectively:
- Placement: Slide the sled into the miter slots on your table saw. Ensure the runners fit snugly.
- Positioning the Fence: Place your workpiece against the fence of the sled.
- Marking Your Cut: Mark your desired cut line on the workpiece.
- Aligning the Blade: Raise the blade to the desired height. Align the blade with your mark. You can do this by bringing the blade up into the kerf you made in the sled or by using a thin piece of scrap wood that you then discard.
- Secure the Workpiece: Use hold-downs or simply apply firm downward pressure with your hands (keeping your fingers well away from the blade!) to secure the workpiece against the fence and the sled base.
- Make the Cut: Push the sled with the workpiece through the blade. Maintain consistent pressure and keep the sled firmly against the fence.
- Repeat for Accuracy: The beauty of a crosscut sled is its repeatability. Once set up for a specific length, you can make multiple identical cuts quickly and accurately.
Maintaining Your Crosscut Sled
A well-maintained sled will provide accurate cuts for years.
- Keep it Clean: Remove sawdust and debris from the runners and the base.
- Check for Squareness: Periodically re-check the fence for squareness to the blade, especially if you notice your cuts are no longer perfect.
- Inspect Runners: Ensure the runners are not damaged or worn. If they become loose, you may need to adjust or replace them.
Frequently Asked Questions About Crosscut Sleds
Q: What is the best material for the fence on a crosscut sled?
A: Hardwood, such as oak, maple, or poplar, is ideal for the fence. It’s dense, stable, and provides a durable surface.
Q: How wide should my crosscut sled base be?
A: The base should be wider than the widest workpiece you anticipate cutting. A common size is 24 inches, but adjust this based on your needs.
Q: Can I use MDF for the sled base?
A: While MDF is flat, it’s less durable and more prone to damage than plywood, especially if it gets wet. Plywood is generally preferred for its stability and longevity.
Q: My runners are too loose in the miter slots. What can I do?
A: You can try shimming the runners with thin strips of paper or veneer, or you may need to rebuild the runners or the dadoes for a tighter fit. A perfectly fit runner is key to a precision crosscut sled.
Q: How do I ensure the fence is perfectly square?
A: Use a high-quality combination square or a digital angle gauge. Make a test cut and then measure the cut edge for squareness. Adjust the fence until it’s perfectly perpendicular to the blade.
Q: What is a zero-clearance crosscut sled?
A: A zero-clearance crosscut sled has a fence that is positioned directly against the blade’s kerf. This minimizes tear-out and provides a cleaner cut, especially on plywood. The initial cut you make through the sled’s base essentially creates this feature.
Q: How often should I check the squareness of my sled’s fence?
A: It’s a good practice to check periodically, especially if you notice your cuts becoming less accurate, or if the sled has been subjected to significant temperature or humidity changes.
Building your own crosscut sled is one of the most impactful DIY woodworking projects you can undertake. It’s an investment in accuracy and efficiency for your table saw, making all your subsequent woodworking projects more enjoyable and the results more professional. Happy building and cutting!