
Can you drill into any wall? No, you can’t just drill into any wall without considering what’s behind it or what the wall is made of. Drilling into a wall safely and correctly involves knowing your wall type, using the right tools, and employing proper techniques to avoid damage or injury.
Drilling a hole in a wall is a common DIY task, whether you’re hanging a picture, installing shelves, or mounting a TV. However, doing it wrong can lead to more than just a crooked hole; it can damage pipes, electrical wires, or even cause structural issues. This guide will walk you through every step of drilling into a wall, ensuring you do it safely and effectively.
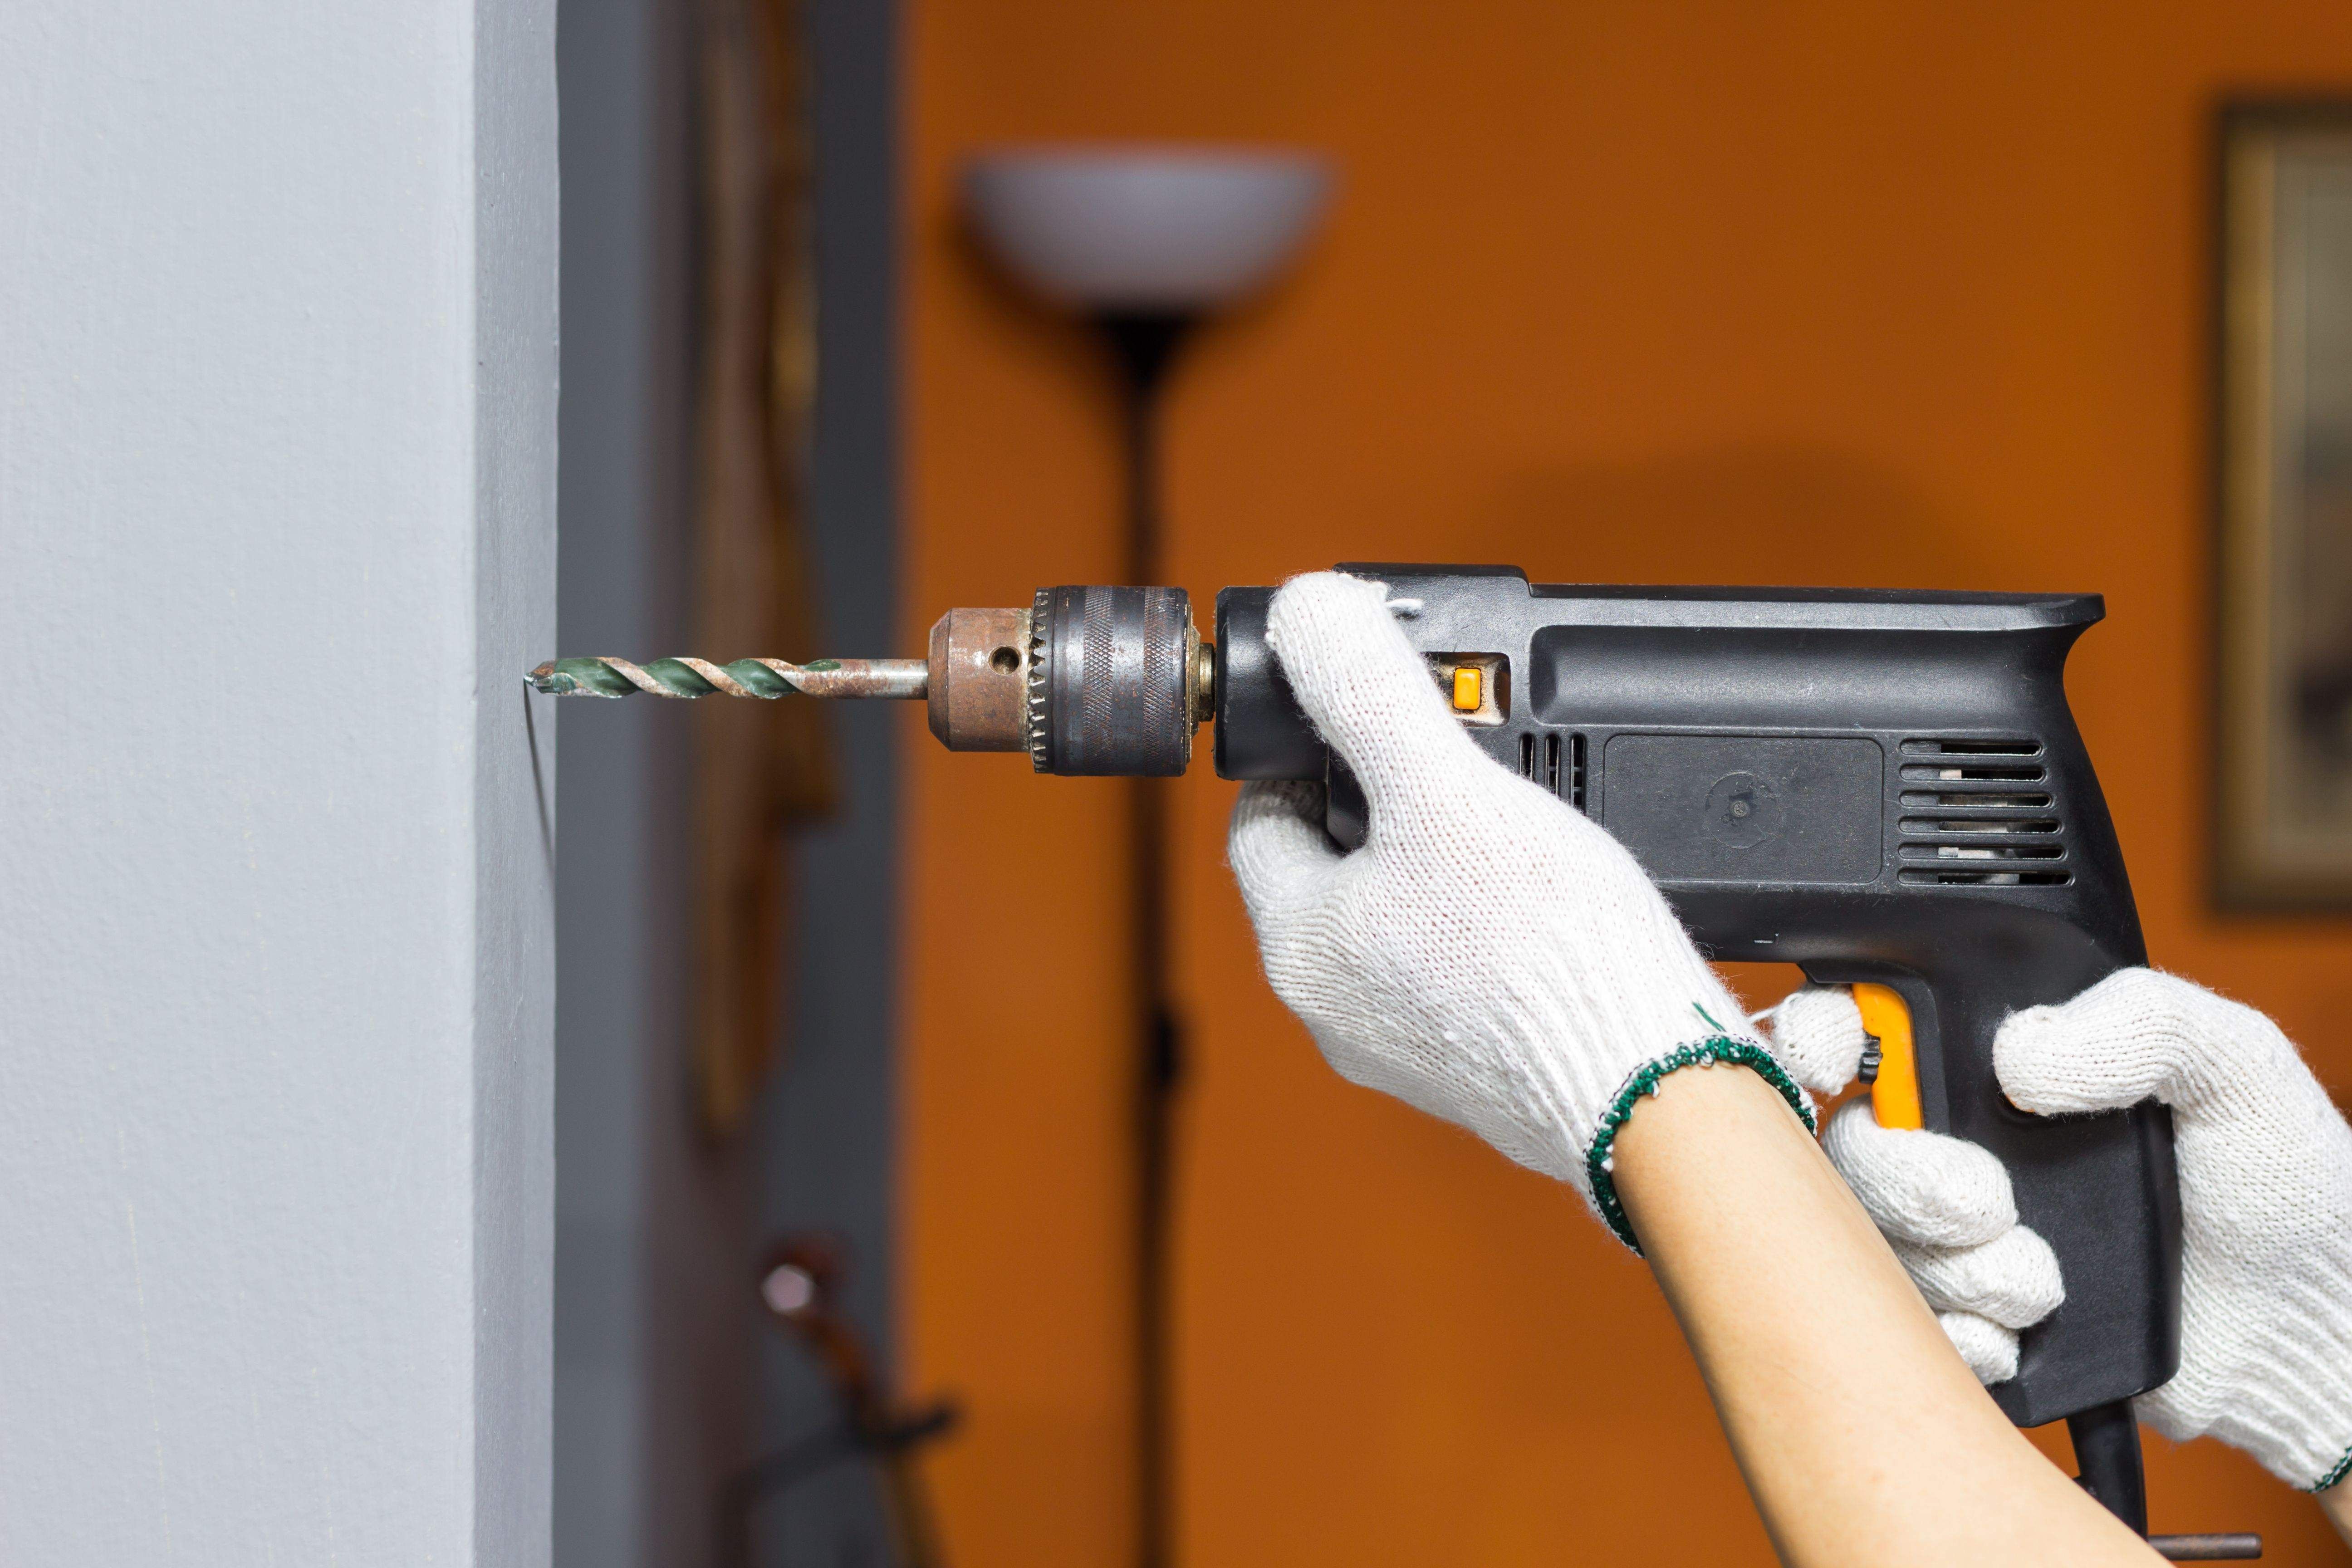
Image Source: cdn.manomano.com
Getting Ready to Drill
Before you even pick up a drill, preparation is key. This involves identifying the wall material, finding out what’s inside the wall, and gathering the necessary tools and safety gear.
Identifying Your Wall Material
The type of wall you’re drilling into dictates the tools and methods you’ll need. Common wall materials include drywall, plaster, brick, and concrete.
- Drywall: This is the most common interior wall material. It’s relatively soft and easy to drill through. However, it offers little structural support on its own.
- Plaster: Older homes often have plaster walls, which are harder than drywall and can be more brittle. They consist of a plaster layer over lath (wood or metal strips).
- Brick: Interior and exterior walls can be made of brick. Drilling into brick requires specific drill bits and more force.
- Concrete: Found in basements, garages, and exterior structures, concrete is very hard and requires specialized tools for drilling.
What’s Inside Your Walls?
This is a crucial safety step. Hidden within your walls are electrical wires, plumbing pipes, and sometimes even HVAC ducts. Drilling into these can cause serious damage, leaks, fires, or electrocution.
Using a Stud Finder: A stud finder is your best friend here. Most electronic stud finders can detect studs (the wooden or metal supports within your walls), but many also have a mode to detect live electrical wires and sometimes even metal pipes.
How to Use a Stud Finder:
1. Calibrate: Most stud finders need to be calibrated. Place it flat against the wall and press the calibration button.
2. Scan Slowly: Move the stud finder slowly across the wall horizontally.
3. Mark: When it indicates a stud or other object, mark the edge with a pencil. Continue scanning to find the other edge and mark it. The center of the wall between these marks is likely a stud.
4. Check for Wires/Pipes: If your stud finder has these capabilities, use them in the areas where you plan to drill. For extra caution, turn off the power to the relevant circuit at your breaker box if you suspect you’re drilling near electrical outlets or switches.
Essential Tools and Safety Gear
Having the right equipment makes the job easier and safer.
Your Drill
- Cordless Drill: The most common and versatile option for most DIYers. Look for one with good battery life and sufficient torque.
- Hammer Drill: For drilling into harder materials like brick or concrete, a hammer drill is essential. It adds a hammering action to the rotation, breaking through tough surfaces. You’ll also need specific masonry drill bits or drill bits for concrete for this.
Drill Bits
The type of drill bit you use depends on the wall material and what you’re trying to achieve.
| Material | Recommended Drill Bits | Notes |
|---|---|---|
| Drywall | Standard HSS (High-Speed Steel) drill bits | Various sizes are needed for different fasteners. |
| Plaster | Standard HSS drill bits | Go slow and apply steady pressure to avoid chipping. |
| Wood Studs | Standard HSS drill bits | Use a bit slightly smaller than your screw for a pilot hole. |
| Brick | Masonry drill bits (carbide-tipped) | Requires a hammer drill for best results. |
| Concrete | Masonry drill bits (carbide-tipped) | Requires a hammer drill. Use bits specifically designed for concrete. |
| Metal (fixtures) | HSS drill bits | Use a cutting fluid to keep the bit cool and prolong its life. |
Safety Gear
- Safety Glasses: Absolutely crucial to protect your eyes from dust and debris.
- Dust Mask: To prevent inhaling fine particles, especially when drilling into plaster, brick, or concrete.
- Gloves: To protect your hands and improve grip.
- Ear Protection: If using a hammer drill for an extended period, earplugs or earmuffs are recommended.
The Drilling Process: Step-by-Step
Once you’re prepared, you can begin drilling. A good drilling technique is key to a clean, accurate hole.
Step 1: Mark Your Spot
Using a pencil, clearly mark the exact spot where you want to drill. Double-check your measurements and ensure the mark is level if you’re hanging something that needs to be straight.
Step 2: Choose the Right Drill Bit
Select a drill bit that matches your wall material and is the correct size for your fastener (screw, anchor, etc.). For screws, the pilot hole should be slightly smaller than the screw’s diameter so the screw has something to bite into. If you’re using wall anchoring systems, the anchor’s packaging will specify the required drill bit size.
Step 3: Setting Up Your Drill
- Insert the Drill Bit: Make sure the drill bit is securely clamped in the drill chuck.
- Select Speed and Torque: For most materials, start with a lower speed setting. If your drill has a clutch, set it to a lower torque setting initially to avoid stripping screws or damaging the wall. For harder materials, you might need higher speeds and torque.
- Hammer Drill Mode: If drilling into brick or concrete, switch your hammer drill to the hammer function.
Step 4: Drilling the Hole
This is where your drilling technique comes into play.
For Drywall and Plaster:
- Position the Drill: Place the tip of the drill bit precisely on your mark. Hold the drill perpendicular to the wall.
- Start Slowly: Begin drilling at a slow speed. This helps the bit bite into the material without slipping.
- Apply Steady Pressure: Once the bit has started a small indentation, increase speed slightly and apply steady, even pressure. Don’t force the drill; let the bit do the work.
- Drill Through: Continue drilling until you reach the desired depth. For wall mounting, you’ll typically drill just deep enough for your screw or anchor.
- Withdraw the Drill: While the drill is still spinning slowly, pull it straight back out of the hole. This helps clear any dust.
For Brick and Concrete:
- Use Hammer Drill Mode: Ensure your hammer drill is set to the hammer function.
- Use Masonry Drill Bits: Employ your masonry drill bits or drill bits for concrete.
- Start Slowly: Begin drilling at a slow speed to create a small starting point.
- Increase Speed and Pressure: Once the bit is engaged, increase speed and apply firm, consistent pressure. The hammering action will do most of the work.
- Clear Debris: Periodically pull the drill bit out of the hole while it’s still spinning to clear out dust and debris. This prevents the bit from overheating and makes drilling easier.
- Drill to Depth: Continue until you reach the required depth.
- Withdraw: Carefully pull the drill straight out.
Step 5: Cleaning the Hole
After drilling, you’ll have dust and debris in and around the hole.
- Drywall/Plaster: You can often blow the dust out with a puff of air or use a vacuum cleaner.
- Brick/Concrete: It’s important to clear the hole thoroughly, especially if you’re inserting a wall anchoring system. Use a brush or compressed air to remove all dust.
Step 6: Inserting Anchors (If Needed)
If you’re drilling into drywall without hitting a stud, or if the item you’re mounting is heavy, you’ll need wall anchors.
-
Types of Drywall Anchors:
- Plastic Expansion Anchors: These are common and easy to use. You drill a hole, insert the anchor, and then drive a screw into it.
- Self-Drilling Anchors: These have a screw-like tip and can often be screwed directly into drywall without a pilot hole.
- Toggle Bolts: These have “wings” that collapse to go through the hole and then spring open behind the drywall, providing strong support. They require a larger hole.
- Molly Bolts: Similar to toggle bolts, these expand behind the drywall when the screw is tightened.
-
Inserting Anchors: Follow the specific instructions for the type of anchor you are using. Generally, you’ll push or screw the anchor into the pre-drilled hole until it’s flush with the wall.
Step 7: Fastening Your Item
Once the hole is drilled and any necessary anchors are in place, you can proceed with fastening your item.
- Screwing into a Stud: If you hit a stud, you can drive a screw directly into it. Use a drill bit slightly smaller than the screw for a pilot hole.
- Screwing into an Anchor: If using an anchor, drive the screw into the anchor until it’s snug and the item is securely fastened.
Advanced Drilling Techniques and Considerations
For specific situations, you might need to adjust your approach.
Drilling Through Tiles
If you need to drill through ceramic or porcelain tile, you’ll need specialized tile or glass drill bits. Start with a very slow speed and use a light tapping motion. Place masking tape over the spot to prevent the bit from slipping. Always use water to keep the bit cool.
Drilling Large Holes
For very large holes, such as for pass-throughs or installing certain fixtures, you might need a hole saw. This is a specialized attachment that cuts a large circle.
Drilling Flush with a Surface
When you need a hole to be flush with the surface (e.g., for a countersink screw), you can use a countersink bit after drilling the main hole.
Drilling Technique for Plaster Walls
Plaster can be brittle. To prevent large chips and cracks:
* Use a sharp drill bit.
* Start slowly.
* Apply steady, gentle pressure.
* Consider drilling a small pilot hole first, then widening it with a larger bit if needed.
Troubleshooting Common Drilling Issues
Even with preparation, you might encounter problems.
- Drill Bit Slipping:
- Cause: Not starting slowly, dull bit, smooth surface.
- Solution: Start at a very slow speed. Use a center punch or a nail to create a small divot for the bit to grip. Ensure your drill bit is sharp.
- Drill Bit Getting Stuck:
- Cause: Hitting rebar in concrete, encountering a hard knot in wood, dust build-up.
- Solution: For concrete, try a slightly different angle. For wood, back the bit out slowly while spinning to clear debris. For rebar, you may need to reposition the hole.
- Cracking or Chipping Plaster:
- Cause: Brittle plaster, excessive force, dull bit.
- Solution: Use a sharp bit, start slow, and apply consistent but not excessive pressure. Use painter’s tape over the area.
- Dust Everywhere:
- Cause: Drilling creates fine particles.
- Solution: Use a vacuum cleaner with a crevice tool to catch dust as you drill. Wear your dust mask and safety glasses!
Ensuring Safe Drilling Practices
Safe drilling is paramount. Always prioritize your safety and the integrity of your home.
Pre-Drilling Checks
- Confirm Electrical and Plumbing: Use a stud finder and consider turning off relevant circuits.
- Check for Obstructions: If unsure, make a very small initial hole to visually inspect.
During Drilling
- Maintain a Firm Grip: Keep the drill stable and perpendicular to the wall.
- Don’t Overheat: If drilling concrete or brick, pause to let the bit and drill cool down. Use cutting fluid for metal.
- Be Aware of Your Surroundings: Keep children and pets away from the work area.
Post-Drilling
- Clean Up Thoroughly: Dust can be a respiratory irritant and a fire hazard.
- Properly Dispose of Debris: Small amounts of dust can go in the trash, but larger amounts from concrete or brick might require specific disposal.
Frequently Asked Questions (FAQ)
Q1: What is a pilot hole?
A pilot hole is a small hole drilled before driving a screw. It guides the screw and prevents the material from splitting or cracking, especially in wood. The size of the pilot hole should be slightly smaller than the screw’s shank diameter.
Q2: Can I drill into a wall with electrical wires?
It’s highly discouraged. If you must drill near where you suspect wires are located, use a stud finder with electrical detection capabilities, turn off the power to that circuit at the breaker box, and proceed with extreme caution. Always aim for areas without detected wires or pipes.
Q3: What are drywall anchors for?
Drywall anchors are fasteners used to attach items to drywall when there isn’t a wooden stud behind the drywall for support. They provide a secure point of attachment for screws, allowing you to hang pictures, shelves, and other objects on the wall.
Q4: What’s the difference between a drill and a hammer drill?
A standard drill rotates a bit to create a hole. A hammer drill adds a rapid, percussive hammering action to the rotation, making it much more effective for drilling into hard materials like brick, stone, and concrete. You’ll also need specific masonry drill bits or drill bits for concrete when using a hammer drill.
Q5: How do I choose the right drill bit for concrete?
For concrete, you need drill bits for concrete, often called masonry drill bits. These bits are typically made of hardened steel with a carbide tip, which is much harder and more durable, allowing them to penetrate concrete effectively when used with a hammer drill.
Q6: How deep should I drill for wall mounting?
The depth depends on what you are mounting and what you are drilling into. For wall mounting most items using standard screws or anchors, drill a depth slightly greater than the length of the screw or anchor you intend to use. Always check the specific requirements of the item you are mounting and the fasteners you are using.
Q7: Is it safe to drill into old plaster walls?
Old plaster walls can be brittle. Use sharp drill bits, start at a slow speed, and apply steady pressure. Consider using painter’s tape over the drilling area to help minimize chipping. If you encounter crumbling plaster, it might be best to consult a professional.
Q8: What is the best way to drill a hole in tile?
Use a specialized tile or glass drill bit. Start with a very slow speed and no hammer action. Apply light pressure and use water to keep the bit cool. Placing masking tape over the tile can help prevent the bit from slipping.
By following these steps and safety guidelines, you can confidently drill into your walls for any project, ensuring a secure and professional finish. Remember, preparation and the right tools are your keys to success in safe drilling.