
A DeWalt chop saw is a powerful tool for making precise cuts in various materials. Can I use a DeWalt chop saw for fine woodworking? Yes, with the right blade and technique, a DeWalt miter saw can handle detailed work. Who is a DeWalt chop saw best suited for? It’s ideal for DIY enthusiasts, woodworkers, contractors, and anyone needing accurate crosscuts and angled cuts.
This guide will walk you through everything you need to know to safely and effectively operate your DeWalt chop saw. From initial setup to making those perfect angled cuts, we’ve got you covered.
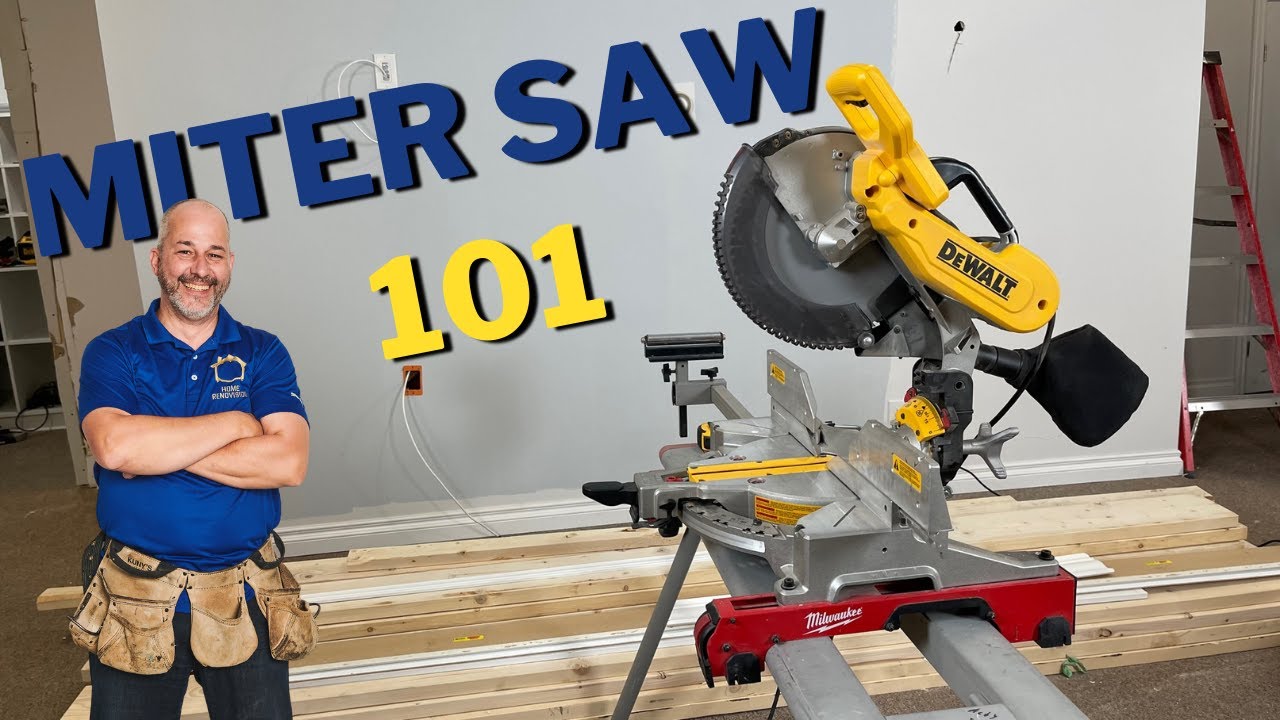
Image Source: i.ytimg.com
Getting Started: DeWalt Chop Saw Setup
Before you can start cutting, proper DeWalt chop saw setup is crucial. This ensures safety, accuracy, and longevity for your tool.
Unpacking and Initial Inspection
When your DeWalt chop saw arrives, carefully unpack it. Check for any shipping damage. Ensure all parts are present as per the manual. This typically includes the saw itself, a dust collection bag or port, a wrench for blade changes, and sometimes a clamp.
Mounting Your DeWalt Chop Saw
For stability and safety, you should mount your DeWalt chop saw securely.
Benchtop Mounting
Most smaller DeWalt chop saws are designed to be mounted onto a workbench.
* Locate Mounting Holes: Identify the mounting holes on the base of your saw.
* Position on Workbench: Place the saw on your workbench, aligning the holes.
* Secure with Bolts: Use appropriate bolts, washers, and nuts to firmly attach the saw to the workbench. Ensure the bolts are long enough to go through the saw base and a good portion of your workbench material.
Using a DeWalt Stand
For larger or more mobile setups, a dedicated saw stand is a great option. DeWalt offers stands that are compatible with their chop saws, providing a stable and often height-adjustable platform.
* Assemble the Stand: Follow the stand’s assembly instructions carefully.
* Mount the Saw: Most stands have a quick-release system or mounting brackets to attach the saw. Ensure the saw is securely locked into place.
* Positioning: Place the stand in your desired work area, ensuring it’s on a level surface.
Installing the DeWalt Saw Blade
The DeWalt saw blade is what actually does the cutting. Choosing the right blade and installing it correctly is vital.
Blade Selection
- Material: Ensure the blade is designed for the material you intend to cut (e.g., wood, metal, plastic). For general woodworking, a 60-tooth or 80-tooth blade offers a cleaner cut.
- Size: Confirm the blade size matches your DeWalt chop saw’s specifications (e.g., 10-inch, 12-inch).
- Arbor Size: The arbor is the hole in the center of the blade. It must match the spindle size of your saw.
Blade Installation Steps
Safety First: Always unplug the saw before changing the blade.
- Lower the Blade Guard: Pull the blade guard up or to the side to expose the blade arbor.
- Locate the Arbor Lock: Most DeWalt saws have an arbor lock button or spindle lock. Press and hold this button to prevent the spindle from turning.
- Remove the Outer Flange: Use the provided wrench (or a socket wrench) to loosen and remove the bolt holding the outer flange in place. Remember, the bolt is often reverse-threaded.
- Remove the Old Blade: Carefully slide off the old blade.
- Install the New Blade: Place the new blade onto the arbor, ensuring the teeth are facing the correct direction (usually indicated by an arrow on the blade). The arrow on the blade should point in the direction of blade rotation.
- Replace the Outer Flange: Slide the outer flange back onto the arbor, making sure it sits flush.
- Tighten the Bolt: Reinstall the bolt and tighten it securely using the wrench, while holding the arbor lock. Ensure it’s snug but don’t overtighten.
- Lower the Blade Guard: Ensure the blade guard returns to its proper position, covering the blade.
Dust Collection
Proper dust collection is essential for a clean workspace and your health.
* Attach Dust Bag/Hose: Connect the dust bag or a shop vacuum hose to the designated port on your DeWalt chop saw.
* Empty Regularly: Keep the dust bag or vacuum canister emptied to maintain effective dust collection.
Mastering Cuts with Your DeWalt Chop Saw
Once your saw is set up, it’s time to learn how to make precise cuts. This includes straight cuts, angled cuts, and specialized cuts for tasks like cutting wood with DeWalt saw.
Straight Crosscuts
This is the most basic and common cut.
- Mark Your Material: Use a pencil and measuring tape to mark the exact point where you want to cut. For maximum accuracy, use a carpenter’s square to draw a line across the material.
- Position the Material: Place the workpiece against the saw’s fence. Align the blade with your marked line. The blade should be slightly to the waste side of your mark to ensure the piece you keep is the correct length.
- Engage the Clamp: Use the built-in clamp or an auxiliary clamp to secure the workpiece firmly against the fence and the saw’s base. This is critical for safety and accuracy.
- Lower the Blade: With the saw off, lower the blade to ensure it’s just touching the material at the cut line.
- Start the Saw: Turn on the DeWalt chop saw and allow the blade to reach full speed.
- Make the Cut: Smoothly and steadily lower the blade through the material. Do not force the blade. Let the blade do the work.
- Retract the Blade: Once the cut is complete, allow the blade to stop spinning before retracting it. Turn off the saw.
- Release and Remove: Release the clamp and carefully remove the cut pieces.
Understanding DeWalt Saw Angle Adjustment
The ability to adjust the angle of the blade is what makes a chop saw so versatile. This is where the DeWalt saw angle adjustment comes into play, often referred to as the miter angle.
Miter Angle Adjustment (Left and Right)
This adjustment allows you to cut at angles other than 90 degrees.
- Identify the Miter Lock: Locate the miter lock mechanism, usually a handle or knob at the base of the saw.
- Release the Lock: Loosen the miter lock to allow the saw head to pivot.
- Set the Angle: Rotate the saw head to your desired angle. Most DeWalt chop saws have positive stops at common angles like 0, 15, 22.5, 31.6, and 45 degrees. You can use the built-in markings on the saw’s base. For more precise angles, use a protractor or angle finder.
- Lock the Angle: Once the desired angle is set, tighten the miter lock firmly to secure the saw head in position.
- Make the Cut: Proceed with the cutting steps outlined for straight crosscuts.
Bevel Angle Adjustment (Left and Right)
This allows you to tilt the blade to cut angles on the edge of the material, known as bevel cuts. This is a feature found on DeWalt compound miter saw models.
- Identify the Bevel Lock: Locate the bevel lock, usually a knob or lever at the front or side of the saw’s motor housing.
- Release the Lock: Loosen the bevel lock to allow the blade assembly to tilt.
- Set the Angle: Tilt the saw head to your desired bevel angle. Similar to miter adjustments, there are usually positive stops at common angles.
- Lock the Angle: Tighten the bevel lock securely.
- Make the Cut: Ensure the workpiece is positioned correctly against the fence and base. For compound cuts, you’ll be adjusting both the miter and bevel angles simultaneously.
Compound Cuts
A compound cut involves setting both the miter and bevel angles. These are essential for tasks like cutting crown molding or intricate trim.
- Set Miter Angle: Adjust the miter angle first as described above.
- Set Bevel Angle: Next, adjust the bevel angle.
- Position and Clamp: Place your material against the fence and base, ensuring it’s properly seated. Use the clamp to secure it.
- Make the Cut: Start the saw and smoothly lower the blade through the material.
Specialized Cuts for Specific Tasks
Your DeWalt chop saw is incredibly versatile. Here’s how it excels in specific applications:
DeWalt Chop Saw for Molding
When working with molding, especially crown molding or baseboards, precision is key.
- Molding Placement: For crown molding, it’s often best to place it upside down and backward in the saw, as if it were installed on the wall. This means the top of the molding rests against the saw’s base, and the wall-facing side rests against the fence.
- Angle Settings: The common angles for crown molding are 31.6 degrees for both miter and bevel. Consult your molding’s installation guide for precise angles.
- Clean Cuts: A sharp, high-tooth-count DeWalt saw blade is crucial for a clean finish that requires minimal sanding.
DeWalt Chop Saw for Trim
Similar to molding, trim work benefits from precise, clean cuts.
- Accuracy: For baseboards, door casings, and window trim, exact miter angles are needed to create tight joints.
- Compound Bevels: You might need to make compound bevel cuts if your walls aren’t perfectly square.
- Back Cuts: For thicker trim or baseboards that are proud of the wall, you might need to make a “back cut” by tilting the blade away from the fence.
Using a DeWalt Sliding Miter Saw
If you have a DeWalt sliding miter saw, you gain the ability to cut wider materials. The sliding action allows the blade to move forward and backward, increasing the cutting capacity.
- Unlock the Slides: Most sliding saws have a lock to prevent the sliding mechanism from moving. Release this lock.
- Position Material: Place your workpiece against the fence.
- Align Blade: Align the blade with your cut line.
- Clamp Securely: Clamp the material firmly.
- Make the Cut: Start the saw, then smoothly push the saw head forward through the material. Don’t push too hard.
Advanced Techniques and Tips
Beyond basic cuts, here are some tips to enhance your cutting experience.
Achieving Accurate Cuts
- Marking: Use a sharp pencil or a marking knife for precise lines.
- Cutting to the Line: Always align the blade’s cutting edge to the waste side of your mark.
- Blade Alignment: Ensure the blade is perfectly vertical (for 90-degree cuts) and perpendicular to the fence.
- Test Cuts: Before cutting your final piece, make a test cut on a scrap piece of the same material to verify your settings.
Improving Cut Quality
- Blade Sharpness: A dull blade will tear the wood, produce fuzzy cuts, and make the saw work harder. Regularly inspect and replace or sharpen your DeWalt saw blade.
- Feed Rate: Avoid forcing the blade. Let the blade’s speed do the cutting. A consistent, moderate feed rate will produce cleaner results.
- Material Support: For long workpieces, ensure they are adequately supported on both sides to prevent them from tipping or binding during the cut.
Using Accessories Effectively
- Clamps: Always use the saw’s clamp or add your own to secure the workpiece. This is non-negotiable for safety and accuracy.
- Extension Wings/Supports: For wider boards, extension supports are invaluable for keeping the material level.
- Laser Guide: Some DeWalt chop saws feature a laser guide. Learn how to calibrate and use it for precise cut line indication.
DeWalt Saw Safety Tips
Safety should always be your top priority when operating any power tool, including your DeWalt chop saw. Following these DeWalt saw safety tips will help prevent accidents.
Personal Protective Equipment (PPE)
- Eye Protection: Always wear safety glasses or a face shield to protect your eyes from flying debris.
- Hearing Protection: Chop saws can be loud. Wear earplugs or earmuffs.
- Dust Mask/Respirator: Protect your lungs from sawdust by wearing a dust mask or respirator.
- Gloves: Consider wearing work gloves, but be cautious about loose-fitting gloves that could get caught in the blade.
Safe Operating Procedures
- Read the Manual: Familiarize yourself with your specific DeWalt chop saw model’s operating instructions and safety features.
- Secure Workpiece: Never attempt to cut without clamping the material securely.
- Keep Hands Clear: Always keep your hands a safe distance from the blade. Use push sticks or blocks if necessary for very small pieces.
- Wait for Blade to Stop: Never reach for the workpiece or attempt to clear debris until the blade has completely stopped spinning.
- Clear Work Area: Keep your work area clean and free of clutter. Ensure adequate lighting.
- Blade Guard: Never operate the saw with the blade guard removed or disabled.
- Disconnect Power: Always unplug the saw before changing blades, making adjustments, or performing maintenance.
- Proper stance: Maintain a balanced stance with your feet apart.
- No Distractions: Avoid distractions while operating the saw.
Maintenance and Care
- Regular Cleaning: Keep the saw clean, especially the fence, base, and blade guard.
- Inspect Blade: Regularly check the blade for damage or dullness.
- Check Adjustments: Ensure all locking mechanisms for miter and bevel angles are functioning correctly and locking securely.
- Lubrication: Follow the manufacturer’s recommendations for lubricating moving parts.
Common DeWalt Chop Saw Applications
Let’s look at some popular uses for your DeWalt chop saw.
DeWalt Chop Saw for Molding and Trim
As mentioned earlier, these saws are fantastic for DeWalt chop saw for molding and trim work. The precision of the miter and bevel adjustments allows for perfect joints on crown molding, baseboards, chair rails, and window/door casings. The ability to make compound cuts is especially valuable here.
Cutting Wood with DeWalt Saw
Beyond trim, the versatility of cutting wood with DeWalt saw extends to:
- Framing Lumber: Making accurate crosscuts for studs, joists, and rafters.
- Decking Boards: Cutting deck boards to length.
- Plywood and Sheet Goods: Crosscutting large sheets into smaller, manageable pieces. (For wider cuts, a sliding miter saw is highly beneficial).
Other Materials (with appropriate blades)
While primarily designed for wood, with the correct DeWalt saw blade, your chop saw can also cut:
- Plastics: PVC pipes, acrylic sheets.
- Soft Metals: Aluminum, brass, copper. Note that specialized metal-cutting blades and slower blade speeds (if adjustable) might be necessary for optimal results and safety when cutting metal.
Troubleshooting Common Issues
Even with proper use, you might encounter minor issues.
Inaccurate Cuts
- Cause: Loose fence, worn blade, improper clamping, not using positive stops, or bent blade.
- Solution: Ensure the fence is tight, check the blade for damage, clamp material firmly, use positive stops for common angles, and replace a bent or damaged blade. For very fine adjustments, use a gauge.
Fuzzy or Torn Cuts
- Cause: Dull blade, wrong blade type for material, or pushing the saw too fast.
- Solution: Sharpen or replace the blade, use a blade with more teeth for finer cuts, and maintain a consistent, moderate feed rate.
Saw Binds or Stalls
- Cause: Forcing the blade, binding in the cut (material shifts), or hitting a knot.
- Solution: Let the blade do the work, ensure material is stable and not pinching the blade, and if a knot is present, you might need to manually guide the blade through it carefully.
Frequently Asked Questions (FAQ)
What is the difference between a chop saw and a miter saw?
Technically, a “chop saw” often refers to a saw designed for cutting metal, while a “miter saw” is designed for wood. However, the terms are often used interchangeably in DIY contexts, especially when referring to saws like the DeWalt miter saw. A true miter saw is specifically designed to make accurate angled cuts (miter cuts) and often features a beveling blade for compound cuts.
Can I cut metal with a wood-cutting DeWalt chop saw blade?
No, you should never cut metal with a blade designed for wood. The teeth are designed differently, and the high RPMs can cause the metal to catch fire or shatter the blade, leading to severe injury. Always use a blade specifically designed for metal cutting and follow appropriate safety precautions.
How do I calibrate the laser guide on my DeWalt saw?
Calibration typically involves ensuring the laser line perfectly aligns with the actual cutting path of the blade. Consult your owner’s manual for the specific calibration steps for your model. This usually involves loosening a small screw, adjusting the laser module, and retightening.
How do I ensure my DeWalt compound miter saw cuts are accurate?
- Secure Workpiece: Always clamp the material firmly.
- Clean Fence: Ensure the fence is clean and the workpiece sits flush against it.
- Precise Angle Setting: Use the detents for common angles, or a digital angle gauge for precise settings.
- Blade Sharpness: Use a sharp blade suitable for the material.
- Test Cuts: Make test cuts on scrap material to verify your settings.
What is the best DeWalt saw blade for cutting molding?
For cutting molding, particularly intricate molding like crown molding, a high-tooth-count blade (e.g., 60-tooth or 80-tooth) made for crosscuts is generally recommended. This provides a cleaner finish, reducing the need for sanding. Ensure the blade size matches your saw.
Your DeWalt chop saw is a powerful tool that, with proper use and care, can help you achieve professional-quality cuts in a wide range of projects. By following this guide, you’ll be well on your way to mastering its capabilities.