
Can you sharpen a metal drill bit? Yes, you absolutely can sharpen a metal drill bit, and doing so can save you money and improve your drilling performance. This guide will walk you through the process of metal drill sharpening, making it accessible even for beginners. We’ll cover various methods, from using a simple sharpening stone to employing power tools like a bench grinder. Proper drill bit grinding is key to effective cutting edge restoration.
Drill bits, especially those used for metal, dull with use. This dullness leads to increased friction, slower drilling, and a greater chance of overheating the bit and the workpiece. Re-sharpening your bits ensures they cut cleanly and efficiently, extending their lifespan and making your projects much easier. Whether you’re a seasoned DIYer or just starting out, learning how to sharpen drill bits is a valuable skill for anyone who works with metal.
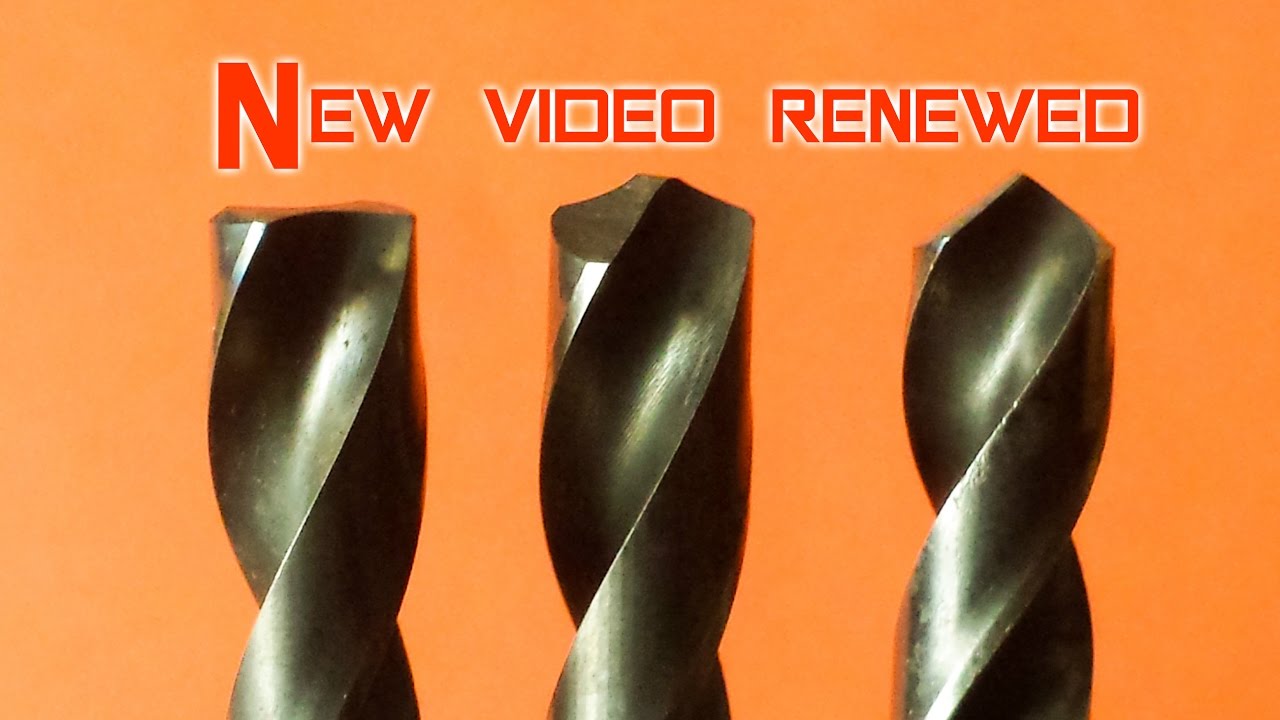
Image Source: i.ytimg.com
Why Sharpen Your Metal Drill Bits?
Dull drill bits are more than just an inconvenience; they can cause a host of problems:
- Inefficient Cutting: Dull bits require more force to penetrate material, leading to skipped bits, crooked holes, and a generally frustrating experience.
- Overheating: Increased friction generates heat, which can damage the temper of the drill bit, making it softer and less effective. It can also burn the workpiece.
- Poor Hole Quality: Dull bits tear rather than cut, resulting in rough, oversized, or damaged holes.
- Increased Tool Wear: Forcing a dull bit puts extra strain on your drill motor, potentially shortening its lifespan.
- Safety Concerns: A bit that wanders due to dullness can slip, causing injury.
Sharpening your drill bits, often referred to as drill bit grinding or honing metal bits, restores their original sharpness, making drilling a pleasure again.
Tools You’ll Need for Sharpening
The right tools make the job much easier. Here’s a breakdown of what you might need, depending on your chosen method:
- Sharpening Stone: A common and effective tool for manual sharpening. Diamond sharpening stones are particularly good for very hard metals.
- File: A small, fine-toothed metal file can be used for touch-ups or when a sharpening stone isn’t available.
- Bench Grinder: A powerful tool for faster sharpening, but requires more control to avoid overheating the bit.
- Drill Grinding Jig or Sharpening Jig: These attachments are invaluable for maintaining the correct angles when using a bench grinder or drill.
- Permanent Marker: To mark the cutting edge.
- Safety Glasses: Essential to protect your eyes from metal filings.
- Gloves: To protect your hands.
- Vise: To hold the drill bit steady, especially when using a file.
- Drill Bit Gauge or Protractor: To verify the correct cutting angle.
Methods for Sharpening Metal Drill Bits
There are several effective ways to sharpen metal drill bits. We’ll explore the most common and practical methods.
Method 1: Using a Sharpening Stone (Manual Method)
This is a classic and accessible way to sharpen drill bits. It requires patience but offers great control.
Step-by-Step Guide:
- Inspect the Bit: Look at the cutting edges of your drill bit. You should see a bevel. The goal is to restore this bevel and ensure both cutting edges are equally sharp and aligned.
- Secure the Bit: If you have a small vise, use it to hold the drill bit securely. If not, you can carefully hold it with pliers, but be cautious not to damage the shank.
- Identify the Cutting Edge Angle: Most metal drill bits have a point angle of around 118 or 135 degrees. You want to maintain this angle.
- Position the Stone: Place your sharpening stone on a stable surface. If it’s an oil stone, apply a light honing oil. If it’s a diamond stone, you can use water or a lubricant.
- Sharpening the First Edge:
- Hold the drill bit at approximately a 20-degree angle to the stone. This angle helps maintain the clearance behind the cutting edge.
- Angle the drill bit itself so that one of the cutting edges is in contact with the stone. The point of the drill bit should be facing away from you.
- Move the drill bit across the stone in a sweeping motion, applying light pressure. Think of it as stroking the bit against the stone.
- Focus on sharpening the bevel. You are essentially grinding the metal away to create a sharp edge.
- After a few strokes, lift the bit and rotate it to the other side.
- Sharpening the Second Edge:
- Now, position the drill bit so the other cutting edge is in contact with the stone.
- Maintain the same angle to the stone (around 20 degrees for clearance).
- Perform the same sweeping motion, applying light pressure.
- The key is to make an equal number of strokes on both sides.
- Check for Evenness:
- After several strokes on each side, stop and examine the cutting edges. You can use a permanent marker to lightly color the existing bevel.
- As you sharpen, the marker should be removed evenly from both cutting edges. If one side is still marked, it needs more sharpening.
- You can also gently tap the drill bit point on a piece of scrap wood. A sharp bit will leave a distinct mark. A dull bit will create a wider, scraped mark.
- Refine the Edge: Once both edges appear sharp, make a few very light finishing strokes on each side, alternating. This helps to refine the cutting edge.
- Clean the Bit: Wipe the drill bit clean with a cloth to remove any metal filings and lubricant.
Table: Sharpening Stone Angles
| Drill Bit Type | Typical Point Angle | Recommended Bevel Angle (approx.) | Clearance Angle (approx.) |
|---|---|---|---|
| Standard Twist Drill | 118° | 59° (each side) | 20° |
| for Softer Metals | |||
| for Harder Metals | 135° | 67.5° (each side) | 15° |
Note: These are general guidelines. Always aim to replicate the original angles as closely as possible.
Method 2: Using a File (Manual Method)
A small, fine-toothed file is useful for quick touch-ups or when a sharpening stone is not readily available. This method requires a steady hand.
Step-by-Step Guide:
- Secure the Bit: Clamp the drill bit shank securely in a vise.
- Position the File: Hold the fine-toothed file at the correct angle against one of the cutting edges. Aim to replicate the original bevel angle.
- File the Edge: Use a single, smooth stroke, drawing the file away from the cutting edge. Apply consistent, light pressure.
- Sharpen the Second Edge: Rotate the drill bit and position the file against the second cutting edge.
- Maintain Symmetry: Make an equal number of strokes on both sides. It’s crucial to keep the cutting edges symmetrical for proper drilling.
- Check Progress: Periodically remove the bit from the vise and check the sharpness. You can use the permanent marker trick mentioned earlier.
- Deburr: After sharpening, you might notice a small burr along the cutting edge. Gently run the file over the flat surface of the flute just behind the cutting edge to remove this burr.
- Clean: Wipe the bit clean.
Important Considerations for Filing:
- File Type: Use a “mill file” or a “needle file” with fine teeth. Coarse files will remove too much material and create a rough edge.
- Angle Consistency: Maintaining a consistent angle is challenging but vital. Practice makes perfect.
- Light Pressure: Aggressive filing can quickly ruin the bit. Work with light, controlled strokes.
Method 3: Using a Bench Grinder (Power Method)
A bench grinder is fast but can easily overheat a drill bit if you’re not careful. This method is best for those with some experience. Using a sharpening jig is highly recommended here.
Step-by-Step Guide:
- Safety First: Always wear safety glasses and gloves when using a bench grinder.
- Set Up the Grinder: Ensure your bench grinder is clean and the grinding wheel is in good condition. Use a fine-grit wheel for sharpening.
- Use a Sharpening Jig: A drill bit sharpening jig (also called a drill grinding jig) is almost essential for bench grinding. It holds the bit at the correct angles and allows you to rotate it smoothly.
- Position the Bit in the Jig: Follow the jig’s instructions to secure the drill bit. The jig will typically have guides or slots to help you achieve the correct bevel and clearance angles.
- Align with the Grinding Wheel: Position the jig so that the cutting edge of the drill bit makes contact with the grinding wheel at the correct angle (usually around 20 degrees for clearance).
- Grind Lightly:
- Bring the cutting edge into contact with the spinning wheel.
- Apply very light pressure. The goal is to remove just enough metal to create a sharp edge.
- Move the bit back and forth slightly along the cutting edge to ensure even grinding.
- Crucially, frequently dip the drill bit in water to cool it down. Overheating will ruin the temper of the steel.
- Sharpen the Second Edge: Rotate the drill bit in the jig to bring the second cutting edge into contact with the grinding wheel.
- Maintain Symmetry: Grind the second edge, taking care to match the amount of material removed from the first edge.
- Check Progress: Remove the bit from the jig and check for sharpness and symmetry using the marker method or by observing the reflection of light on the cutting edge.
- Refine: Make light passes on both sides until the bit is sharp.
- Deburr: If there’s a burr, you can briefly touch the flat of the flute behind the cutting edge to the grinding wheel.
- Cool and Clean: Allow the bit to cool completely, then clean it thoroughly.
Table: Bench Grinder Safety & Best Practices
| Safety Measure | Why it’s Important |
|---|---|
| Wear Safety Glasses | Protects eyes from flying metal fragments. |
| Wear Gloves | Protects hands from sharp edges and heat. |
| Use a Fine-Grit Wheel | Provides a smoother, sharper edge and removes less material. |
| Frequent Cooling | Prevents the drill bit from overheating and losing temper. |
| Light Pressure | Avoids removing too much material and overheating. |
| Use a Sharpening Jig | Ensures consistent and correct angles. |
| Keep Grinder Clean | Prevents contamination and ensures smooth operation. |
| Maintain Correct Angle | Critical for effective cutting and bit longevity. |
| Never Force the Bit | Indicates the bit is likely dull or the angle is wrong. |
Maintaining the Correct Angles: The Key to Success
The most challenging part of sharpening drill bits is consistently maintaining the correct angles. These angles are crucial for how the bit cuts:
- Point Angle: The angle at the very tip of the drill bit. This is the primary cutting angle. Common angles are 118° (for softer materials like wood and thin metal) and 135° (for harder metals like steel and stainless steel).
- Bevel Angle: This is the angle of the cutting surface on each side of the point. The point angle is formed by the two bevel angles.
- Clearance Angle (or Lip Clearance): This is the angle of the flute surface immediately behind the cutting edge. It prevents the heel of the cutting edge from rubbing against the hole wall, which would cause friction and dulling. Too little clearance causes rubbing; too much weakens the cutting edge.
How to Check Your Angles:
- Visual Inspection: With practice, you can develop a good eye for the correct angles. Compare your sharpened bit to a new or properly sharpened one.
- Drill Bit Gauge: Specialized drill bit gauges or templates can help you align your bit correctly against the grinding wheel or sharpening stone.
- Protractor: For manual methods, a small protractor can help you set the initial angle.
Common Mistakes to Avoid
- Overheating: This is the number one killer of sharpened drill bits. Always use coolant or dip the bit in water frequently when using power tools.
- Uneven Sharpening: If one cutting edge is longer or at a different angle than the other, the bit will not drill straight and will wear unevenly.
- Too Much Pressure: This can remove too much material, weaken the cutting edge, or cause overheating.
- Wrong Angle: Using the wrong angle will result in poor performance or damage to the bit.
- Not Sharpening Enough: Only making a few passes might leave the bit still too dull to cut effectively.
- Ignoring the Burr: A burr on the cutting edge will quickly break off and dull the bit again.
When is a Drill Bit Beyond Sharpening?
While most metal drill bits can be sharpened multiple times, there comes a point where they are too worn or damaged to be effectively restored.
- Excessive Wear: If the flutes are worn down significantly, or the cutting edges are chipped and rounded beyond repair.
- Cracked Bit: Any cracks in the bit mean it’s unsafe to use and should be discarded.
- Overheated and Softened: If a bit has been overheated multiple times, its temper will be ruined, and it will no longer hold a sharp edge, no matter how much you sharpen it. You can sometimes test this by trying to file it; if it feels very soft and gummy, it’s likely ruined.
Sharpening Different Types of Metal Drill Bits
The general principles apply to most common types of metal drill bits, such as:
- High-Speed Steel (HSS) Bits: The most common type. They can be sharpened using any of the methods described.
- Cobalt Bits: These are harder than HSS bits and retain their hardness at higher temperatures. They are more difficult to sharpen and benefit greatly from diamond sharpening stones or carbide grinding wheels on a bench grinder.
- Carbide Bits: These are extremely hard and brittle. They generally cannot be sharpened with conventional methods and typically require specialized diamond grinding wheels. It’s often more economical to replace them when they dull.
Frequently Asked Questions (FAQ)
Q1: How often should I sharpen my metal drill bits?
A: The frequency depends on how often you use them and the materials you’re drilling. If you notice drilling becoming slower, requiring more pressure, or producing rough holes, it’s time to sharpen.
Q2: Can I use a regular sharpening stone for metal drill bits?
A: Yes, a good quality sharpening stone (especially one with a finer grit) can work well. Diamond sharpening stones are particularly effective for metal.
Q3: Is it better to use a drill bit sharpening jig with a bench grinder?
A: For consistent results and to prevent overheating, a sharpening jig is highly recommended when using a bench grinder. It automates the process of holding the bit at the correct angles.
Q4: What is the most common mistake people make when sharpening drill bits?
A: The most common mistake is overheating the drill bit. This destroys its temper, making it useless. Always use coolant or water to keep the bit cool.
Q5: My sharpened bit still doesn’t cut well. What could be wrong?
A: Possible reasons include:
* The bit is still not sharp enough.
* The cutting edges are uneven.
* The clearance angle is too small, causing the heel to drag.
* The bit has been overheated and lost its temper.
* The bit is simply too worn out to be sharpened effectively.
Q6: What kind of lubricant should I use with a sharpening stone?
A: For oil stones, use honing oil. For water stones, use water. Diamond stones can be used dry, with water, or with a light lubricant.
By following these steps and paying attention to detail, you can effectively sharpen your metal drill bits, ensuring they perform at their best and saving you money in the long run. Happy drilling!