
Can you sharpen a drill bit with a grinder? Yes, you can sharpen a drill bit with a grinder, but it requires care and precision to avoid damaging the bit. This guide will walk you through the process.
Sharpening dull drill bits is a smart way to save money and ensure your tools perform at their best. While specialized drill bit sharpeners exist, a bench grinder can be a very effective tool for bringing your bits back to life, provided you approach it correctly. This method is particularly useful for sharpening twist drills, the most common type of drill bit.
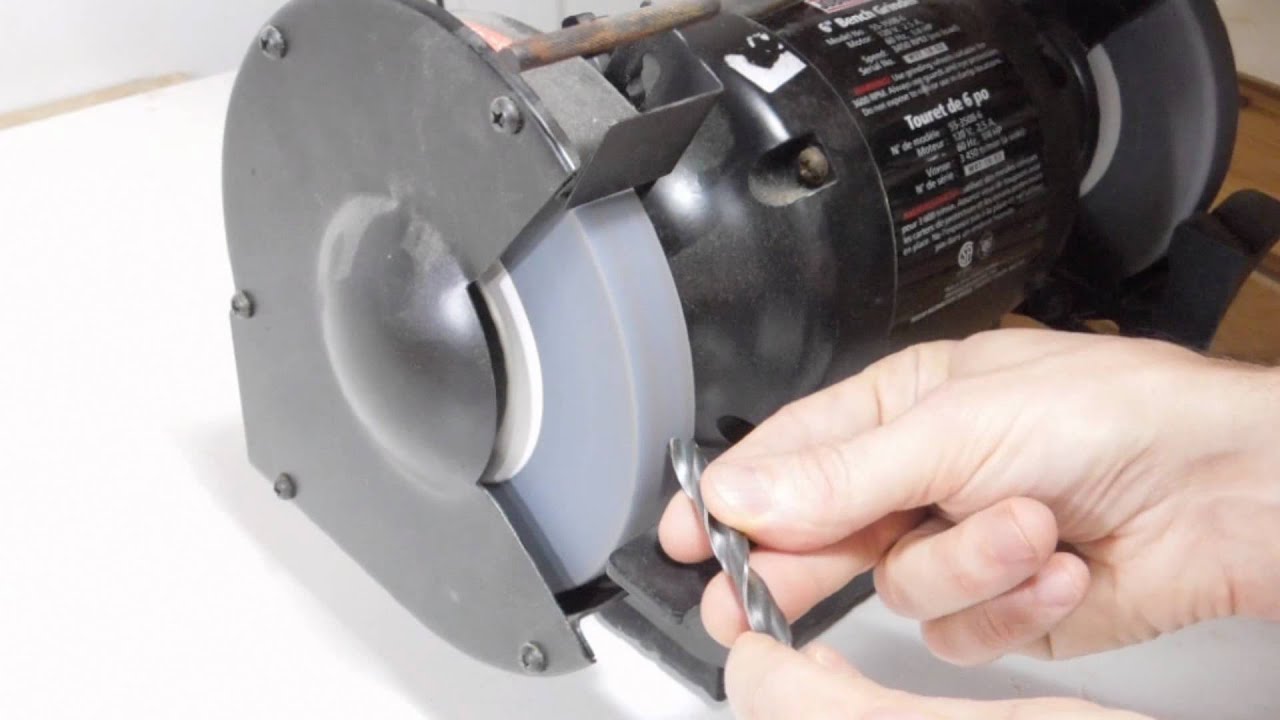
Image Source: i.ytimg.com
Why Sharpen Your Drill Bits?
Over time, the cutting edges of drill bits become dull from use. This dullness leads to several problems:
- Increased Effort: You have to push harder to drill, which can strain your arms and wrists.
- Poor Hole Quality: Dull bits tear rather than cut, resulting in rough, oversized, or out-of-round holes.
- Increased Heat: Friction from a dull bit generates more heat, which can damage both the bit and the workpiece. This is especially problematic when working with materials that can melt or degrade with heat.
- Tool Damage: Forcing a dull bit can damage your drill motor or the workpiece itself.
Regularly sharpening your bits maintains their cutting efficiency and prolongs their lifespan.
What You’ll Need
To sharpen your drill bits with a grinder, gather these essential items:
- Bench Grinder: A bench grinder with a suitable grinding wheel for drill bits is crucial.
- Drill Bit Vice or Jig: A bench grinder drill bit jig or a specialized drill bit vice is highly recommended. These hold the bit at the correct angle and allow for consistent sharpening.
- Safety Glasses or Face Shield: Always wear eye protection.
- Gloves: Protect your hands from sharp edges and heat.
- Cutting Fluid for Grinding: While not strictly mandatory for all metals, using cutting fluid for grinding can significantly reduce heat buildup, prolong the life of the grinding wheel, and improve the sharpness of the bit.
- Marker or Soapstone: To mark the cutting edge.
- Small Wire Brush: For cleaning the bit before and after sharpening.
- Pliers or Vice Grips: To hold the drill bit if not using a jig.
- Calipers (Optional): For precise measurements and angle checks.
Choosing the Right Grinding Wheel
The type of grinding wheel you use is important. For general-purpose steel drill bits, an aluminum oxide wheel is typically sufficient. If you’re working with harder materials like carbide, you’ll need a diamond-coated or silicon carbide wheel, as these are specifically designed for harder metals. Ensure the wheel is clean and free from glazing. If the wheel surface is glazed (shiny and smooth), it won’t cut effectively. You may need to use a dressing the grinding wheel tool to refresh its surface.
The Sharpening Process: Step-by-Step
Sharpening a drill bit involves restoring the original cutting edges and the clearance angles. The goal is to create a sharp correct drill bit bevel on the tip.
Step 1: Prepare the Drill Bit
- Clean the Bit: Use a wire brush to remove any dirt, grease, or metal shavings from the drill bit. A clean bit allows for better visual inspection and more accurate grinding.
- Inspect the Bit: Check for any chips, cracks, or excessive wear. Severely damaged bits might be beyond repair.
- Mark the Cutting Edge (Optional but helpful): You can use a marker to lightly color the existing cutting edge. This helps you see where you’ve ground and ensure you are grinding the entire edge evenly.
Step 2: Set Up the Grinder and Jig
- Secure the Grinder: Ensure your bench grinder is stable and securely mounted.
- Position the Tool Rest: Adjust the tool rest on the grinder so it’s close to the grinding wheel but not touching it. This provides support for your jig or pliers.
- Set Up the Jig: If you’re using a bench grinder drill bit jig, follow its instructions for setting the angle. Most jigs are designed to help you achieve the common drill bit grinding angle of 118 or 135 degrees. If you don’t have a jig, you’ll need to carefully hold the bit at the correct angle.
Step 3: Grinding the Cutting Edges
This is the most critical step and requires a steady hand. The aim is to grind the primary clearance angle and then the secondary clearance angle.
Using a Drill Bit Jig (Recommended):
- Insert the Bit: Place the drill bit into the jig as per the manufacturer’s instructions. The jig will typically guide the bit into the correct position against the grinding wheel.
- Engage the Grinder: Turn on the grinder.
- Grind One Side: Gently bring the drill bit’s cutting edge into contact with the grinding wheel. The jig should guide the bit, allowing you to grind one of the two cutting lips. Move the bit in a slight sweeping motion across the wheel, maintaining a consistent angle.
- Cool the Bit: Periodically dip the drill bit into water or apply cutting fluid for grinding to prevent overheating. Overheating can “temper” the steel, making it brittle and ruining the sharpening.
- Sharpen the Second Side: Rotate the drill bit in the jig to grind the other cutting lip. Aim to remove the same amount of material from both sides to maintain the center point of the bit. Use your marks (if applied) to ensure you’re grinding evenly.
- Check the Angle: Periodically check the sharpness and the correct drill bit bevel. The two cutting edges should be symmetrical and meet at the center point.
Without a Jig (More Challenging):
- Hold the Bit: Grip the shank of the drill bit firmly with pliers or vice grips.
- Find the Angle: Rest the cutting edge on the tool rest. You will need to angle the bit upwards to achieve the correct drill bit grinding angle. For a standard 118-degree point, you’ll generally be holding the bit at about a 59-degree angle relative to the center line of the bit.
- Grind the First Lip: Bring the cutting lip to the grinding wheel, maintaining the angle. Use a slight, rocking motion to grind the bevel along the entire length of the cutting edge.
- Cool and Repeat: Dip the bit in water frequently. Rotate the bit and grind the second lip, aiming for symmetry with the first.
- Check the Point: Ensure the two cutting edges are equal and meet at a sharp point in the center. You might need to grind away a small amount of the web at the very tip to ensure both edges are sharp.
Step 4: Checking for Sharpness and Clearance
After grinding, examine the cutting edges.
- Sharpness: The edges should be keen and sharp. You can test this carefully by trying to scratch a piece of wood or plastic.
- Clearance Angle: The clearance angle is the small bevel behind the cutting edge. This prevents the flank of the bit from rubbing against the hole wall. You should see a slight clearance behind the cutting edge. If the edge looks like it’s rubbing without cutting, you need more clearance. This is often achieved by slightly altering the grinding angle or the rocking motion.
- Web Thinning: For larger bits or bits that have been sharpened multiple times, the web (the central thickness of the bit) might become too thick. This increases friction and makes drilling difficult. You may need to grind a small bevel on the very tip of the web to thin it out. This is a more advanced technique.
Step 5: Finishing Touches
- Deburr: Carefully remove any burrs left by the grinding process. A few light passes on a fine grit stone or a specialized deburring tool can help.
- Clean Again: Wash the bit thoroughly to remove any grinding residue or metal filings.
Common Drill Bit Sharpening Mistakes to Avoid
Even with the right tools, it’s easy to make mistakes. Be aware of these common pitfalls:
- Overheating the Bit: This is perhaps the most common error. Letting the bit get too hot will destroy its temper, making it soft and unable to hold an edge. Frequent cooling is essential.
- Uneven Grinding: Grinding too much on one side or not holding a consistent angle will result in an off-center or unevenly cutting bit, which will drill oversized or oval holes.
- Incorrect Angles: Using the wrong drill bit grinding angle will compromise the bit’s cutting performance and efficiency. A 118-degree angle is standard for general-purpose drilling in softer materials, while 135 degrees is better for harder metals like stainless steel.
- Grinding the Flutes: Do not grind the spiral flutes of the drill bit. You are only sharpening the cutting lips at the tip.
- Not Dressing the Wheel: A dull or glazed grinding wheel will not sharpen effectively and can lead to overheating. Regularly dressing the grinding wheel keeps it sharp and cutting.
- Excessive Material Removal: Trying to sharpen a very dull bit too quickly by removing too much material can ruin the bit’s geometry. It’s better to take small, controlled passes.
- Ignoring Clearance: Grinding only the cutting edge without ensuring adequate clearance behind it will cause the bit to rub rather than cut.
- Using the Wrong Wheel: Attempting to sharpen carbide drill bit sharpening with an aluminum oxide wheel will quickly dull and potentially damage the wheel.
Sharpening Different Types of Drill Bits
While the principles are similar, some bits require specific considerations:
Sharpening Twist Drills
This guide primarily focuses on sharpening twist drills, the most common type. The key is to maintain the correct drill bit grinding angle and the primary and secondary clearance angles on the cutting lips.
Carbide Drill Bit Sharpening
Carbide is much harder and more brittle than high-speed steel (HSS).
- Grinding Wheel: You must use a diamond-coated or silicon carbide grinding wheel for carbide drill bit sharpening. Aluminum oxide wheels will not work.
- Cooling: Extreme care must be taken to avoid overheating, as carbide can fracture from thermal shock. Use plenty of cutting fluid for grinding.
- Pressure: Apply very light pressure. Carbide grinds away more slowly than steel.
- Jigs: Using a specialized carbide drill bit sharpening jig is highly recommended for achieving precise angles and preventing breakage.
Maintaining Your Grinder
A well-maintained grinder is crucial for effective sharpening.
Dressing the Grinding Wheel
Over time, grinding wheels can become loaded with metal particles (glazing) or lose their shape. Dressing the grinding wheel removes this debris and exposes fresh abrasive particles, restoring its cutting ability.
- Dressing Tools: Use a diamond dresser or a silicon carbide dressing stick.
- Process: With the grinder running, carefully bring the dressing tool into contact with the spinning wheel. Move the dresser across the face of the wheel to true it up and remove glazing. Be cautious and wear appropriate safety gear.
Wheel Balancing
An unbalanced grinding wheel will vibrate, making accurate sharpening difficult and potentially dangerous. Most bench grinders have a system for balancing their wheels. If you notice excessive vibration, consult your grinder’s manual.
Alternatives to Grinding
While a bench grinder is a versatile tool, other options exist:
Handheld Drill Sharpening Jigs
These are smaller, more portable jigs designed to be used with a standard handheld drill sharpening. They guide a sharpening stone or wheel at the correct angle. While less powerful than a bench grinder, they are simpler for occasional use.
Manual Sharpening Stones
For very small bits or for those who prefer a manual approach, specialized drill bit sharpening stones or diamond files can be used. This requires significant skill and patience to achieve good results.
When to Replace a Drill Bit
Even with proper sharpening, drill bits have a finite lifespan. Consider replacing a bit if:
- It has been sharpened so many times that the flutes are almost gone.
- It has significant chips or cracks in the cutting edge or body.
- It is made of a material that you cannot effectively sharpen with your available tools (e.g., trying to sharpen a cobalt bit with the wrong wheel).
Frequently Asked Questions (FAQ)
Q: How often should I sharpen my drill bits?
A: The frequency depends on usage. If you notice dullness, increased drilling effort, or poor hole quality, it’s time to sharpen. For heavy use, this might be weekly; for light use, it could be months or even years.
Q: What is the standard drill bit grinding angle?
A: The most common drill bit grinding angle for general-purpose bits is 118 degrees. For harder materials like stainless steel or tougher alloys, a 135-degree angle is often preferred as it provides a steeper cutting edge and better chip clearance.
Q: Can I use a regular bench grinder wheel for sharpening?
A: For standard high-speed steel bits, a general-purpose aluminum oxide wheel is usually fine. However, if you’re sharpening carbide, you must use a diamond or silicon carbide wheel. Always ensure the wheel is clean and sharp.
Q: What is “web thinning” for drill bits?
A: Web thinning is a technique where a small bevel is ground onto the very tip of the drill bit’s web (the central metal section) to reduce the diameter of the point. This reduces friction and makes drilling easier, especially with larger or already-sharpened bits. It’s an advanced step that requires precision.
Q: My sharpened bit still doesn’t cut well. What could be wrong?
A: Several factors could be at play:
* Incorrect Angle: The drill bit grinding angle might be wrong.
* No Clearance: The clearance behind the cutting edge might be insufficient, causing rubbing.
* Dull Wheel: The grinding wheel might be glazed or worn.
* Overheating: The bit might have been overheated during sharpening, losing its temper.
* Web Too Thick: The web at the point might be too thick, hindering cutting.
* Incorrect Sharpening Method: You might be performing drill bit sharpening mistakes.
By following these guidelines and practicing patience, you can effectively sharpen your drill bits using a bench grinder, saving money and improving your drilling performance.